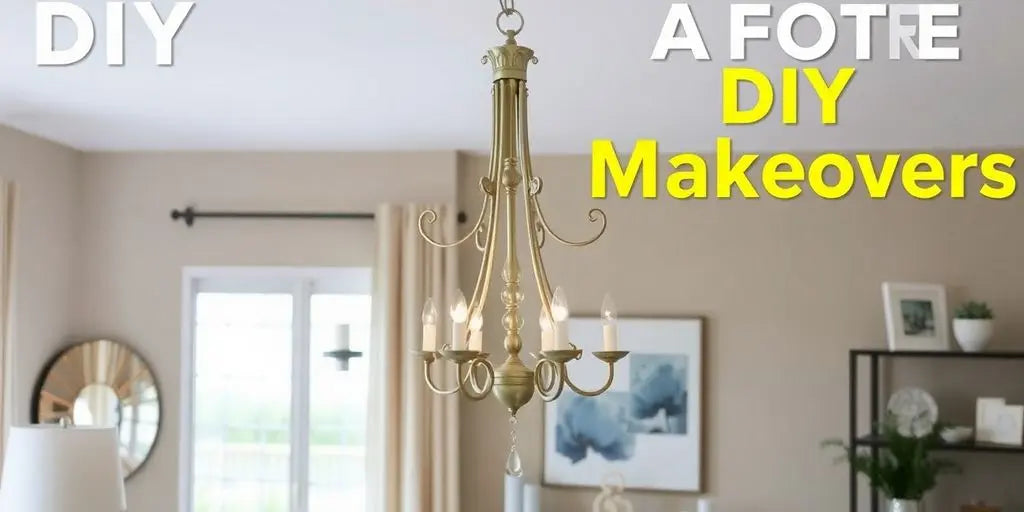
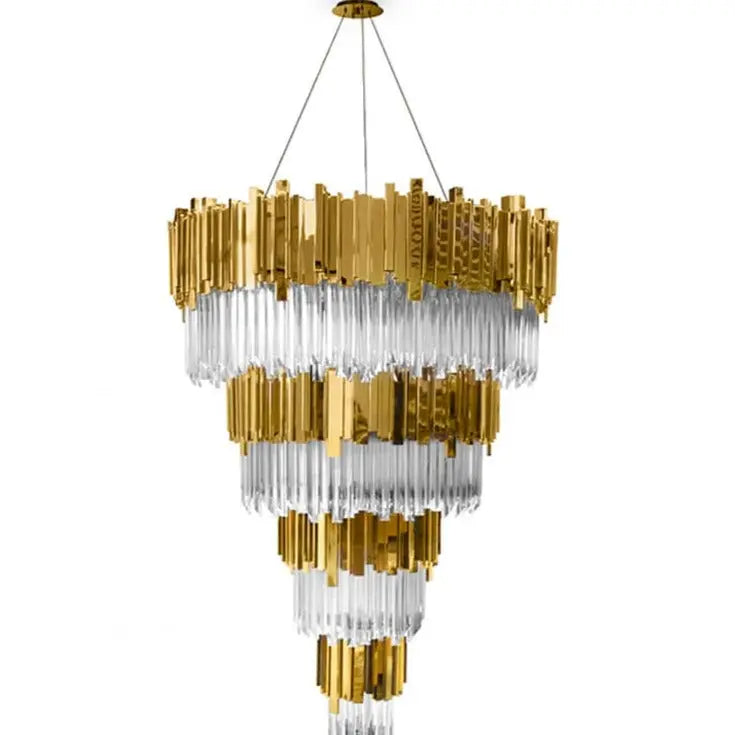
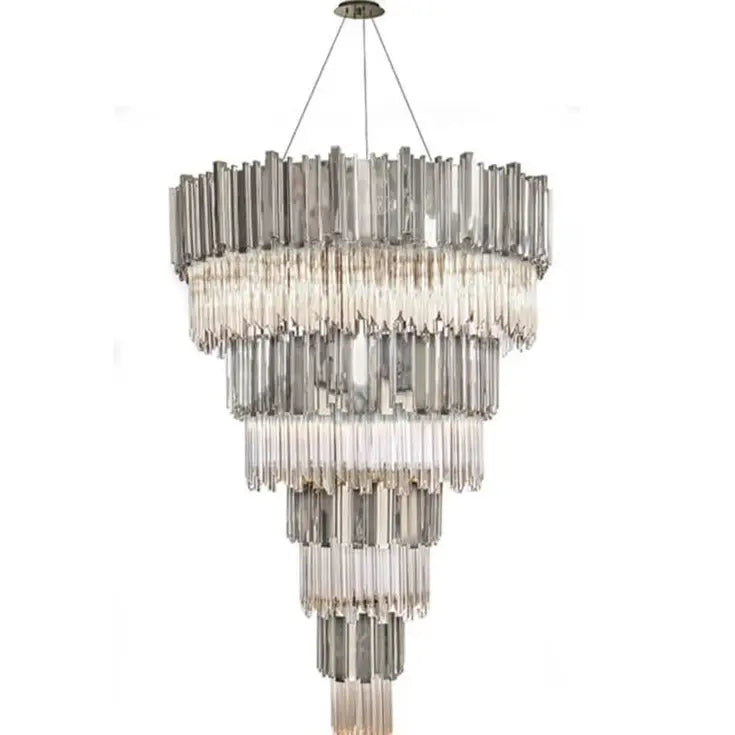
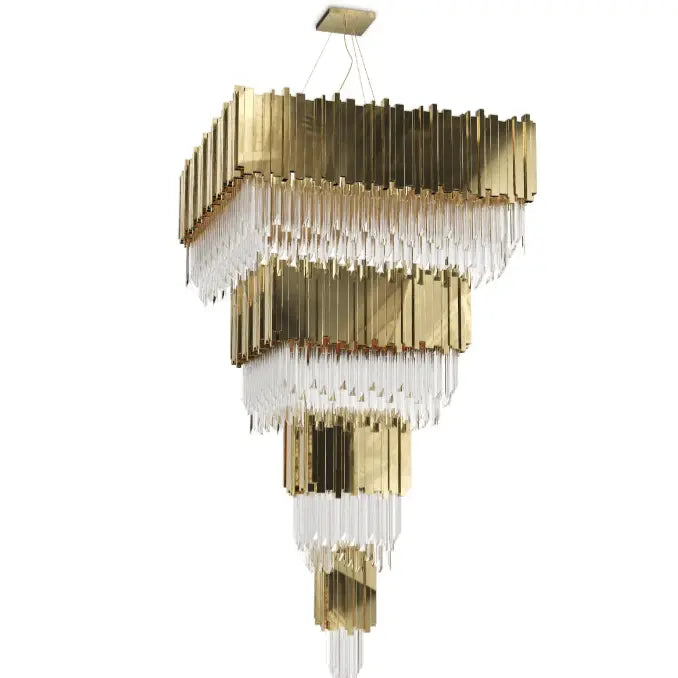
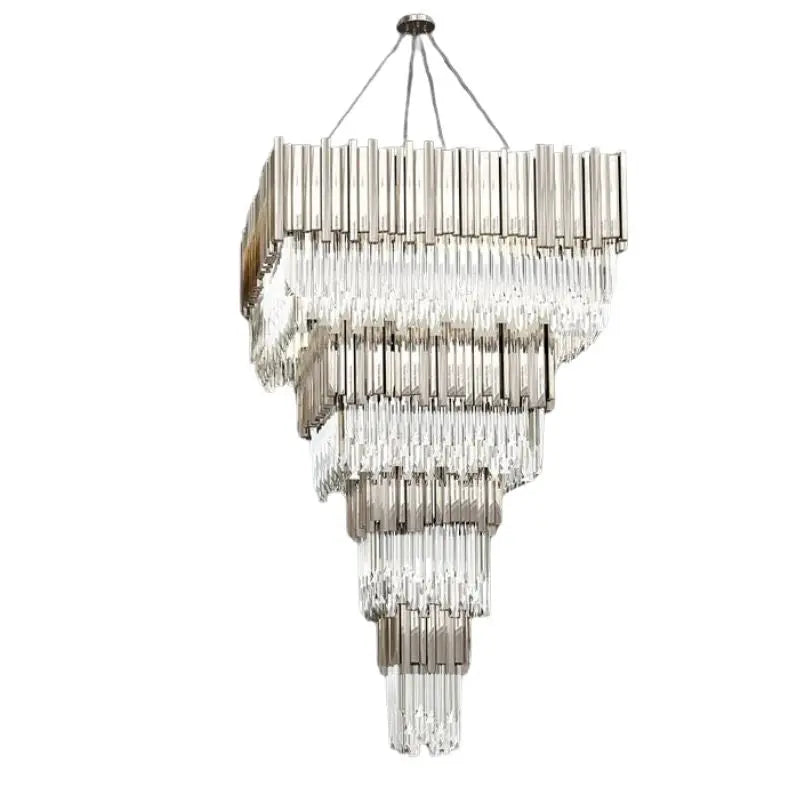
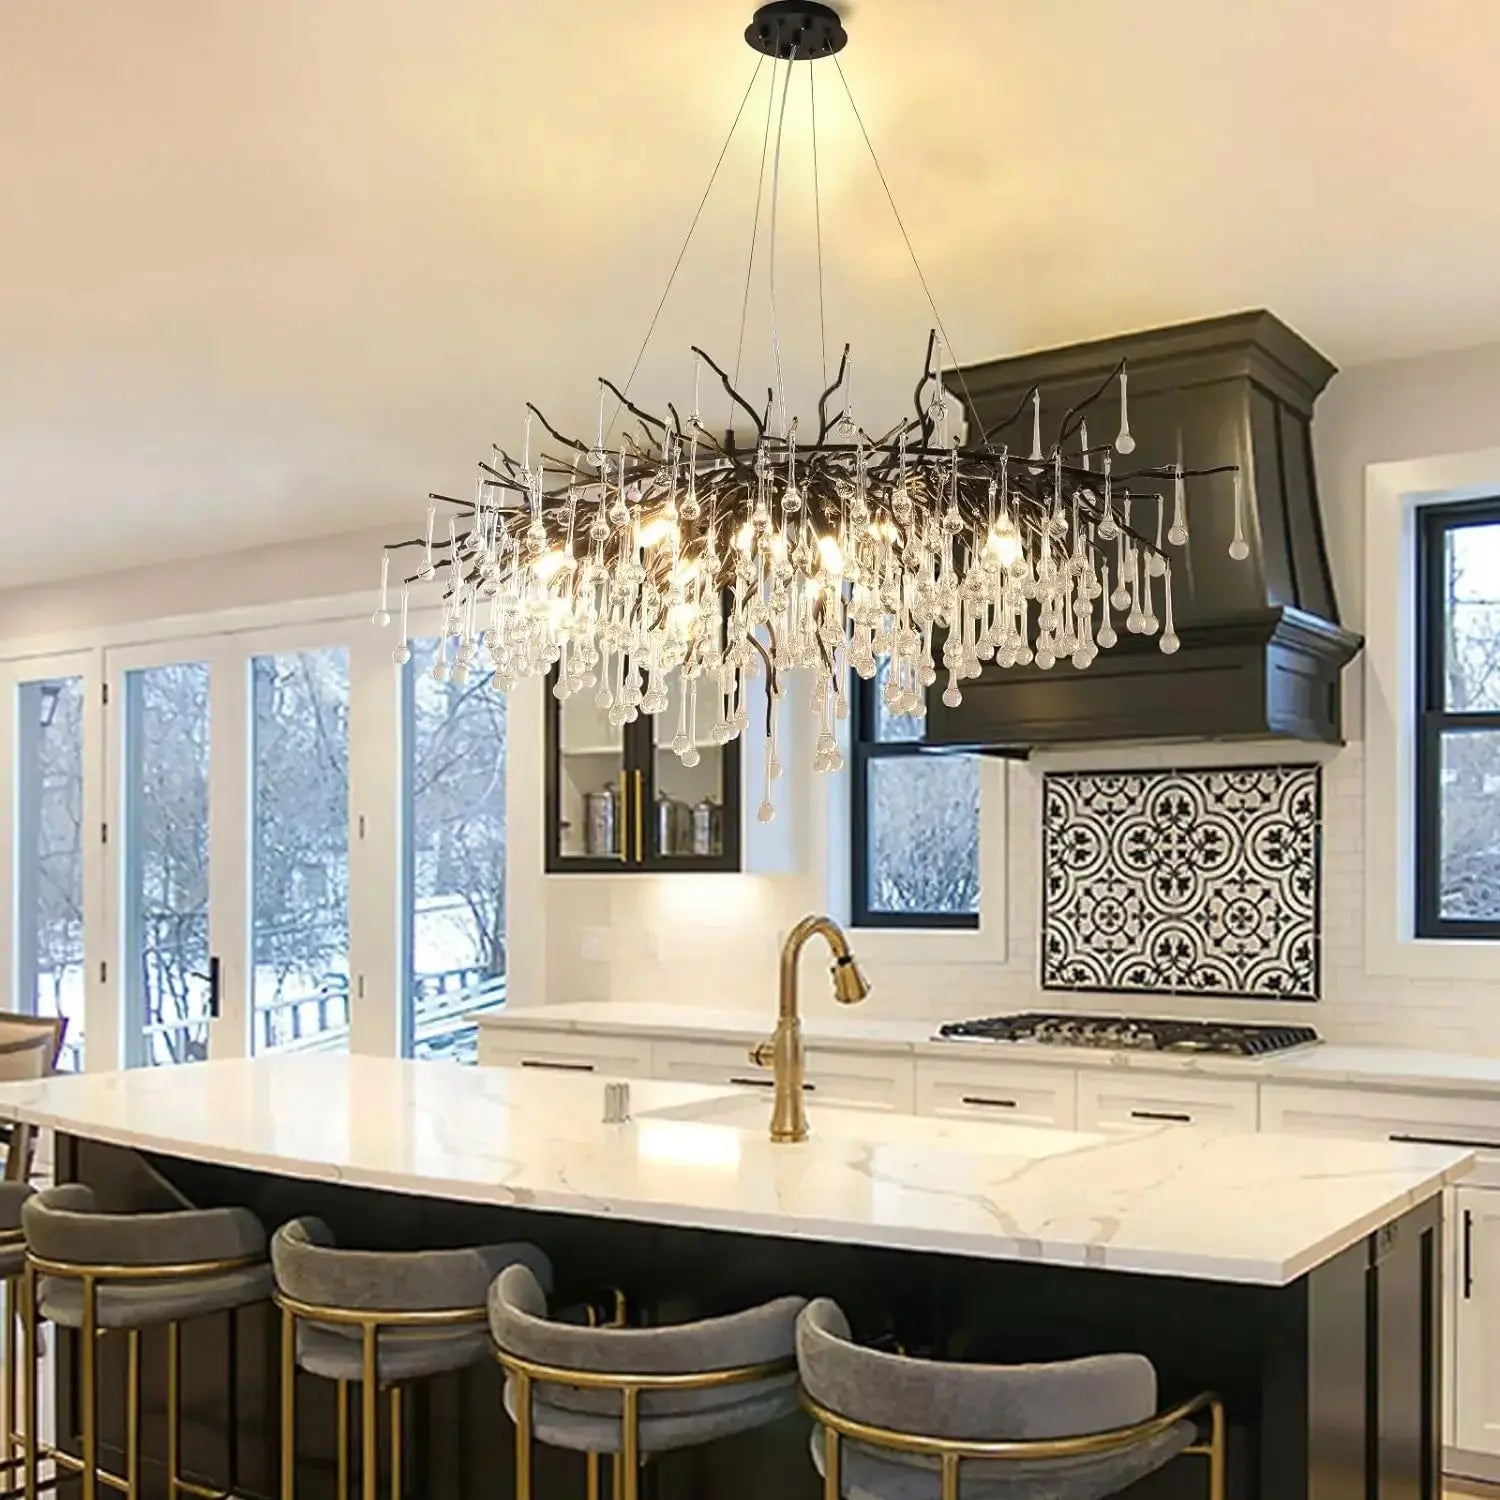
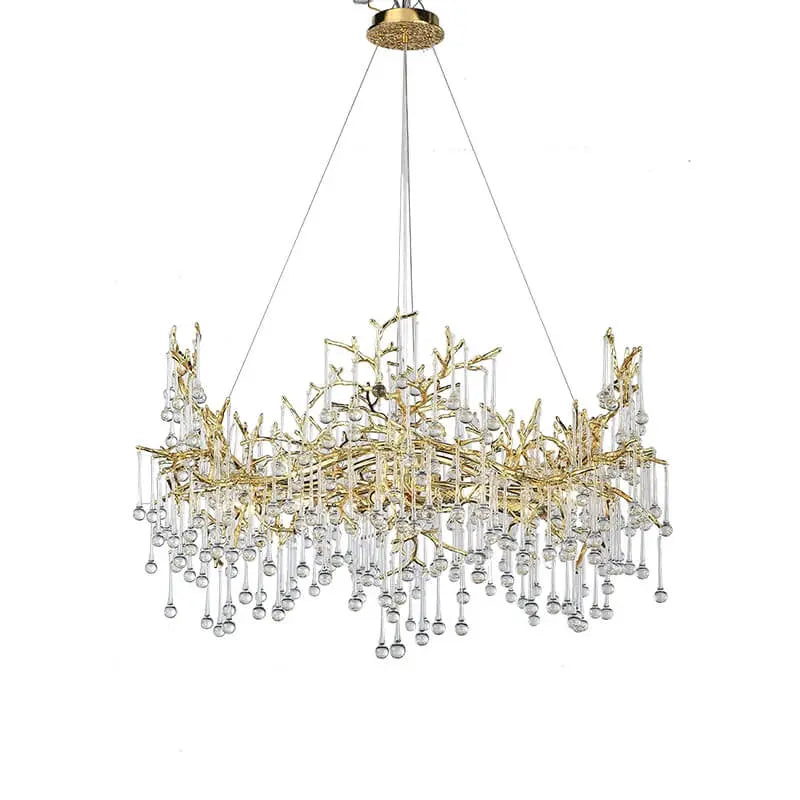
Giving your chandelier a fresh look can be an exciting DIY project. With a little creativity and some basic supplies, you can transform a plain light fixture into a stunning centerpiece for your home. Whether you want to paint it, add some sparkle with crystals, or give it a rustic feel with twine, there are endless possibilities. Plus, doing it yourself not only saves you money but also allows you to create a piece that truly reflects your style. Let’s explore how to tackle chandelier makeovers step by step!
Key Takeaways
- Pick the right chandelier to match your space.
- Always take apart and clean the chandelier before starting.
- Get creative with paint for a fresh look.
- Add unique touches like crystals or fabric for flair.
- Make sure to reassemble and install safely.
Choosing The Perfect Chandelier For Your Makeover
Understanding Your Space
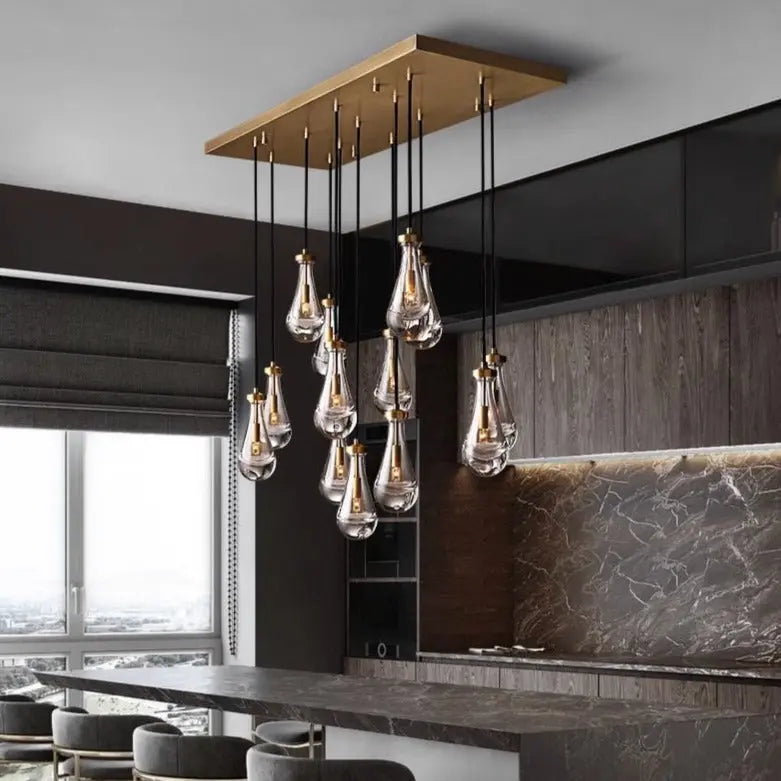
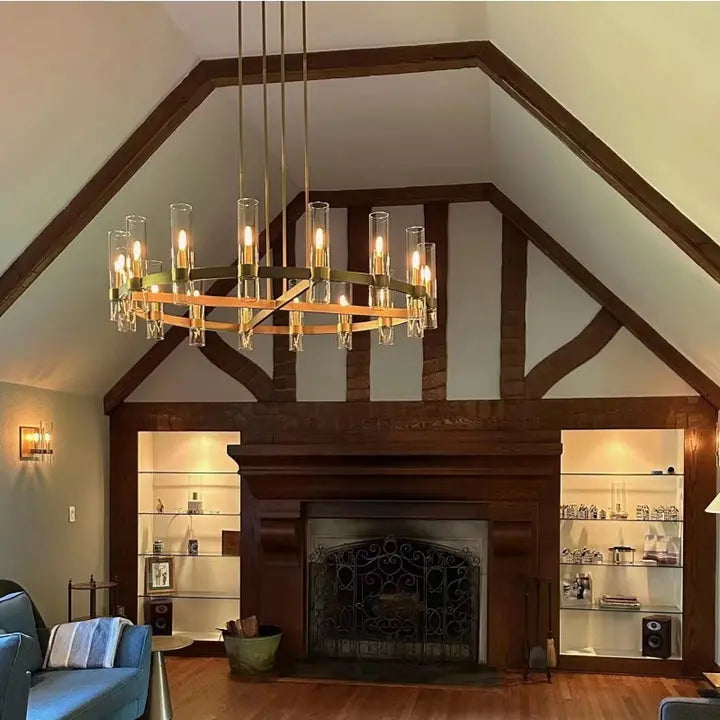
Okay, so you're thinking about a chandelier makeover? Awesome! First things first, let's talk about your space. You can't just slap any old chandelier in there and hope it looks good. Think about the room's size. Is it a cozy little dining nook or a huge, high-ceilinged living room? The chandelier needs to fit the scale. A tiny chandelier in a massive room will look silly, and a giant one in a small space will be overwhelming. Also, what's the room's style? Is it modern, rustic, traditional? Your chandelier should complement that. For example, a modern living space might benefit from a sleek, minimalist design, while a rustic room could rock something with a bit more character, maybe some reclaimed wood or vintage elements.
Selecting The Right Style
Now for the fun part: picking a style! There are so many options, it can be overwhelming. Do you want something super glam with tons of crystals? Or maybe something more understated and elegant? Think about the overall vibe you're going for. Here's a few ideas:
- Classic: Timeless designs that never go out of style. Think wrought iron and simple curves.
- Modern: Clean lines, geometric shapes, and often made of metal or glass.
- Bohemian: Think beads, tassels, and maybe even some colorful fabrics.
Don't be afraid to mix and match a little, but make sure it feels cohesive. If you're not sure where to start, browse some home decor magazines or websites for inspiration. Pinterest is your friend here! Save images of chandeliers you love and see if you can spot any common threads.
Measuring For The Perfect Fit
Okay, this is important. You don't want to end up with a chandelier that's too big or too small. Grab your measuring tape! First, measure the height of your ceiling. Then, measure the length and width of the room. There's a simple formula you can use to figure out the ideal chandelier size. Add the length and width of the room in feet. That number, in inches, is roughly the diameter your chandelier should be. For example, if your room is 12 feet by 14 feet, 12 + 14 = 26, so you'd want a chandelier that's around 26 inches in diameter. Also, consider the height. You want the bottom of the chandelier to be at least 7 feet above the floor in walkways, and about 30-36 inches above a dining table. This ensures it fits well and looks balanced. Nobody wants to bump their head on a fancy light fixture!
Preparing Your Chandelier For A Makeover
Before you even think about paint colors or fancy crystals, you've gotta get your chandelier ready. It's like prepping a canvas before painting – skip this step, and your final result won't be as amazing. Trust me, I learned that the hard way when I tried to paint a dusty old lamp and the paint just wouldn't stick. So, let's get into the nitty-gritty of prepping your chandelier for its big transformation.
Disassembling The Fixture Safely
Okay, first things first: safety! Turn off the power at the breaker. I can't stress this enough. Electricity and DIY projects don't mix. Once the power is off, carefully take the chandelier down. This might involve unscrewing some things or detaching it from a chain. As you take it apart, keep track of all the pieces. I like to use little baggies and label them with a marker. It makes reassembly so much easier. If you're dealing with a particularly complex fixture safely, take pictures as you go. You'll thank yourself later.
Cleaning And Prepping Components
Once your chandelier is in pieces, it's time to clean everything. Dust, grime, and old cobwebs can prevent paint from adhering properly. I usually use a mild soap and water solution and a soft cloth. For tougher spots, a little bit of vinegar can work wonders. Make sure everything is completely dry before you move on to the next step. You might also want to lightly sand any surfaces that will be painted. This helps the paint grip better. Here's a quick checklist:
- Turn off the power.
- Disassemble the chandelier carefully.
- Clean all components with soap and water.
- Dry everything thoroughly.
- Lightly sand surfaces to be painted.
Gathering Your Materials
Before you start painting or adding decorative elements, make sure you have everything you need. This includes paint, brushes, sandpaper, cleaning supplies, and any embellishments you plan to use. Having everything on hand will save you time and frustration. I also recommend laying down a drop cloth or some old newspapers to protect your work surface. Here's a list of essentials:
- Paint (primer and topcoat)
- Paintbrushes or spray paint
- Sandpaper
- Cleaning supplies (soap, water, vinegar)
- Drop cloth or newspapers
- Screwdrivers
- Pliers
- Safety glasses
Prepping your chandelier might seem like a pain, but it's worth it. A little bit of elbow grease now will ensure that your makeover looks professional and lasts for years to come. Plus, it's a good opportunity to really get to know your chandelier and appreciate its design. So, put on some music, grab your cleaning supplies, and get to work!
Creative Painting Techniques For Chandelier Makeovers

Choosing The Right Paint
Okay, so you're ready to paint! First things first: picking the right paint. Not all paints are created equal, especially when it comes to chandeliers. You'll want to consider the material of your chandelier – is it metal, wood, or something else? This will determine the type of paint you need. For metal, a good metal spray paint is usually the way to go. For wood, you might consider chalk paint for a more rustic look. Don't forget primer! A good primer will help the paint adhere better and give you a smoother, more durable finish.
Here's a quick guide:
- Metal: Rust-oleum, Krylon
- Wood: Chalk paint, latex paint
- Glass/Crystal: Speciality glass paint (test in an inconspicuous area first!)
Applying A Fresh Coat
Alright, you've got your paint, now it's time to get down to business. Make sure you're working in a well-ventilated area – seriously, don't skip this step. Lay down a drop cloth to protect your workspace. If you're using spray paint, apply thin, even coats, letting each coat dry completely before applying the next. Patience is key here! If you're using a brush, use long, smooth strokes to avoid brush marks. Consider using a self-etching primer before painting to ensure better adhesion and durability. And remember, less is more – it's better to apply several thin coats than one thick, gloppy one.
- Ventilate the area.
- Apply thin coats.
- Let each coat dry completely.
Painting a chandelier can be a bit of a process, but the results are so worth it. Just take your time, be patient, and don't be afraid to experiment.
Experimenting With Textures
Want to take your chandelier makeover to the next level? Try experimenting with textures! There are tons of ways to add texture to your painted chandelier. You could use a textured spray paint for an all-over effect, or try using stencils to create a pattern. Another fun idea is to use a dry brush technique to add a distressed look. Simply dip a dry brush into your paint, wipe off the excess, and then lightly brush it over the surface of the chandelier. This will create a subtle, textured effect. You can also try layering different colors of paint to create depth and interest. For example, paint the main body of the chandelier in a matte color and use metallic paint on the accents.
Adding Decorative Elements To Your Chandelier
Incorporating Crystals And Beads
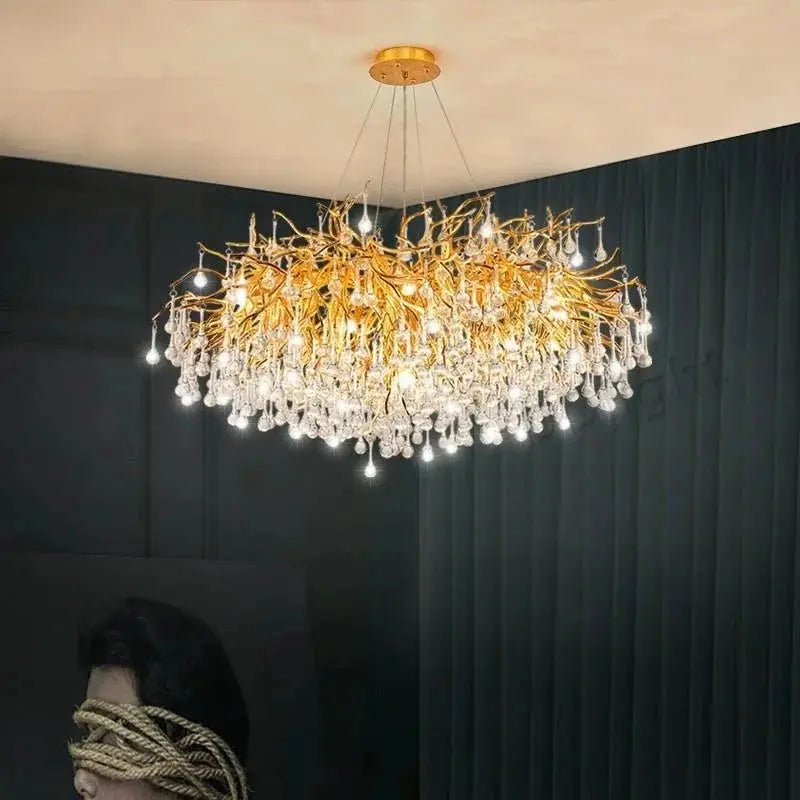
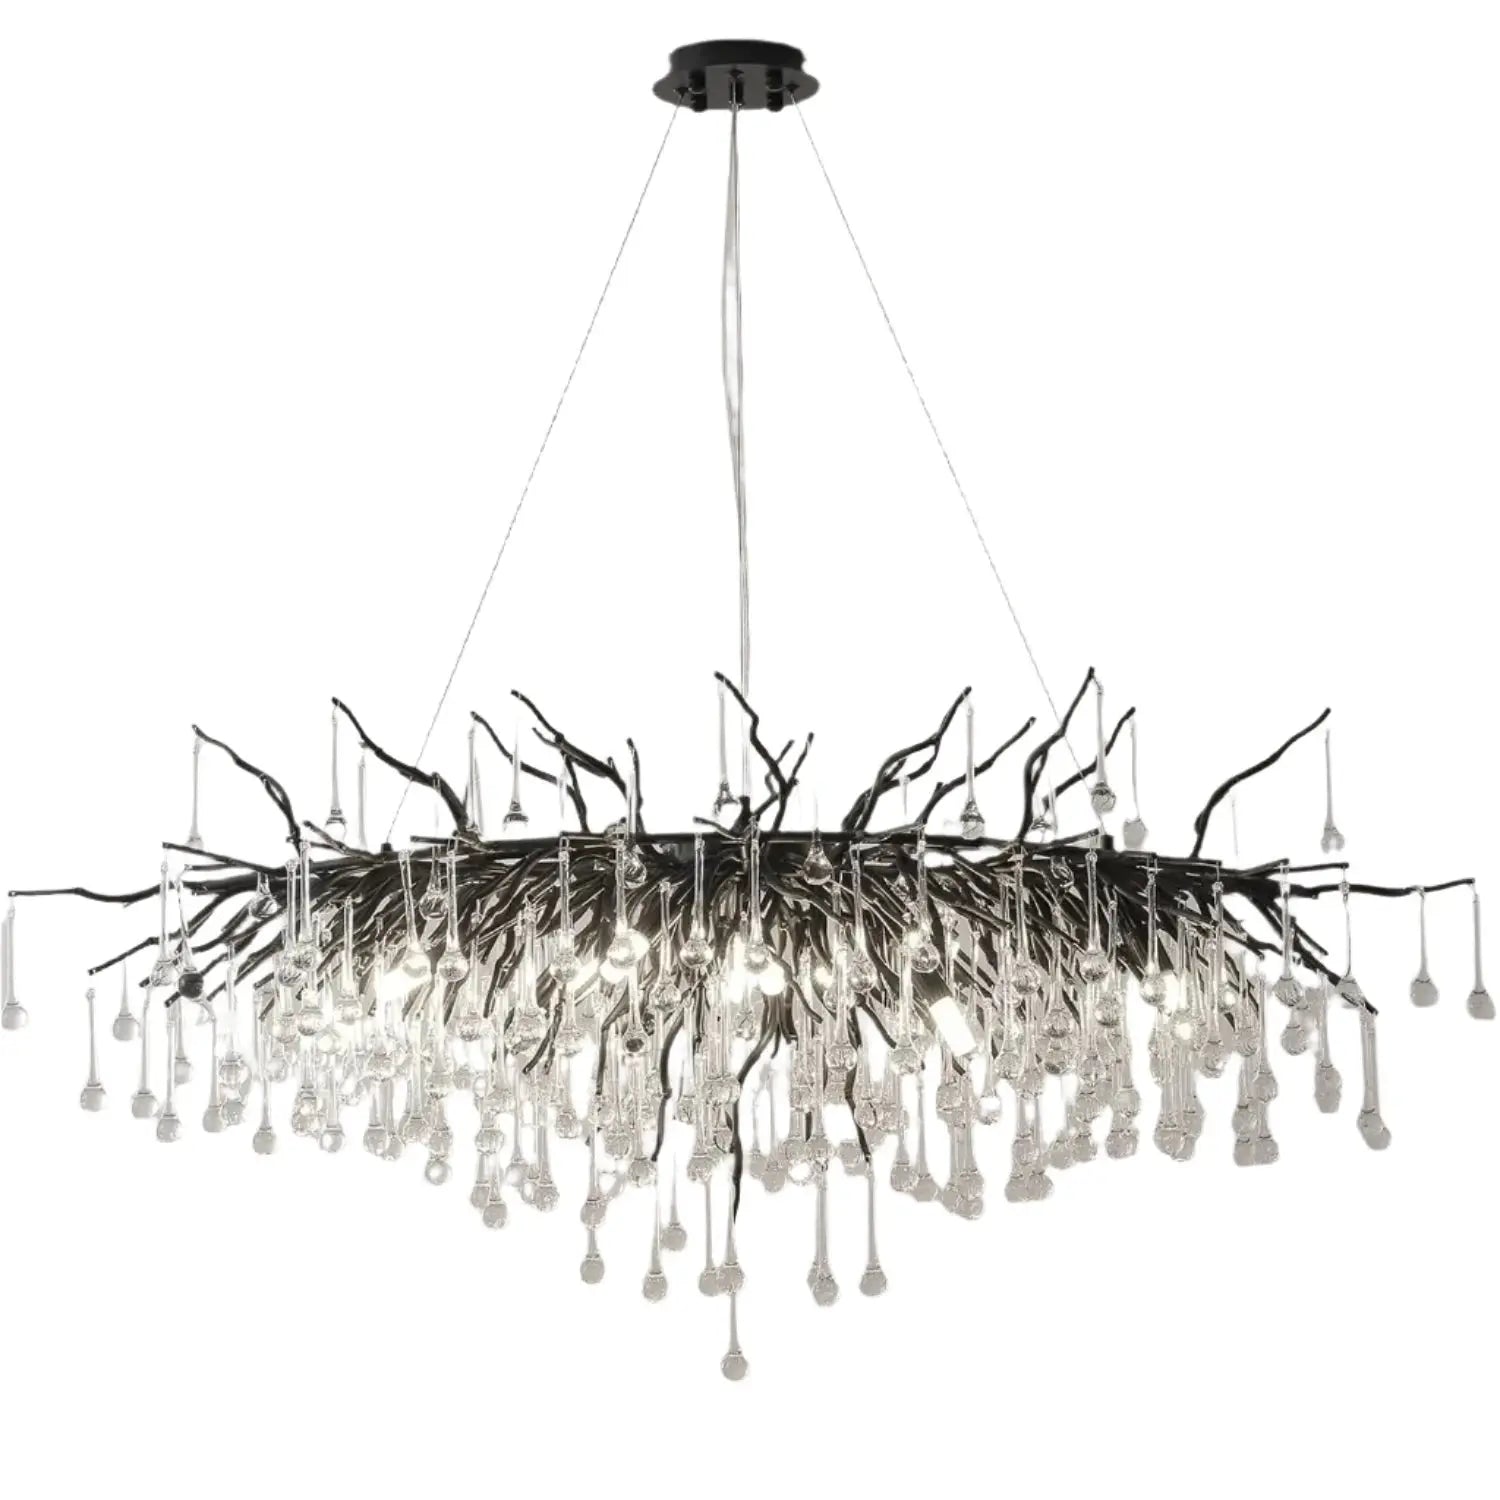
Adding crystals and beads is a super easy way to jazz up a plain chandelier. You don't have to spend a ton either; craft stores and online shops have budget-friendly options. Just thread the beads or crystals onto some thin wire and wrap them around the chandelier's arms. It's like giving your light fixture some jewelry! For a more classic vibe, think about using intricate metalwork along with those sparkly crystal accents.
Using Fabric And Twine
If you're going for a more rustic or bohemian look, twine and fabric are your friends. Wrap twine around the arms and base – hot glue helps keep it in place. Or, cut strips of fabric to add some color or patterns. It's a simple way to give your chandelier a rustic and charming feel.
Repurposing Vintage Finds
Want something really unique? Try attaching vintage or thrifted items. Old keys, small frames, even vintage jewelry can add character. It's a great way to make your chandelier a total conversation starter. Plus, it's a cool way to repurpose that thrift store find!
Adding decorative elements is where you can really let your personality shine. Whether it's crystals, twine, or vintage treasures, your chandelier will become a reflection of your style.
Installing Your Newly Made-Over Chandelier
Preparing The Installation Area
Okay, so you've got your newly made-over chandelier all ready to go. First things first: safety! Make absolutely sure the power is off at the breaker. I can't stress this enough. Double, triple-check. Then, clear out the space underneath where you'll be working. You don't want to be tripping over furniture or anything like that. Gather all your tools – you'll need things like a ladder, screwdrivers, wire strippers, and wire nuts. Having everything within reach will make the whole process way smoother. Also, make sure you have a helper if the chandelier is heavy. Trust me, you don't want to try and do this alone.
Step-By-Step Installation Guide
Alright, let's get this chandelier up! Here's a step-by-step guide to help you through it:
- Mounting the Bracket: Start by attaching the mounting bracket to the ceiling box. Make sure it's super secure. This bracket is what's going to hold the entire weight of the chandelier, so don't skimp on this step. Use the right screws and make sure they're tightened properly.
- Connecting the Wires: Now comes the electrical part. Match the wires from the chandelier to the wires in the ceiling. Usually, it's black to black, white to white, and green (or bare copper) to the ground wire. Use wire nuts to connect the wires, twisting them on tightly. Give them a little tug to make sure they're secure. If you're not comfortable with electrical work, seriously consider calling an electrician. It's not worth risking your safety.
- Securing the Chandelier: Carefully lift the chandelier and attach it to the mounting bracket. This is where having a helper really comes in handy. Make sure all the screws are tightened and that the fixture feels stable. You don't want it wobbling or, worse, falling down.
- Attaching the Bulbs: Screw in the light bulbs. Then, attach any extra decorative bits, like shades or crystals. This is where you can really see your hard work pay off!
Ensuring Safety During Installation
Safety is key when installing a chandelier. Here are some things to keep in mind:
- Always turn off the power at the breaker before starting any electrical work.
- Use a ladder that's tall enough and stable. Have someone spot you if possible.
- Wear safety glasses to protect your eyes from falling debris.
- If you're not comfortable with any part of the installation process, call a qualified electrician. It's better to be safe than sorry.
Installing a chandelier might seem like a big deal, but if you take it one step at a time and follow these safety tips, you can totally do it yourself. Just remember to take your time and double-check everything. And when you're done, you'll have a beautiful, unique chandelier that you made yourself!
Showcasing Your DIY Chandelier
Styling Tips For Different Rooms
Okay, so you've poured your heart and soul into this chandelier makeover. Now what? It's time to show it off! Think about the room where your masterpiece will hang. Is it a cozy bedroom, a modern living room, or a formal dining area? The chandelier should complement the room's overall vibe. If your room has cool tones, maybe a silver or gray chandelier would look amazing. For warmer spaces, consider gold or bronze. Don't be afraid to play around with colors and textures to create a cohesive look.
Taking Stunning Photos
Pictures or it didn't happen, right? You need to capture your hard work in all its glory. Natural light is your best friend here. Try to take photos during the day when the sun is shining. Get different angles – close-ups to show off the details, and wider shots to show how it fits into the room. Pay attention to the background too; a cluttered space can distract from your beautiful chandelier. A simple, clean background will really make it pop. Good lighting can make your chandelier look even more stunning.
Sharing Your Project Online
Time to brag! Share your DIY chandelier project on social media. Write a little about your process – what inspired you, what challenges you faced, and what you learned. Before-and-after photos are a must! Use relevant hashtags like #DIYchandelier, #chandelierMakeover, #homedecor, and #upcycledlighting to reach a wider audience. Engage with other DIY enthusiasts, ask for feedback, and inspire others to try their own makeovers. You might even get featured on a home decor blog!
Transforming a chandelier is a great way to add a personal touch to your home. It's also a fun way to express your creativity and save money. Don't be afraid to experiment and try new things. The possibilities are endless!
Key Takeaways For Successful Chandelier Makeovers

Planning Your Project
Before you even think about touching that old chandelier, take some time to plan. What's your vision? What colors? What materials? A little prep goes a long way. I usually sketch out a quick design and make a list of everything I need. It saves a ton of time and frustration later on. Trust me, winging it rarely works out as well as you hope.
- Decide on a style.
- Choose your colors and materials.
- Make a budget.
Safety First
Okay, this is super important. Chandeliers involve electricity, and electricity is not something to mess around with. Always, always, always turn off the power at the breaker before you start working on anything. Seriously, don't skip this step. And if you're not comfortable working with electrical wiring, call a professional. It's better to be safe than sorry. Also, make sure your ladder is stable and you have someone to help you lift the chandelier.
- Turn off the power.
- Use a stable ladder.
- Get help lifting the chandelier.
Working with electricity can be dangerous. If you're not comfortable, hire a professional. It's not worth risking your safety to save a few bucks.
Embracing Your Creativity
This is where the fun begins! Don't be afraid to experiment and try new things. There are no rules when it comes to DIY, so let your imagination run wild. Add some decorative elements like crystals, beads, or even fabric scraps. Paint it a crazy color, or distress it for a vintage look. The possibilities are endless. And if you mess up? No big deal! Just repaint it or try something else. That's the beauty of DIY – you can always change it.
- Experiment with different colors and textures.
- Add unique embellishments.
- Don't be afraid to make mistakes.
Wrapping Up Your Chandelier Makeover
Giving your chandelier a fresh look can be a really enjoyable project that adds a personal touch to your home. With just a little creativity and some basic supplies, you can transform a plain light fixture into something truly eye-catching. Whether you decide to paint it, add some sparkling crystals, or even wrap it in twine, there are so many options to explore. Plus, doing it yourself not only saves you some cash but also means you’ll have a one-of-a-kind piece that shows off your style. So, gather your materials and dive into your chandelier makeover today!
Frequently Asked Questions
How do I pick the right chandelier for my room?
Start by looking at the size and style of your room. Make sure the chandelier matches your decor and fits your budget.
What should I do before I paint my chandelier?
Carefully take the chandelier apart and clean all the pieces. Get your tools and materials ready to help the paint stick better.
Can I use any paint for my chandelier?
It's best to use spray paint designed for metal surfaces. You can also try metallic or matte paints, just make sure they work with your chandelier's material.
How can I decorate my chandelier?
You can add crystals and beads for a fancy look. Twine or fabric wraps can give it a rustic feel. You can also attach vintage items for a unique touch.
Is it safe to install my chandelier by myself?
Yes, but make sure to turn off the power first. If you're not sure about the installation steps, it's okay to ask for help or hire a professional.
How do I show off my finished chandelier?
Style it according to your room's theme and take good photos in natural light. Share your project on social media with before-and-after pictures to inspire others.

