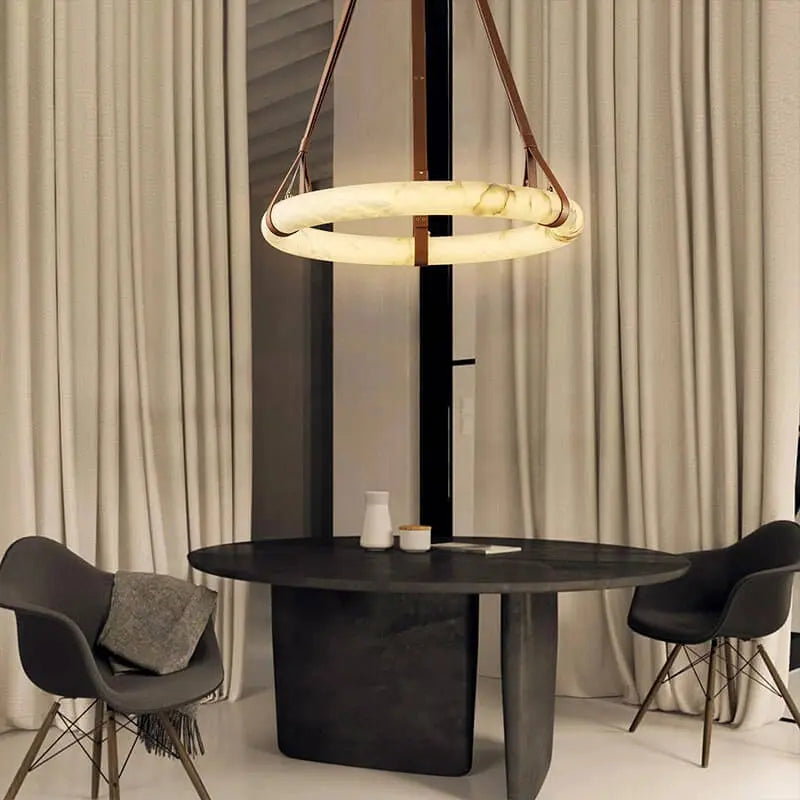
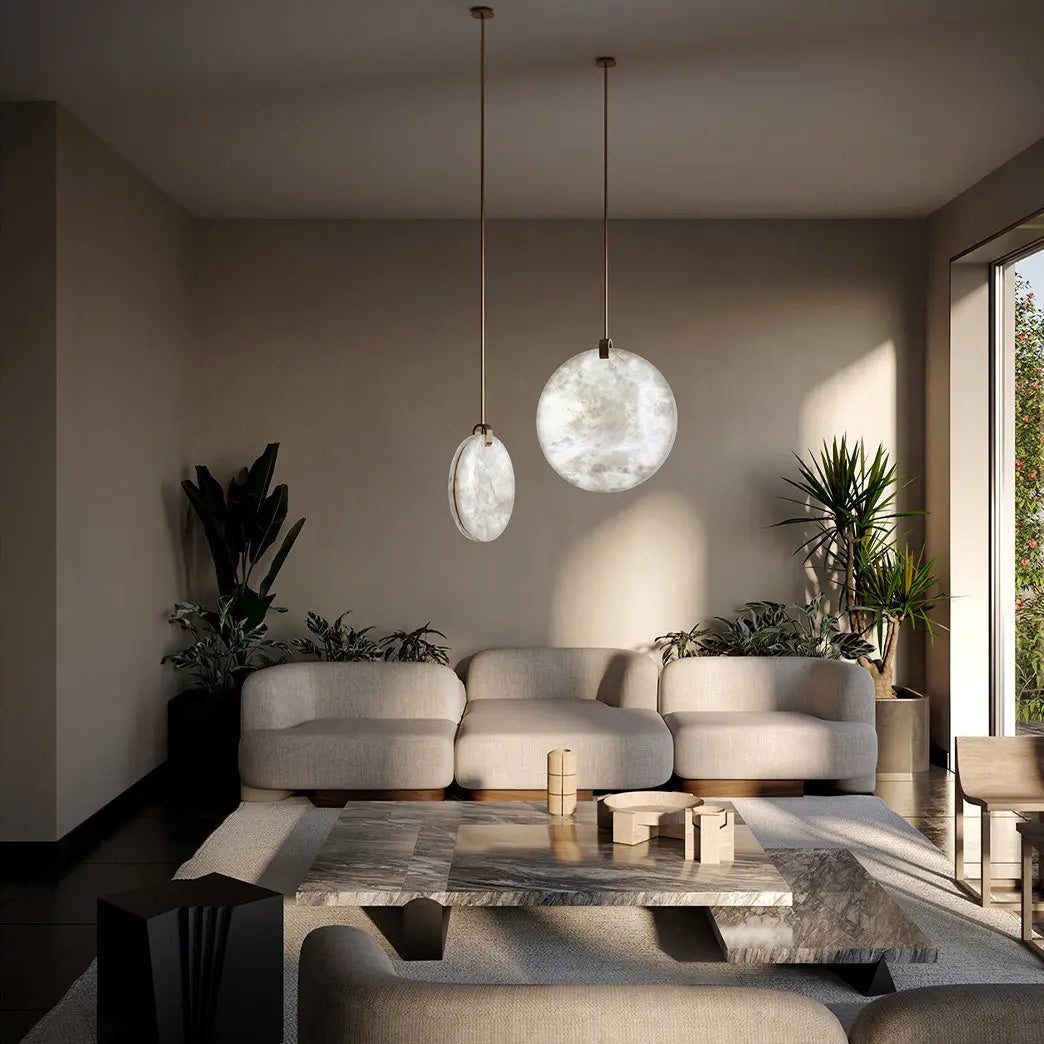
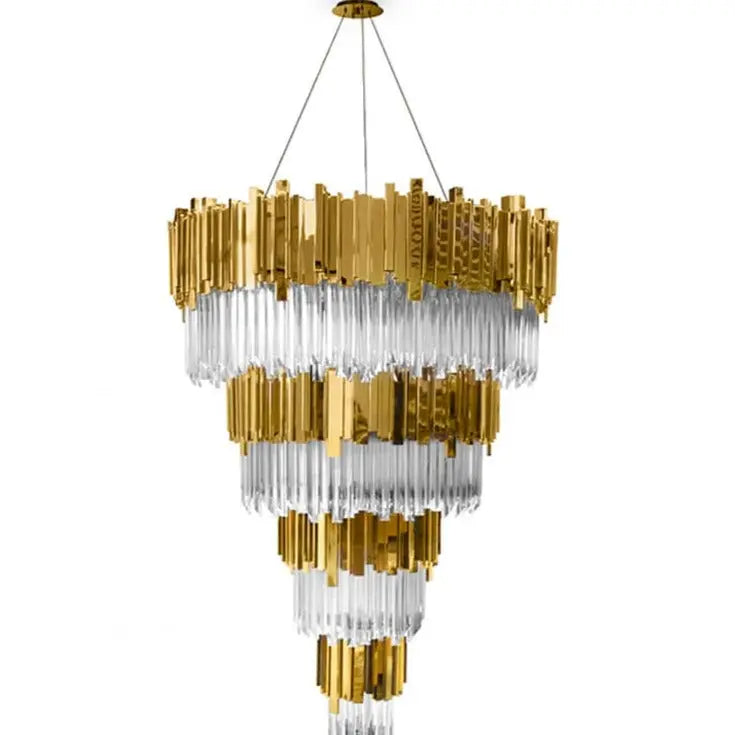
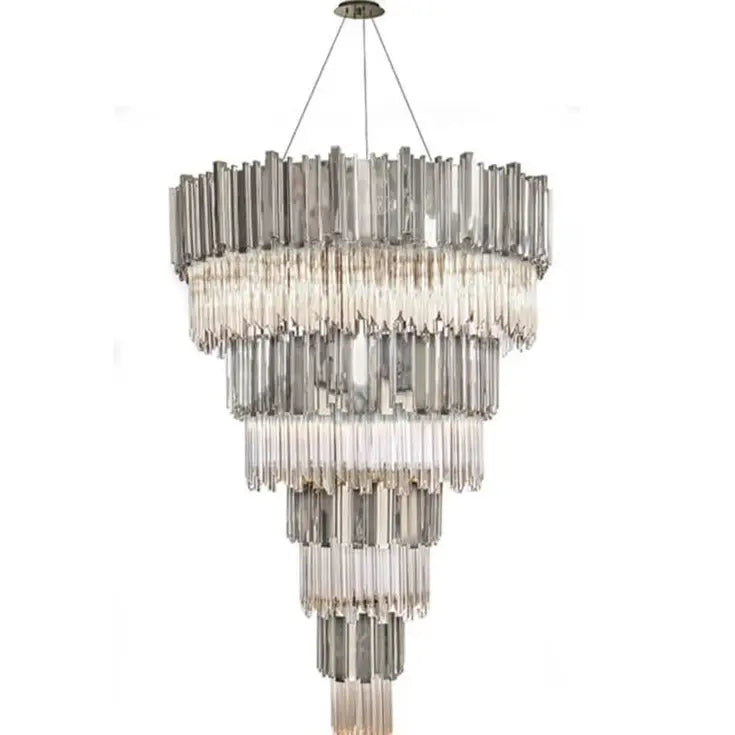
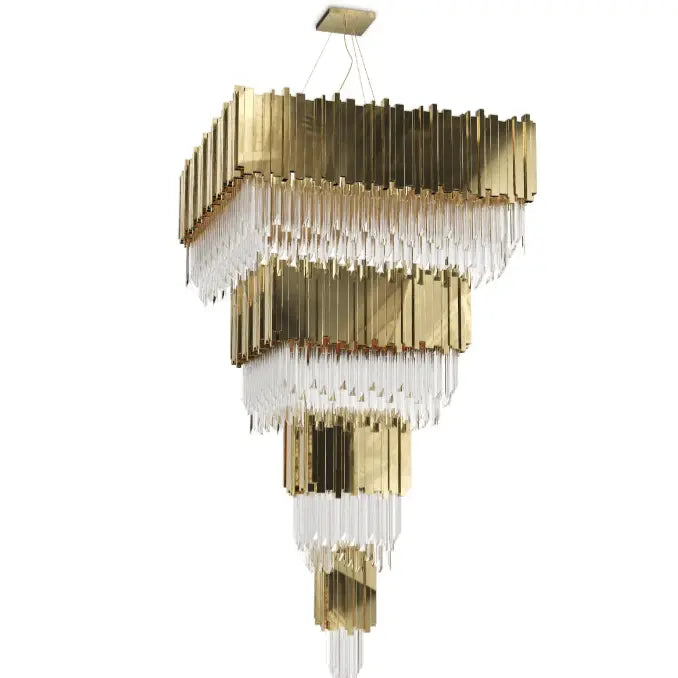
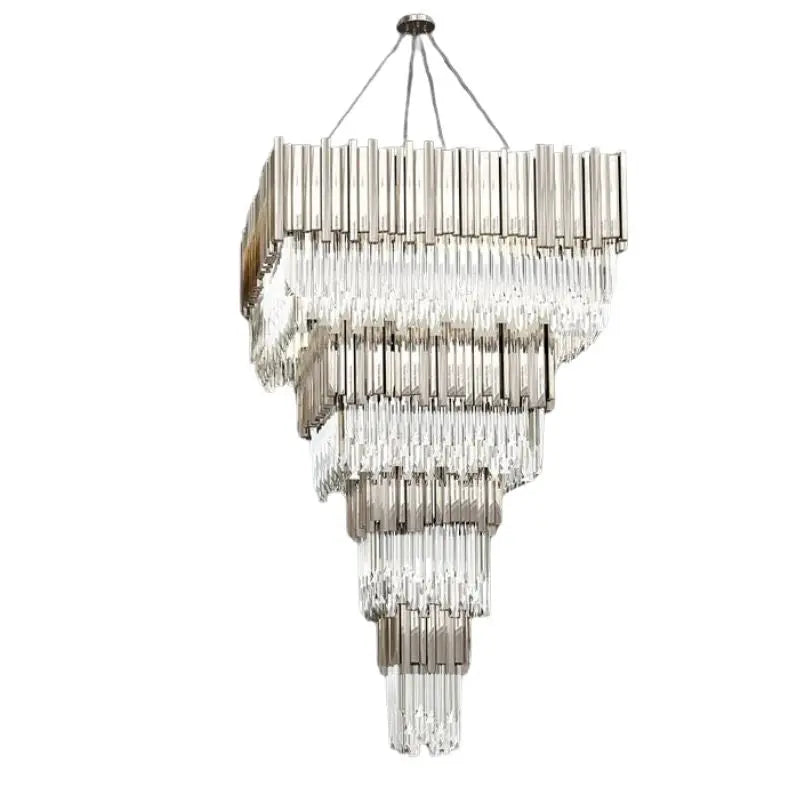
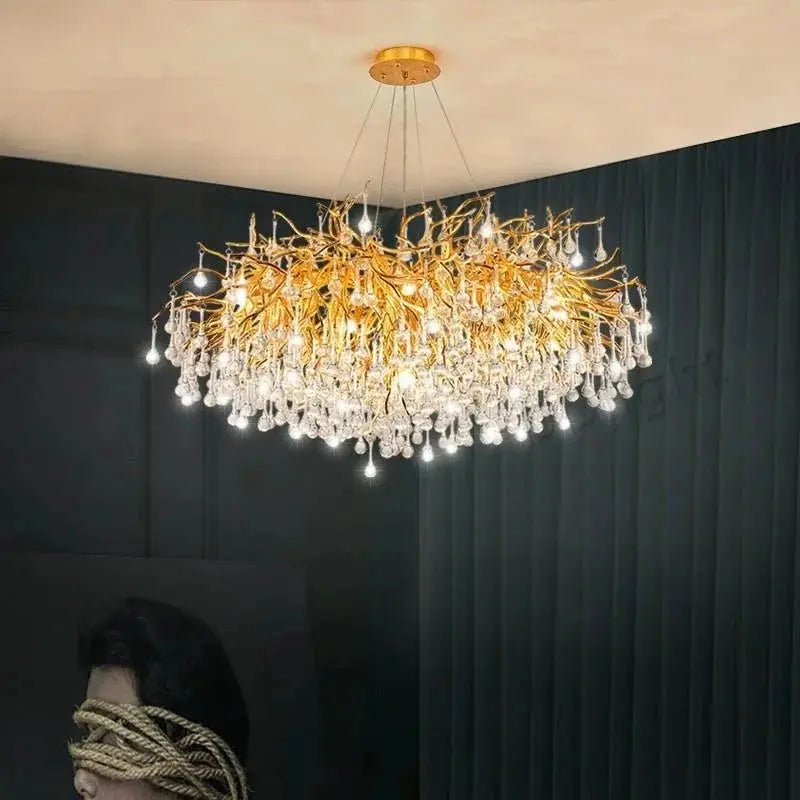
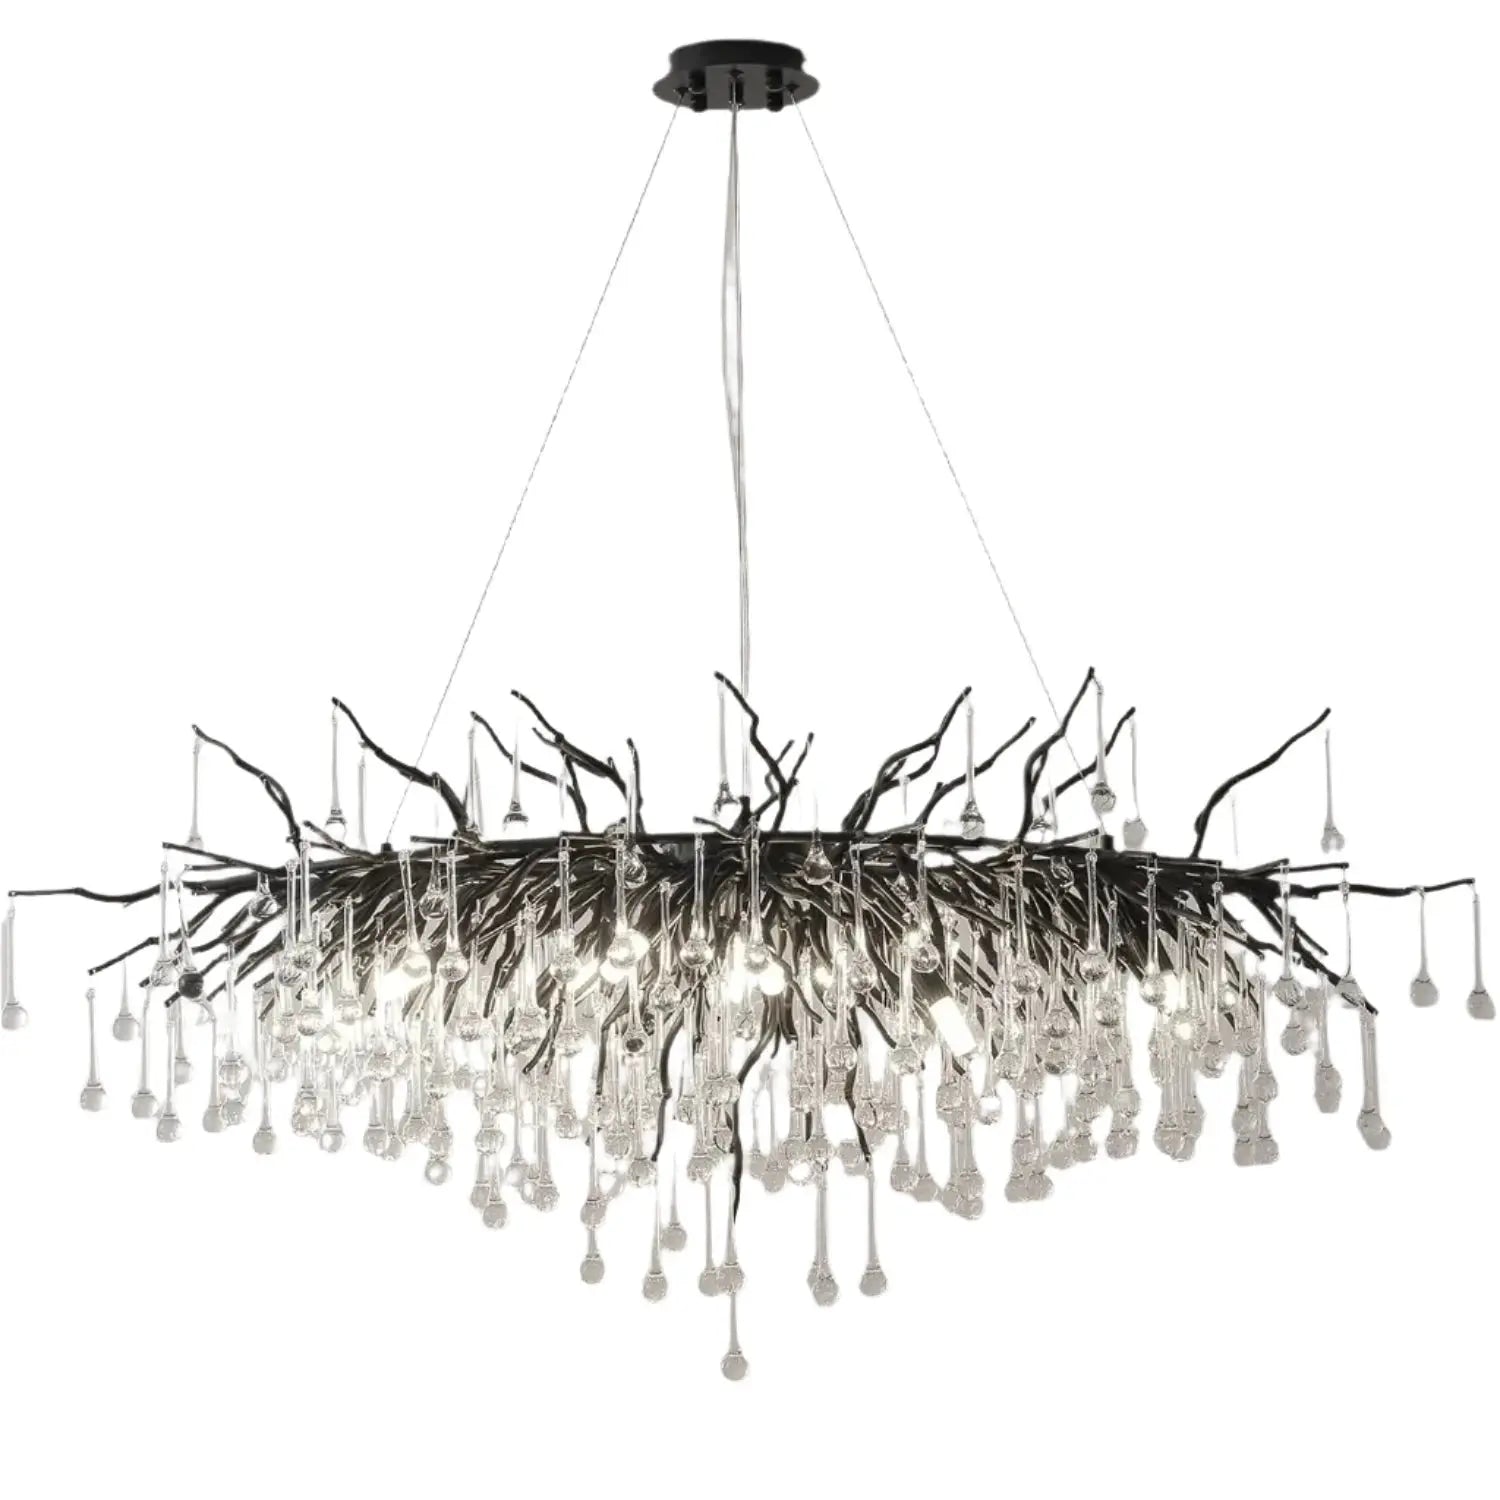
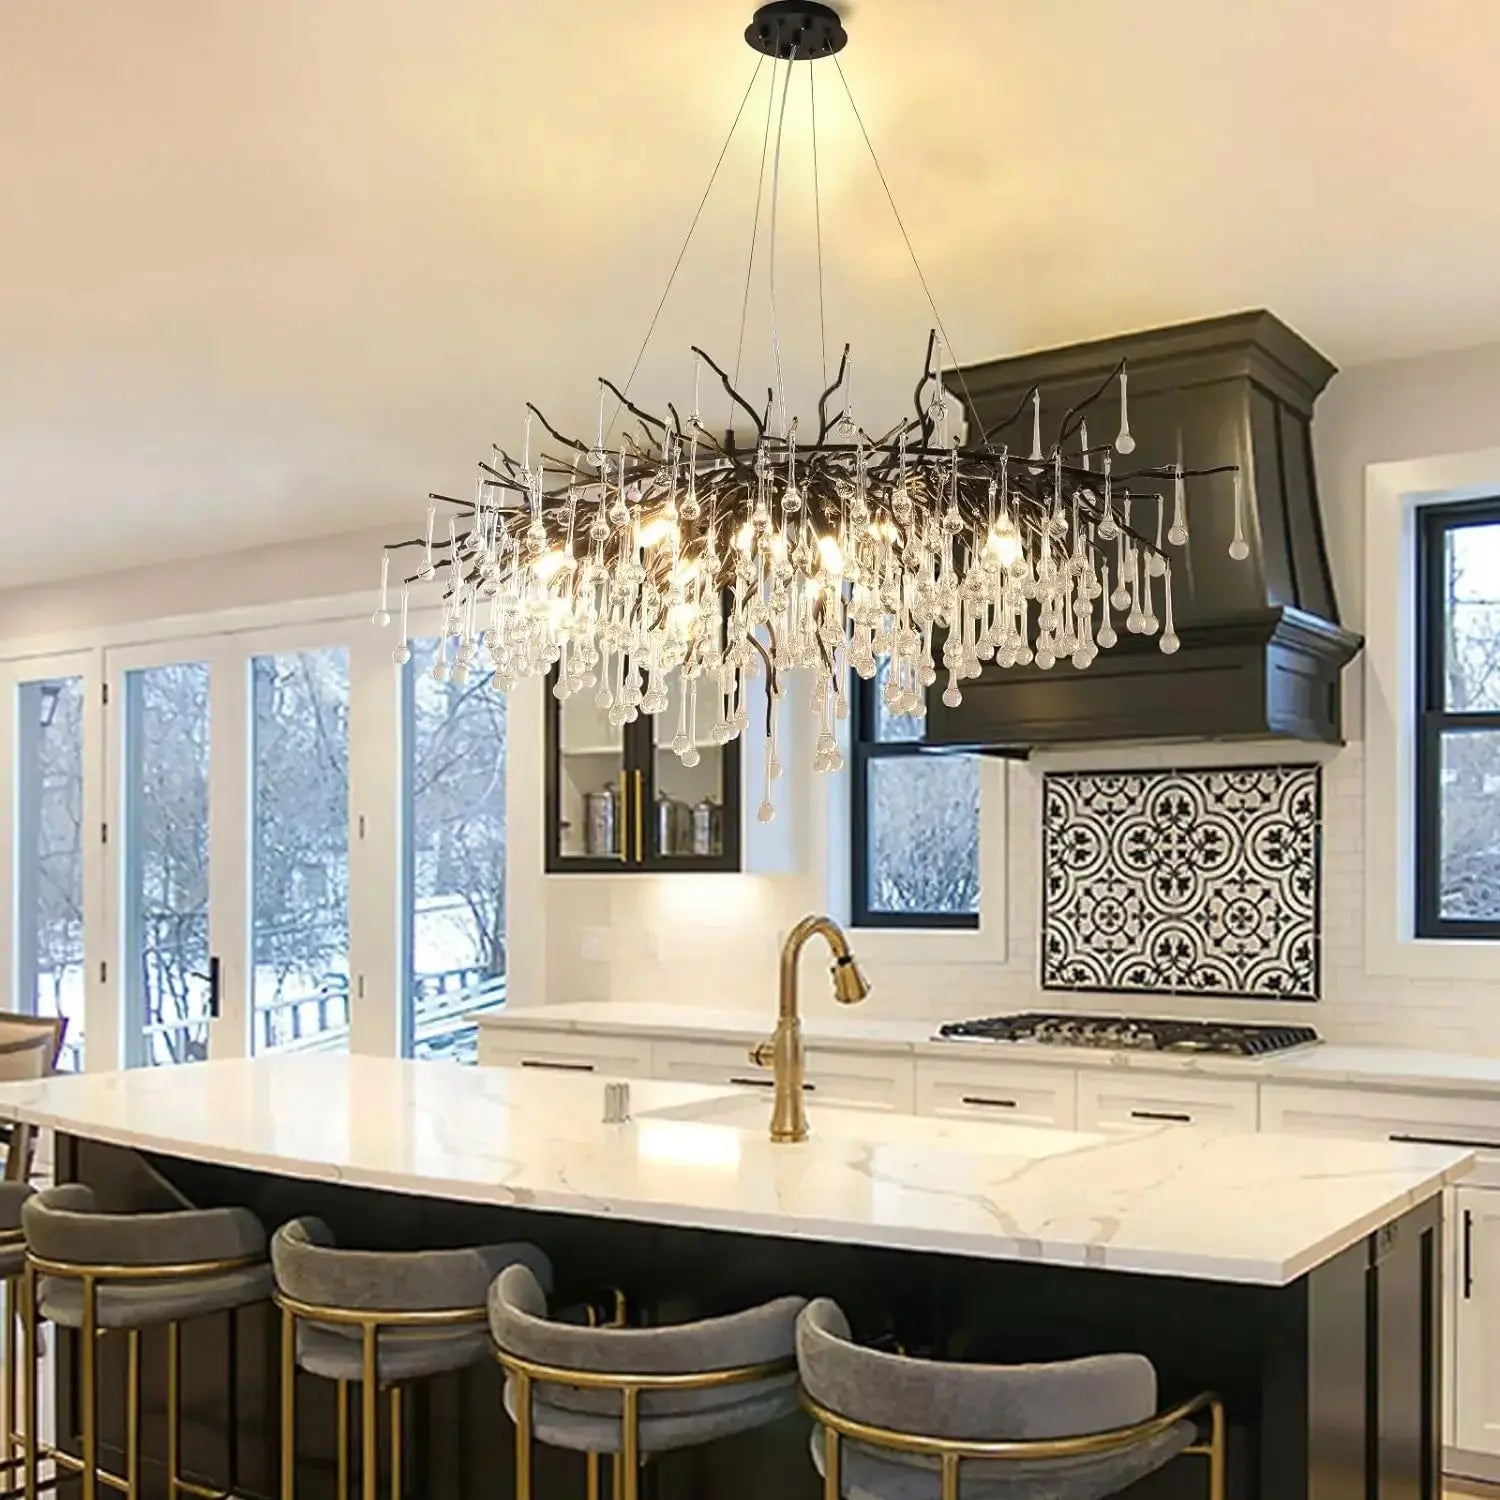
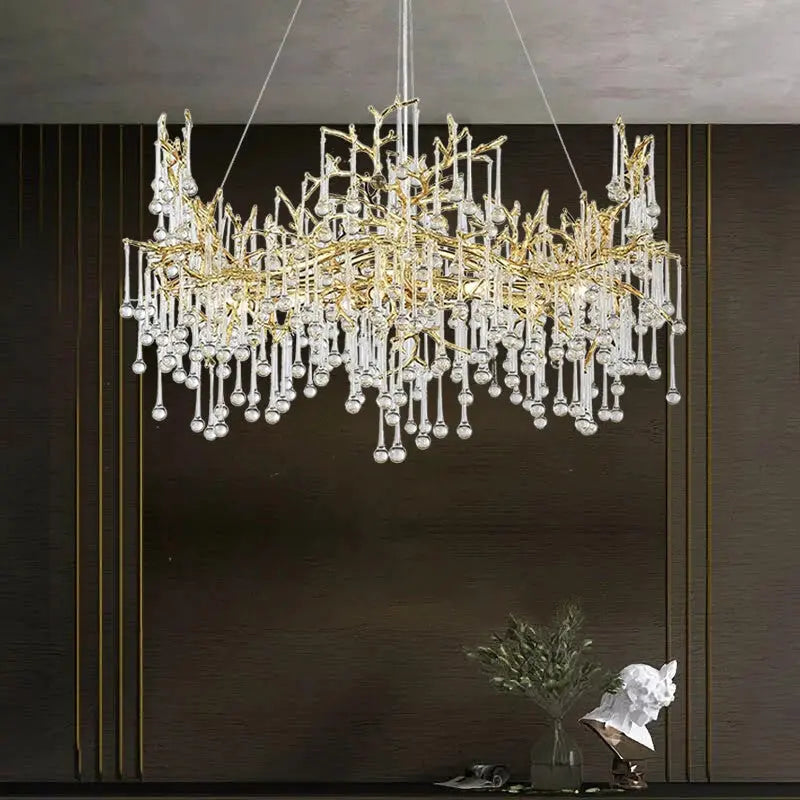
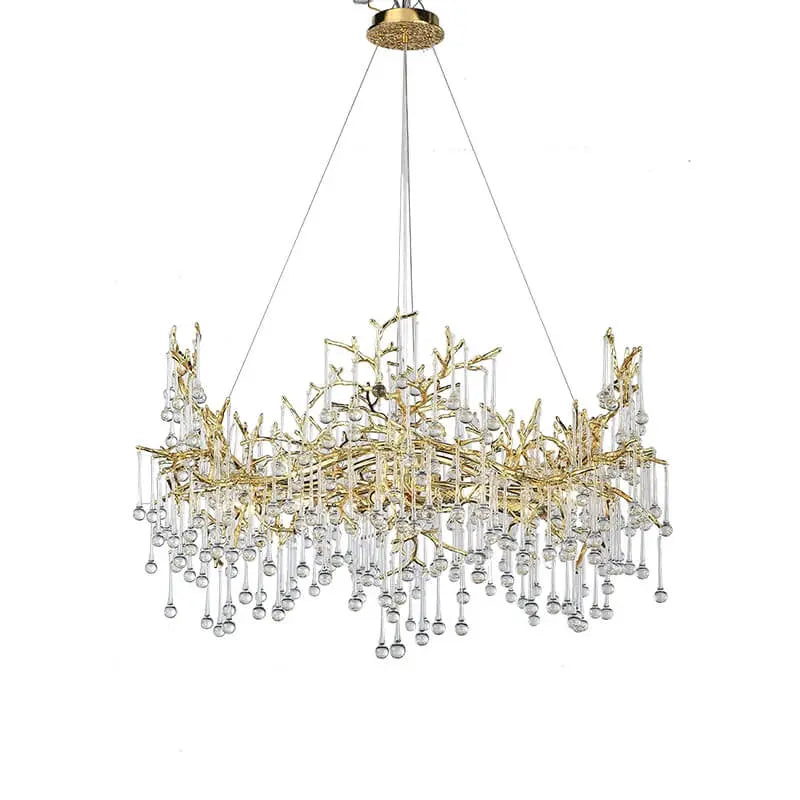
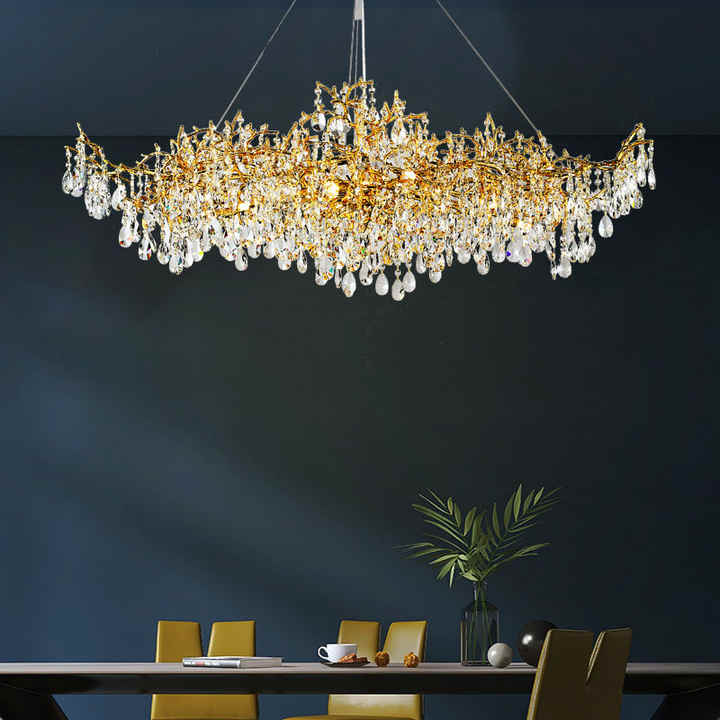
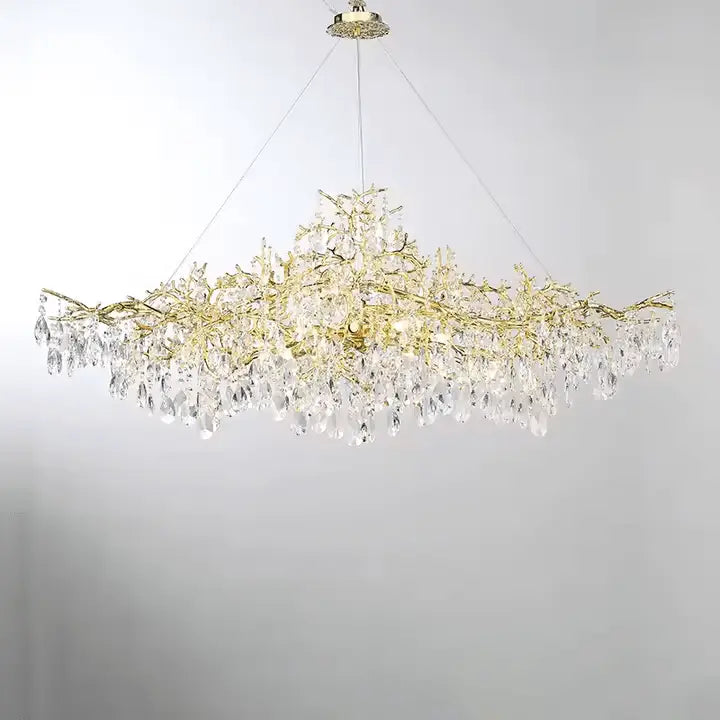
Ever look at an old, dusty chandelier and think, 'Wow, that could really use an update'? Good news! You don't have to spend a fortune on a brand-new light fixture to give your space a fresh look. With a little bit of DIY spirit and some clever tricks, you can transform that outdated chandelier into a stunning centerpiece. Get ready to dive into the world of chandelier makeovers and discover how easy it is to revamp your lighting on a budget!
Key Takeaways
- Pick the right chandelier to match your space.
- Always take apart and clean the chandelier before starting.
- Get creative with paint for a fresh look.
- Add unique touches like crystals or fabric for flair.
- Make sure to reassemble and install safely.
Choosing The Perfect Chandelier For Your Makeover
Understanding Your Space
Okay, so you're thinking about a chandelier makeover? Awesome! First, let's think about the space where it will hang. You can't just throw any old chandelier in there and hope it looks good. Think about the room's size. Is it a small dining area or a huge living room with high ceilings? The chandelier needs to fit the scale. A tiny chandelier in a big room will look silly, and a giant one in a small space will be too much. Also, what's the room's style?
- Consider the room's dimensions.
- Think about ceiling height.
- Match the chandelier size to the space.
It's important to consider the existing decor and architectural style of the room. A modern chandelier might look out of place in a Victorian-era home, and vice versa.
Considering Your Style
Now, let's talk about your personal style. What kind of vibe are you going for? Are you into modern, minimalist looks, or do you prefer something more traditional and ornate? Your chandelier should reflect your taste and complement the rest of your decor. Don't be afraid to get creative and think outside the box. Maybe you want to add some unique features like crystals or beads for a fancy look, or maybe you want to go for a rustic feel with some twine or fabric wraps. It's all about making it your own!
- Consider your existing decor.
- Think about the overall vibe you want to create.
- Don't be afraid to experiment with different styles.
The right fixture can set the tone for your entire space.
Sourcing Your Chandelier
So, where do you find the perfect chandelier to makeover? You've got a few options. You could check out your local thrift stores or flea markets. You might be surprised at what you can find! Online marketplaces like Craigslist or Facebook Marketplace are also great places to look for used chandeliers. And of course, there's always the option of buying a new chandelier from a home improvement store. Just make sure to shop around and compare prices before you make a decision. Also, consider the material of the chandelier. Is it metal, glass, or something else? This will affect how easy it is to makeover.
- Check thrift stores and flea markets.
- Browse online marketplaces.
- Consider buying new from a home improvement store.
Key Takeaways For Successful Chandelier Makeovers
Planning Your Project
Before you even think about grabbing that old chandelier, take a little time to plan things out. What's your vision for the finished product? What colors are you thinking? What materials do you need? A little planning goes a long way. I usually sketch out a quick design and make a list of everything I need before I even start. It saves a ton of time and frustration later. Trust me, just winging it rarely works out as well as you hope.
- Decide on a style.
- Choose your colors and materials.
- Make a budget.
Transforming a chandelier is a great way to add a personal touch to your home. It's also a fun way to express your creativity and save money. Don't be afraid to experiment and try new things. The possibilities are endless!
Essential Tools and Materials
Okay, so you've got your design in mind. Now it's time to gather your supplies. You'll need more than just paint! Here's a quick rundown of what I usually have on hand:
- Cleaning supplies: Soap, water, and maybe some degreaser to get rid of any old grime.
- Sandpaper: For prepping the surface, especially if you're painting.
- Primer: Helps the paint stick better and gives a smoother finish.
- Paint: Choose a color and type that works with your chandelier's material. Spray paint is often easiest.
- Brushes: For detail work or applying primer.
- Protective gear: Gloves, safety glasses, and maybe a mask to avoid inhaling paint fumes.
Safety First
Before you even touch the chandelier, make sure the power is OFF! Seriously, this is super important. You don't want to get electrocuted. Also, if you're working with any chemicals or paints, make sure you're in a well-ventilated area. And wear gloves and eye protection. It's always better to be safe than sorry. When you disassemble the fixture safely, keep track of all the small parts. Put them in a baggie or container so you don't lose them. Trust me, you'll thank yourself later when it's time to put everything back together.
DIY Light Fixture Updates & Chandelier Makeover

Ready to ditch those boring, outdated light fixtures without breaking the bank? I get it. New lighting can cost a fortune, and sometimes, all you need is a little DIY magic to bring your old fixtures back to life. I've been there, staring at a blah chandelier, wondering if I should just bite the bullet and buy a new one. But then I thought, "Nah, let's get crafty!" This section is all about breathing new life into your existing light fixtures and chandeliers with some simple, budget-friendly projects.
How to Update a Chandelier
My favorite project? Taking an old brass chandelier and giving it a total makeover. I actually found mine at Restore locations. If you haven't checked out your local Restore, it's a goldmine for old light fixtures just begging for a little TLC. It's also where I found the ceiling fan blades for my windmill wall art. Seriously, you can find some amazing stuff there.
- First, give the chandelier a good cleaning. You'd be surprised how much brighter it looks just from that!
- Next, decide on a new color. Spray paint is your best friend here. I like using a matte black or a brushed nickel finish for a more modern look.
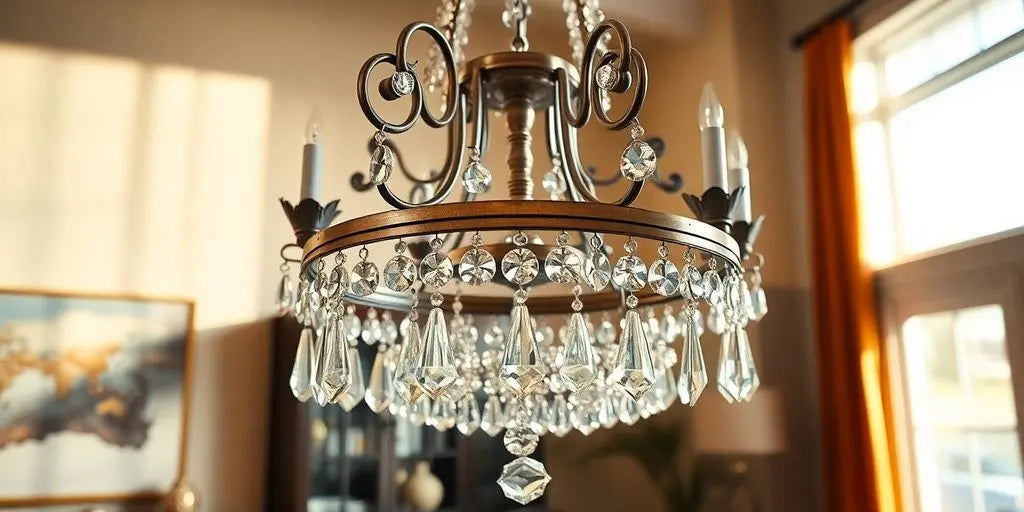
- Finally, consider adding some new crystals or beads for a touch of glam. You can find these at most craft stores, and they can really transform the look of your chandelier.
Transforming a Brass Chandelier
Brass chandeliers can look super dated, but with a little effort, you can make them look brand new. The key is to prep the surface properly. Sanding it down a bit helps the paint adhere better. Also, don't be afraid to get creative with the paint colors. I've seen some amazing transformations using metallic paints or even chalk paint for a more rustic look. You can also add some vintage mason jars and spray paint the clear glass blue so they look vintage.
- Clean the brass thoroughly: Remove any dirt, grime, or old polish.
- Prime the surface: Use a good quality primer specifically designed for metal.
- Apply your chosen paint: Several light coats are better than one thick coat to avoid drips and uneven coverage.
Updating a brass chandelier is a great way to save money and create a unique piece for your home. It's also a fun project that you can easily do in a weekend. Don't be afraid to experiment with different colors and finishes to create a look that's all your own.
Creative Light Fixture Shades
Sometimes, all you need to do is update the shades to give your light fixture a whole new look. You can find shades at most home decor stores, but you can also get creative and make your own. I've seen people use everything from fabric scraps to old maps to create unique and interesting shades. You can also do something completely different with old light fixtures as I did with this hummingbird feeder chandelier makeover.
- Consider the shape and size of the shade. It should complement the style of the fixture.
- Think about the material. Fabric shades will give a softer light, while metal shades will be more directional.
- Don't be afraid to add embellishments. Ribbons, beads, or even paint can add a personal touch.
How To Update Old Light Fixtures So They Look Chic, Not Cheap

It's easy to think that getting stylish lighting means spending a ton of money. But, with a bit of creativity, you can totally transform those old, outdated light fixtures into something amazing without breaking the bank. I'm talking about giving your home a fresh, modern look without emptying your wallet. Let's get into some simple ways to make your old lights look chic, not cheap.
Budget-Friendly Chandelier Makeovers
Okay, so you're staring at that old chandelier thinking it's hopeless? Don't toss it! A fresh coat of paint can do wonders. Seriously, changing the color can instantly modernize it. Think about going for a matte black, a bright white, or even a metallic gold for a touch of glam. Also, consider swapping out those old, dusty shades. New shades can completely change the vibe of the fixture. You can find affordable options at most home goods stores or even thrift shops. And don't forget about the little things – updating the chain or adding some decorative elements like beads or crystals can make a big difference.
Modernizing Vintage Fixtures
Vintage light fixtures have so much potential! The key is to update them in a way that highlights their unique character while still making them feel current. Here are a few ideas:
- Clean and Polish: Start by giving the fixture a good cleaning. Remove any dust, dirt, or grime that's built up over the years. A little bit of polishing can also bring out the original shine.
- Update the Wiring: If the wiring is old or frayed, it's important to replace it for safety reasons. This is a relatively inexpensive update that can give you peace of mind.
- Swap Out the Bulbs: Using modern LED bulbs can not only save energy but also change the look of the fixture. Experiment with different bulb shapes and colors to find the perfect fit.
Adding Unique Touches
Want to really make your light fixture stand out? Get creative with some unique touches! Here's where you can let your personality shine:
- Add Fabric: Wrap the fixture's arms with fabric for a soft, romantic look. You can use anything from velvet to silk to burlap, depending on your style.
- Incorporate Natural Elements: Add natural elements like twigs, branches, or shells for a rustic or bohemian vibe.
- Use Found Objects: Get creative with found objects like vintage keys, buttons, or beads. These can add a quirky and unexpected touch to your light fixture.
Remember, the goal is to make your old light fixtures look chic and stylish without spending a fortune. With a little bit of creativity and some elbow grease, you can transform them into stunning focal points in your home. Don't be afraid to experiment and have fun with it!
If you're working on a wrought iron chandeliers, make sure to take extra care when cleaning and restoring the metal. It can really make a difference in the final look.
Installing Your Newly Made-Over Chandelier
Preparing the Installation Area
Alright, you've poured your heart and soul into revamping that chandelier, and now it's time to hang it up! First, and I cannot stress this enough, kill the power at the breaker. Seriously, go do it now. It's not worth the risk. Once that's done, clear the area directly below where you'll be working. You don't want to be tripping over stuff while you're holding a light fixture above your head. Make sure you have all your tools within easy reach. This is a good time to double-check you have everything you need, like wire nuts, a screwdriver, and maybe a voltage tester just to be extra safe.
Step-by-Step Installation Guide
Okay, let's get this chandelier up! Here's a breakdown of the steps:
- Mounting the Bracket: Start by attaching the mounting bracket to the ceiling box. Make sure it's super secure. This bracket is going to be holding the weight of your chandelier, so don't skimp on this step. Use screws that are appropriate for your ceiling type.
- Connecting the Wires: Now comes the wiring. Usually, it's black to black, white to white, and ground to ground (usually green or bare copper). Use wire nuts to make sure those connections are tight and secure. Give them a little tug to make sure they won't come loose. If you're not comfortable with wiring, seriously consider calling an electrician. It's better to be safe than sorry.
- Securing the Chandelier: Carefully lift the chandelier and attach it to the mounting bracket. This might be a two-person job, depending on how heavy your chandelier is. Make sure all the screws are tightened properly, and the fixture feels stable. You don't want it wobbling or, worse, falling down.
- Attaching the Bulbs: Screw in the light bulbs. Now's the time to add any decorative elements like shades or crystals and embellishments that you might have. Make sure everything is lined up and looks the way you want it to.
Final Checks and Adjustments
Alright, the chandelier is up! Now for the moment of truth. Flip the breaker back on and test the light. Does it work? Great! If not, flip the breaker off again and double-check your wiring. Make sure the chandelier is hanging straight. If it's crooked, adjust the chain or mounting bracket until it's level. Stand back and admire your handiwork! You just installed a chandelier!
Installing a chandelier might seem intimidating, but with a little patience and attention to detail, you can totally do it yourself. Just remember to prioritize safety and take your time. You'll have a beautiful, updated light fixture in no time!
Creative Chandelier Makeover Ideas
Painting for a Fresh Look
Okay, so you're bored with your old chandelier? Painting it is a super easy way to give it a whole new vibe. Seriously, a fresh coat of paint can do wonders. I did this last year, and it completely changed the look of my dining room. You can go bold with a bright color, or keep it classic with a neutral tone. I'd suggest spray paint that's designed for metal surfaces. It's easy to apply and gives a smooth finish. Don't forget to prep the chandelier first – clean it really well and maybe even give it a light sanding.
- Clean the chandelier thoroughly.
- Apply a primer for better paint adhesion.
- Use multiple thin coats of spray paint.
Adding Crystals and Embellishments
Want to add some sparkle? Adding crystals and other embellishments is the way to go. You can find crystals at most craft stores, and they come in all shapes and sizes. I like to use a combination of clear and colored crystals for a more interesting look. You can also add beads, chains, or even small charms. Just make sure whatever you add is securely attached. I used some wire and pliers to attach my crystals, and it worked like a charm. This is a great way to personalize your chandelier and make it truly unique.
- Use a variety of crystal shapes and sizes.
- Secure embellishments with wire or glue.
- Consider adding beads or charms for extra flair.
Rustic Twine Transformations
If you're going for a more rustic look, try wrapping your chandelier in twine. This is a super affordable and easy way to give it a whole new texture. I saw someone do this on Pinterest, and I was immediately inspired. You can use regular twine, or even try using different colors or thicknesses of rope. Just wrap the twine around the arms of the chandelier, securing it with hot glue as you go. It's a bit time-consuming, but the end result is totally worth it. You can find chandelier lighting options that fit this style.
Transforming a chandelier can be a fun and rewarding project that breathes new life into your space. With just a bit of creativity and some simple materials, you can turn an ordinary light fixture into a stunning centerpiece. Whether you choose to paint, add crystals, or wrap it in twine, the possibilities are endless. Not only will you save money by doing it yourself, but you'll also have a unique piece that reflects your personal style.
Showcasing Your Chandelier Makeover
So, you've poured your heart and soul into revamping that old chandelier. Now what? It's time to show it off to the world! Think about the space where your newly made-over chandelier will live. Is it a chill bedroom, a modern living room, or a fancy dining area? The chandelier should totally match the room's vibe. If your room has cool colors, maybe a silver or gray chandelier would look awesome. For warmer spaces, think about gold or bronze. Don't be scared to play around with colors and textures to make a cohesive look.
Capturing Before and After Photos
Pictures or it didn't happen, right? You gotta capture your hard work in all its glory. Natural light is your best friend here. Try to take photos during the day when the sun is shining. Get different angles – close-ups to show off the details, and wider shots to show how it fits into the room. Pay attention to the background too; a cluttered space can distract from your beautiful chandelier. A simple, clean background will really make it pop. Good lighting can make your chandelier look even more stunning.
Sharing Your DIY Journey
Time to brag! Share your DIY chandelier project on social media. Write a little about your process – what inspired you, what challenges you faced, and what you learned. Before-and-after photos are a must! Use relevant hashtags like #DIYchandelier, #chandelierMakeover, #homedecor, and #upcycledlighting to reach a wider audience. Engage with other DIY enthusiasts, ask for feedback, and inspire others to try their own makeovers. You might even get featured on a home decor blog! Tell everyone about your old chandelier and how you transformed it.
Engaging with the DIY Community
Sharing your project isn't just about showing off; it's about connecting with other DIYers. Ask for feedback, offer tips, and celebrate each other's successes. You can learn a lot from others, and your project might inspire someone else to try their own formal dining area makeover. Plus, it's just fun to be part of a community that shares your passion. Who knows, you might even find your next DIY buddy!
Conclusion
So, there you have it! Giving your old chandelier a fresh look can be a really fun and satisfying project. It's amazing how a little bit of creativity and some basic stuff can totally change a plain light into something super cool. Whether you decide to paint it a new color, add some sparkly crystals, or even wrap it in twine, there are so many ways to make it your own. Plus, doing it yourself means you save money, and you end up with a one-of-a-kind piece that shows off your personal style. So go ahead, grab your supplies, and start your chandelier makeover today!
Frequently Asked Questions
What kind of paint should I use for my chandelier?
You should use spray paint that's made for metal. It's easy to use and dries fast. Make sure it says 'for metal' on the can.
Can I do a DIY ceiling light makeover in other rooms?
Yes, you can! This project works for any room. You can update old chandeliers, wall lights, or even outdoor lights. It's a great way to make any space look better without spending a lot.
What is the average lighting fixture upgrade price?
The cost can change a lot depending on what you do. You can spray paint a light for less than $7. Adding new shades or parts will cost more, but it's still usually much cheaper than buying a brand new light.
What tools and materials do I need for a chandelier makeover?
You'll need some basic tools like screwdrivers, pliers, and wire strippers. For materials, you might need spray paint, new wires, crystals, or fabric, depending on your design. Always check what you need before you start.
Is it safe to do a chandelier makeover myself?
It's super important to turn off the power at the circuit breaker before you touch any wires. If you're not sure about something, it's best to ask a grown-up or an electrician for help. Safety first!
Where can I find an old chandelier to makeover?
You can find old chandeliers at thrift stores, garage sales, or places that sell used building materials, like Habitat for Humanity ReStores. Sometimes, friends or family might even have one they want to get rid of!

