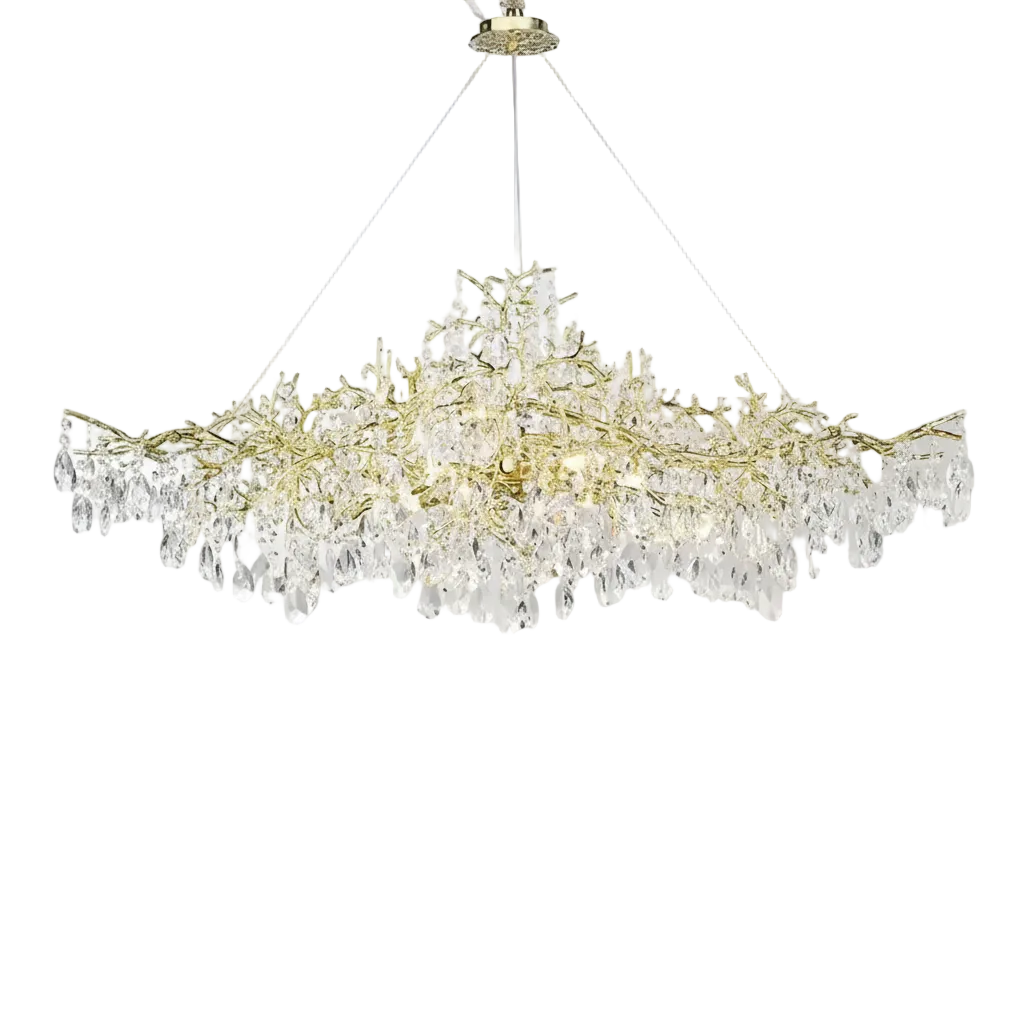
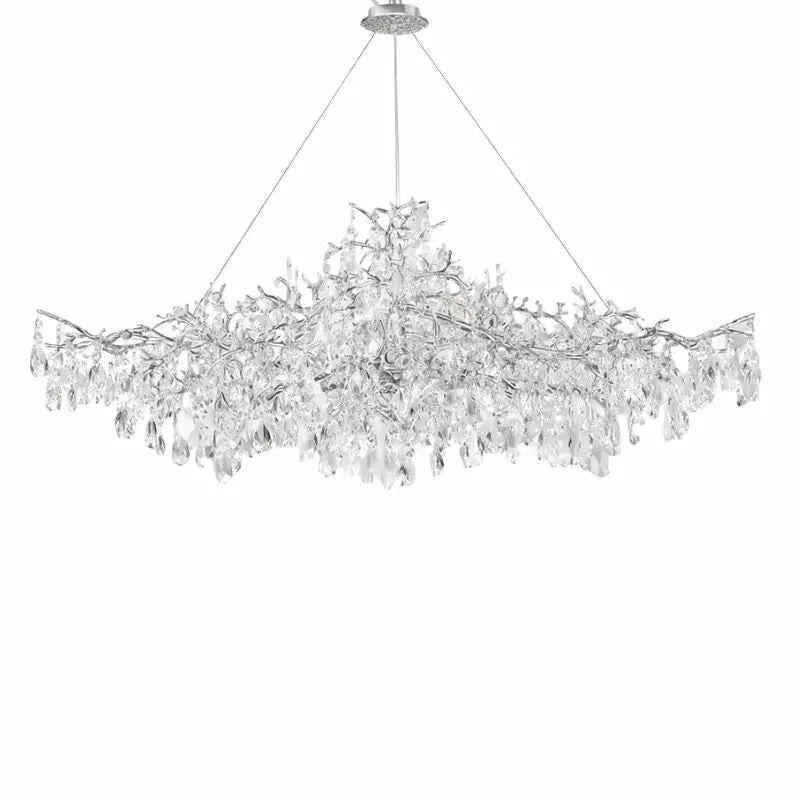
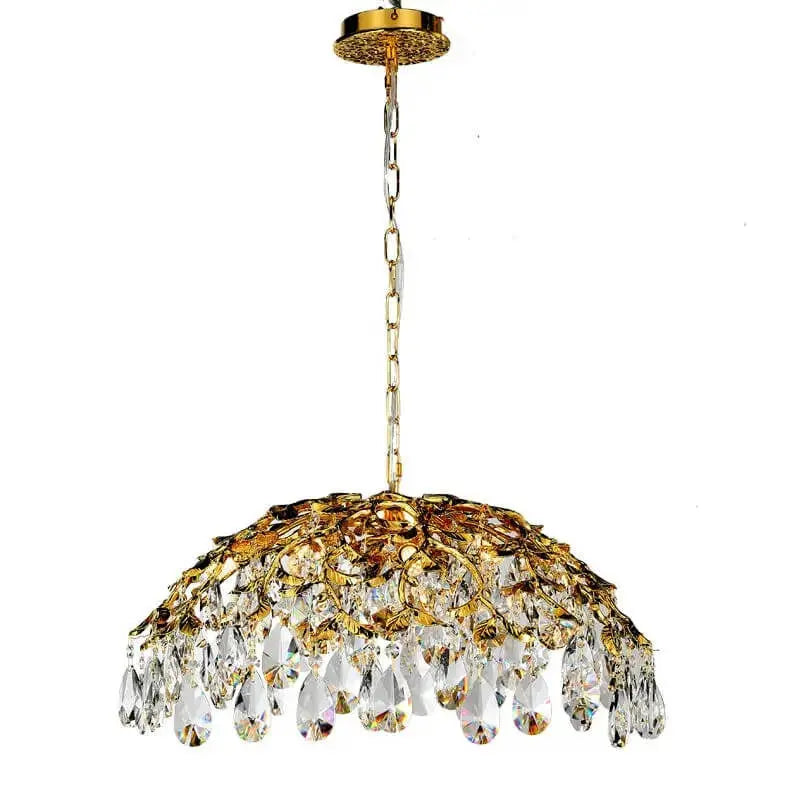
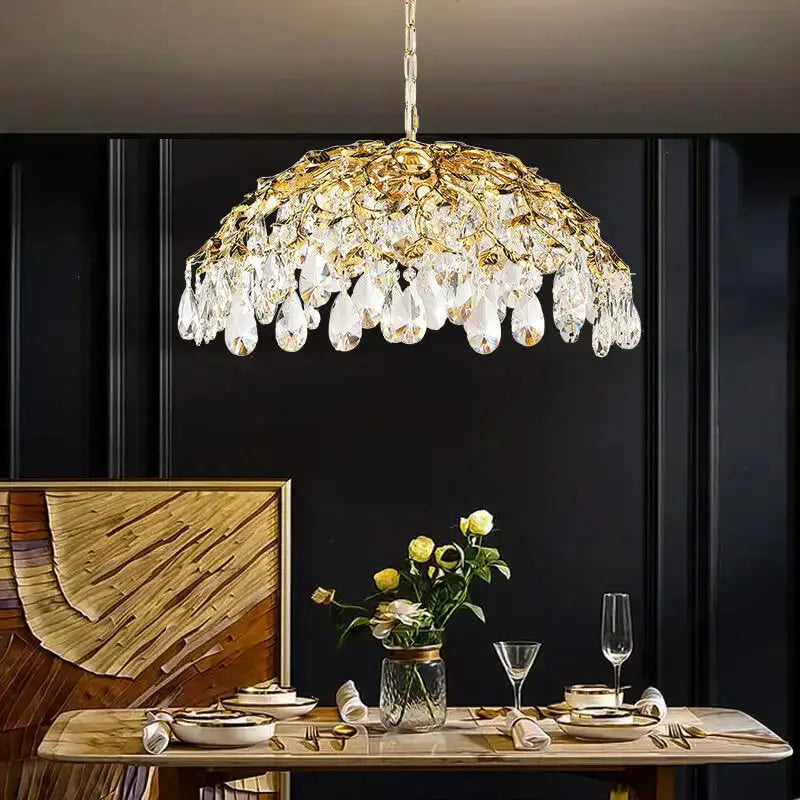
Revamping your chandelier can be a fun and rewarding project that breathes new life into your home. With a bit of creativity and some simple steps, you can turn a plain light fixture into a stunning centerpiece. Whether you decide to paint it, add crystals, or incorporate unique elements, the possibilities are endless. This guide will walk you through each step to help you achieve a beautiful DIY chandelier makeover.
Key Takeaways
- Selecting the right chandelier is the first step to a successful makeover.
- Always disassemble and clean your chandelier before starting any project.
- Get creative with painting techniques to give your chandelier a unique look.
- Add decorative elements like crystals, beads, or fabric wraps for extra flair.
- Proper reassembly and installation ensure your chandelier is both beautiful and safe.
Choosing the Right Chandelier for Your Makeover
Assessing Your Space and Style
Before you start your chandelier makeover, it's important to think about your room's size and style. Make sure the chandelier matches your decor. Look at the colors, furniture, and overall theme of the room. This will help you pick a chandelier that fits well and looks great.
Finding Budget-Friendly Options
You don't have to spend a lot of money to find a good chandelier. Check out thrift stores, garage sales, and online marketplaces for budget-friendly options. Sometimes, you can find a hidden gem that just needs a little TLC.
Measuring for the Perfect Fit
To make sure your chandelier fits perfectly, measure the distance from the ceiling to the top of your table or floor. The width of the chandelier should be about 12 inches less than the width of your table. This will help it look balanced and not too big or too small.
Remember, the right chandelier can set the tone for your entire space. Take your time to choose one that you'll love.
Here's a quick checklist to help you choose the right chandelier:
- Match the chandelier to your room's style and colors.
- Look for budget-friendly options in thrift stores and online.
- Measure the space to ensure a perfect fit.
By following these steps, you'll be well on your way to finding the perfect chandelier for your DIY makeover.
Preparing Your Chandelier for a Makeover
Disassembling the Fixture Safely
Before starting your chandelier makeover, it's crucial to disassemble the fixture safely. Begin by turning off the power to avoid any electrical hazards. Carefully remove the chandelier from its mount, ensuring you keep track of all screws and small parts. Label each piece if necessary to make reassembly easier later.
Cleaning and Prepping Surfaces
Once disassembled, clean each part thoroughly. Use a mild soap solution to remove dust and grime. For stubborn spots, a mixture of vinegar and water can be effective. Make sure all surfaces are dry before moving on to the next step. This ensures that paint or other decorative elements adhere properly.
Taking the time to prepare your chandelier properly will make the makeover process much easier and more successful.
Gathering Necessary Tools and Materials
Before you start your makeover, gather all the tools and materials you'll need. Here's a quick checklist:
- Screwdrivers
- Mild soap and water
- Vinegar (for tough spots)
- Soft cloths
- Labels and bags (for small parts)
- Paint and brushes (if painting)
- Decorative elements (like crystals or beads)
Having everything ready will save you time and make the process smoother.
Creative DIY Chandelier Makeover Ideas
Transforming your chandelier can be a fun and rewarding project. Here are some creative ideas to get you started.
Step-by-Step Guide to a DIY Chandelier Makeover
Revamping an old chandelier can be a fun and rewarding project that breathes new life into your home. With a bit of creativity and some simple steps, you can turn a plain light fixture into a stunning centerpiece. Whether you decide to paint it, add crystals, or incorporate unique elements, the possibilities are endless. This guide will walk you through each step to help you achieve a beautiful DIY chandelier makeover.
Ensuring Safety and Longevity
Electrical Safety Tips
Before starting any work on your chandelier, always turn off the power at the breaker. This is crucial to avoid any electrical accidents. If you're not confident in handling electrical tasks, it's best to consult a licensed electrician. Remember, safety first!
Choosing the Right Bulbs
Selecting the right bulbs is essential for both safety and aesthetics. Make sure to use bulbs that are compatible with your chandelier's specifications. LED bulbs are a great choice as they are energy-efficient and long-lasting. Avoid using bulbs that exceed the recommended wattage to prevent overheating.
Maintaining Your Chandelier
Regular maintenance can extend the life of your chandelier. Clean the fixture periodically to remove dust and grime. Check for any loose parts and tighten them as needed. If your chandelier has unique materials, like bamboo, ensure you follow specific cleaning instructions to keep it looking its best.
A well-maintained chandelier not only looks beautiful but also ensures a safe and pleasant environment in your home.
Showcasing Your Finished Chandelier
Finding the Ideal Location
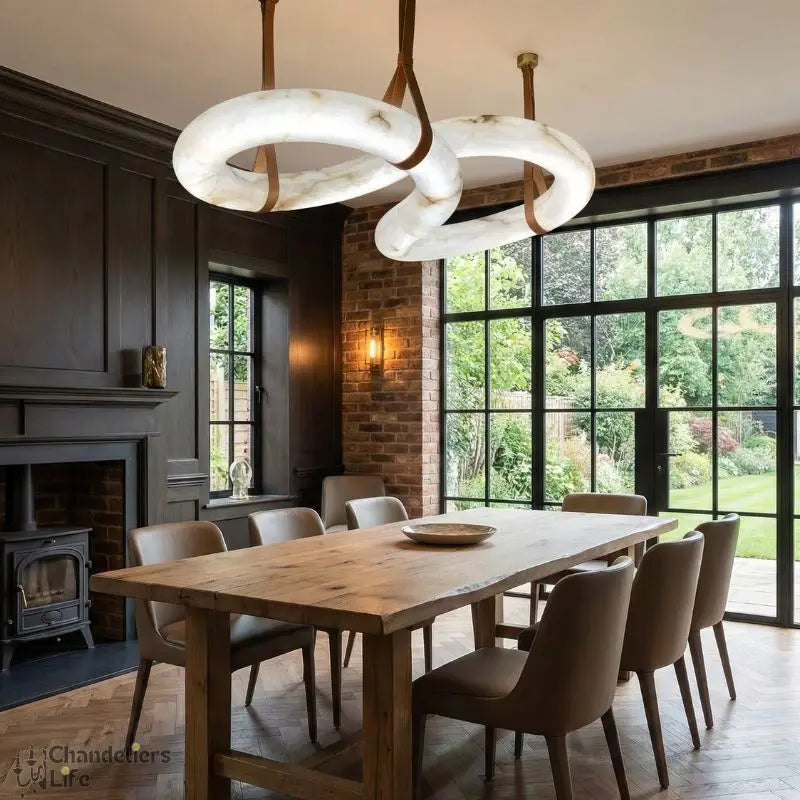
Choosing the right spot for your chandelier is crucial. A well-placed chandelier can become the focal point of any room. Consider the room's theme and color scheme to ensure your chandelier complements the existing decor. Whether it's a cozy bedroom or a modern living space, the right placement can make all the difference.
Complementing Your Decor
To create a cohesive look, match your chandelier's style with other elements in the room. Think about the furniture, wall colors, and other decorations. A chandelier that blends well with its surroundings will enhance the overall aesthetic of the space.
Sharing Your DIY Success
Once your chandelier makeover is complete, share your project on social media. Write a brief description of your process and include before-and-after photos. Engaging with DIY communities online can provide inspiration and feedback for future projects.
Transforming a chandelier can be a rewarding experience, allowing you to add a personal touch to your home decor.
Once your chandelier is installed, it's time to show it off! Snap some photos and share them with friends and family. Want more tips on how to make your chandelier the centerpiece of your room? Visit our website for inspiration and ideas.
Conclusion
Revamping your chandelier can be a fun and rewarding project that brings new life to your home. With a bit of creativity and some simple steps, you can transform an ordinary light fixture into a stunning centerpiece. Whether you choose to paint, add crystals, or use unique materials, the possibilities are endless. Not only will you save money by doing it yourself, but you'll also have a one-of-a-kind piece that reflects your personal style. So gather your supplies and start your DIY chandelier makeover today!
Frequently Asked Questions
How do I pick the right chandelier for my room?
Start by looking at your room's size and style. Make sure the chandelier matches your decor. Think about your budget and measure the space to ensure a good fit.
What should I do before I start painting my chandelier?
First, take the chandelier apart carefully. Clean all the parts and gather your tools and materials. This will help the paint stick better and look nicer.
Can I use any kind of paint on my chandelier?
It's best to use spray paint for a smooth finish. You can also use metallic or matte paints. Just make sure the paint is made for the material your chandelier is made of.
How can I add decorations to my chandelier?
You can add crystals and beads for a fancy look. Twine and fabric wraps can give it a rustic feel. You can also attach vintage or thrifted items to make it unique.
What should I think about for outdoor chandeliers?
Use materials that can handle the weather, like rust-resistant metals. Adding solar lights can make it eco-friendly. Make sure it fits well in your garden or patio.
How do I make sure my chandelier is safe electrically?
Always use the right bulbs and check the wiring. It's a good idea to install a dimmer switch for better control. If you're unsure, ask a professional for help.


