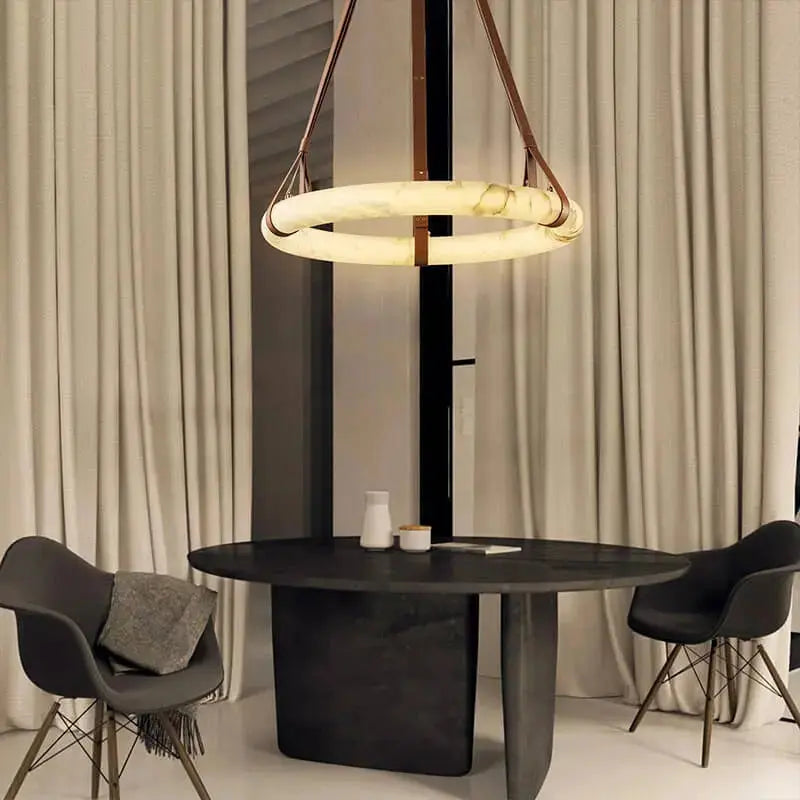
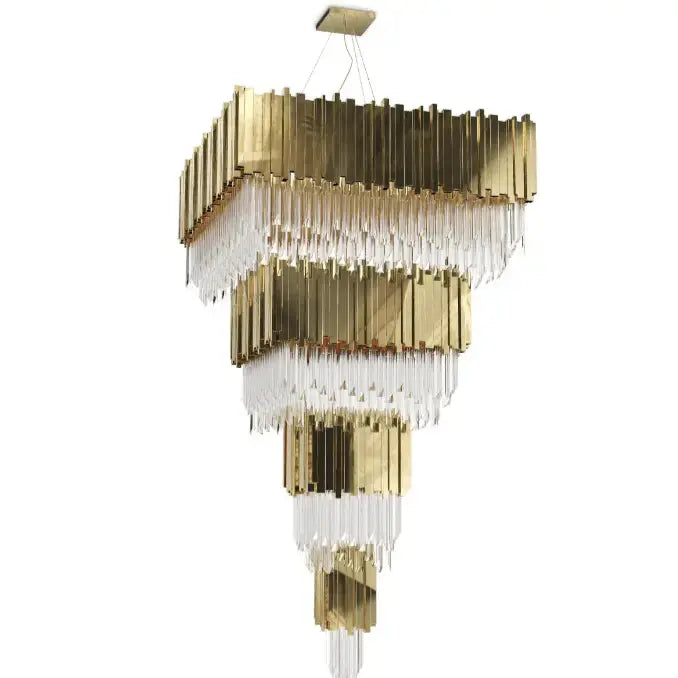
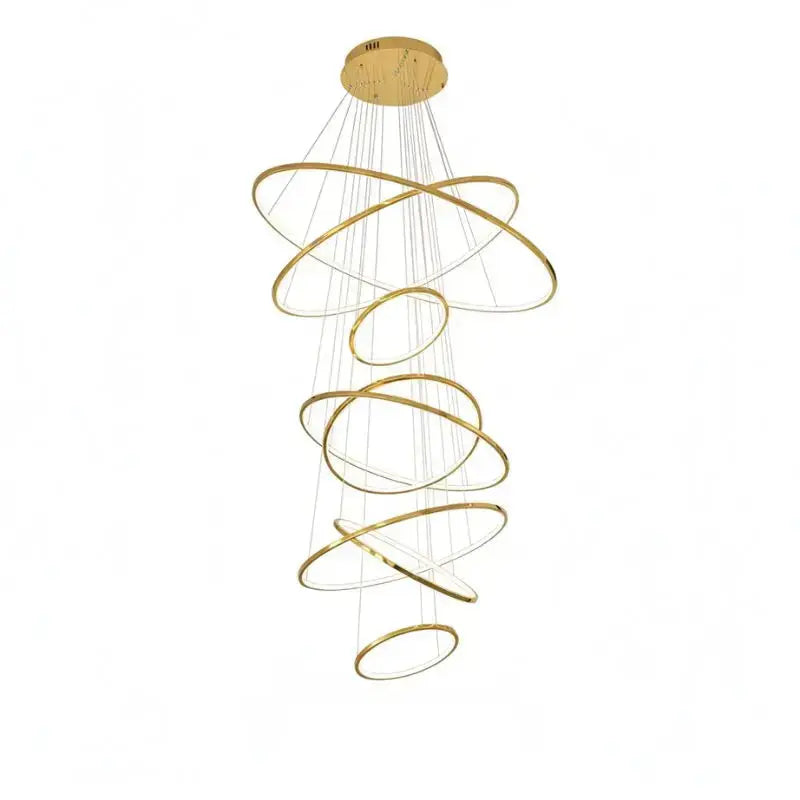
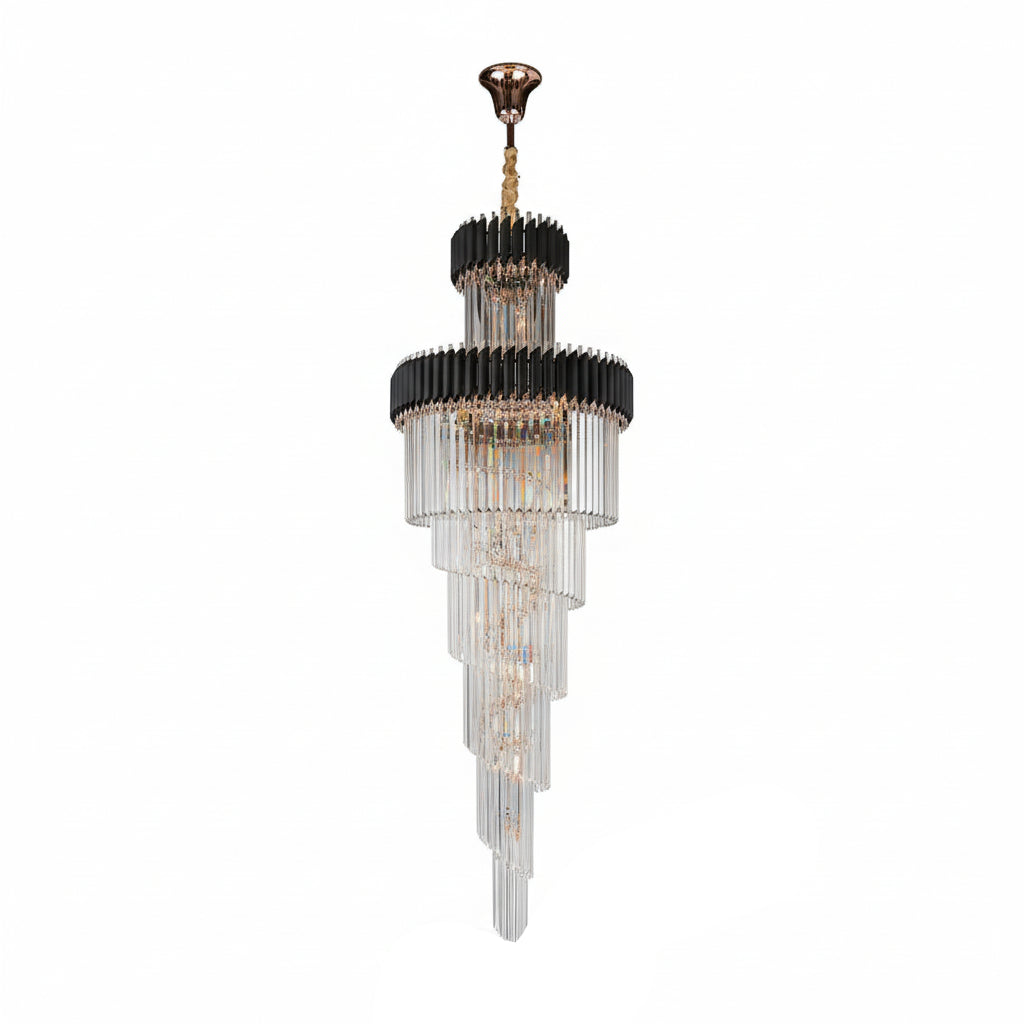
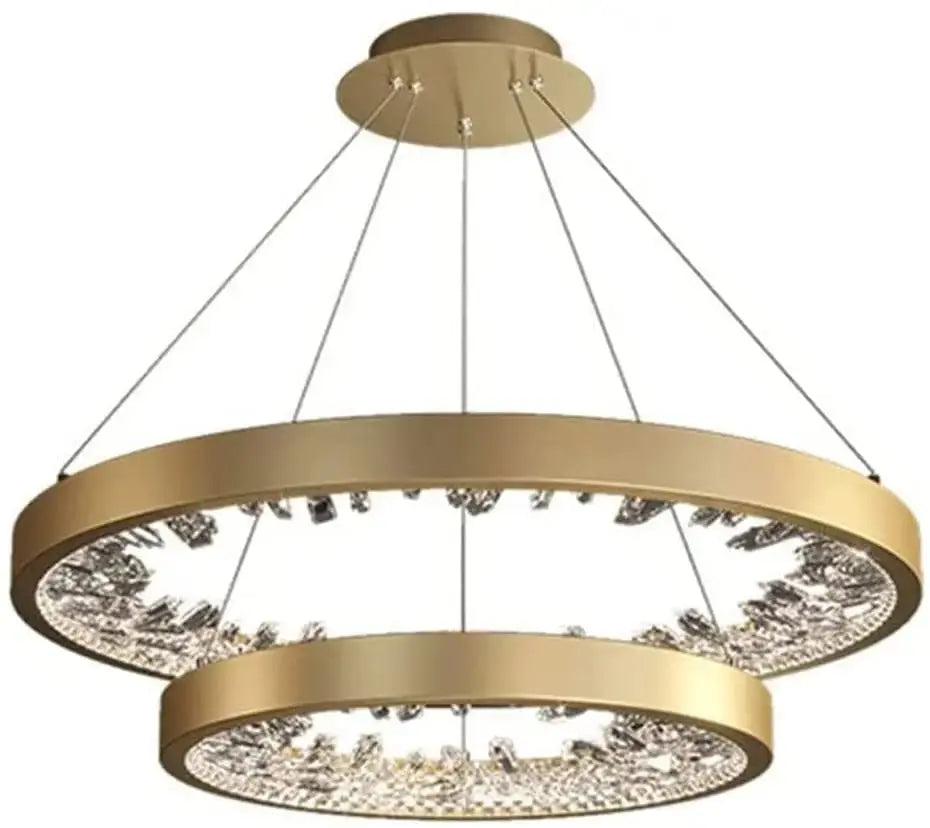
Installing a chandelier can seem like a big job, but with the right tips, you can make it a lot easier. This guide will help you get your chandelier ready, find the perfect height, and handle those tricky wires. By the end, you'll have a beautiful chandelier hanging in your home. Let's get started!
Key Takeaways
- Always use safety gear to protect yourself during installation.
- Make sure you understand the electrical wiring before you start.
- Check that the ceiling junction box can support the weight of the chandelier.
- Adjust the chain length so the chandelier hangs at the right height.
- Use a voltage tester to ensure the power is off before working with wires.
1. Safety Gear
Before you start installing your chandelier, it's crucial to wear the right safety gear. Prioritize safety in installation to avoid any accidents.
- Gloves: Protect your hands from sharp edges and electrical components.
- Safety Glasses: Shield your eyes from dust and debris.
- Hard Hat: If you're working in a construction zone or under a heavy fixture, a hard hat can prevent head injuries.
- Non-Slip Shoes: Ensure you have a firm footing, especially if you're using a ladder.
Always consider safety first when choosing the perfect chandelier for your vaulted ceiling dining room. This includes wearing the right gear and ensuring proper support for the fixture.
2. Electrical Wiring
One of the most important aspects of chandelier installation is ensuring that the electrical wiring is properly handled. This includes determining the location of the electrical panel and running new wiring if needed. Improper wiring can lead to potential dangers, including electrical fires.
Location of Electrical Panel
Knowing where your electrical panel is located is crucial. This determines the ease with which new wiring can be installed.
Running New Wiring
In many cases, new wiring may be necessary, especially if you’re installing a chandelier in a new location. This process must be done with care to avoid any electrical hazards.
Electrical complexities can also arise, particularly when new wiring is integrated into existing systems. Our certified electricians are adept at navigating these intricacies, ensuring that your chandelier is not only beautifully installed but also fully compliant with all electrical codes and standards.
3. Ceiling Junction Box
Before you start, make sure to turn off the power at the electrical circuit box. This is crucial for your safety.
Remove Old Fixture
Take out the old light fixture from the electrical box you plan to use. The wiring for your new chandelier will be the same as the old fixture.
Attach the Mounting Plate
Screw the mounting plate into the ceiling junction box. Use wire nuts to connect the mounting plate lead to the house wires. Connect the ground (green) wire to the plate. Push the wires into the electrical box and screw in the mounting plate to the box.
Check Stability
Ensure the stability of your current electrical box and mounting bracket where the fixture will be attached. If the screws feel loose, tighten them using your screwdriver.
For a diy chandelier makeover, follow these steps to achieve professional results with a personal touch.
4. Chain Length
Getting the chain length right is crucial for a chandelier to look perfect in your space. Use adjustable chains to avoid any mishaps. A measuring tape will be your best friend here; measure twice and hang once to avoid doing things over.
To start, lay the chain next to a ruler or measuring tape on a flat surface. Accuracy is key because every link counts. Once you have the total length noted, hold up the chandelier at your desired height. You might need someone's help for this step.
Straighten out the wire to prevent kinks as you feed it into one end of the chain. Think of how thread passes smoothly through a needle eye—that’s your goal. Gently pull the wire from link to link, being careful not to force or bend it too much.
If you need to remove extra links, use pliers to twist open the link where the measurements say "stop." Remove any extras and then secure everything back together. Your installation should now be halfway complete.
5. Light Bulbs
When installing a chandelier, choosing the right light bulbs is crucial. Always check the wattage recommended by the fixture's manufacturer to avoid any electrical issues. This information is usually found in the product manual or on the alabaster chandeliers website.
Types of Light Bulbs
There are several types of light bulbs you can use for chandeliers:
- Incandescent Bulbs: These are the traditional bulbs that offer a warm glow but consume more energy.
- LED Bulbs: These are energy-efficient and come in various color temperatures, including daylight.
- Halogen Bulbs: These provide bright, white light and are more energy-efficient than incandescent bulbs.
Installation Tips
- Turn off the power at the circuit board before installing the bulbs.
- Screw in the light bulbs, ensuring they fit snugly into the sockets.
- Turn the power back on and flip the light switch to check if everything is working correctly.
Experiment with different LED bulbs to find the style that works best in your home. Just make sure to read the specifications listed for the chandelier first to ensure compatibility.
6. Mounting Bracket
The mounting bracket is a crucial part of installing your chandelier. It supports the weight of the chandelier and ensures it stays securely in place.
First, check if the new mounting bracket aligns with the electrical box in the ceiling. This bracket must be level and tightly fastened to prevent any wobbling or instability. Use the screws provided with your chandelier to secure the bracket firmly to the electrical box.
Next, make sure the bracket is rated to support the weight of your chandelier. This is especially important for heavier designs. Follow the instructions that come with your chandelier to ensure you use the correct screws and attachments.
A well-installed mounting bracket lays the foundation for a stable and visually pleasing chandelier display.
7. Wire Connectors
Wire connectors are essential for a safe and secure chandelier installation. They ensure that the electrical connections are stable and reliable. Here are some tips to help you use wire connectors effectively:
- Always match the wire colors, like red to red and black to black.
- Twist the wires together before securing them with the wire connectors.
- Make sure the connectors are tight to prevent any loosening over time.
Proper use of wire connectors not only keeps your chandelier stable but also ensures your home is safe from electrical hazards.
After connecting the wires, gently tuck them into the ceiling junction box. This keeps everything organized and prevents any exposed sections. Following these steps will help you achieve a seamless setup for your luxury chandeliers and pendant lights for home decor.
8. Screwdriver
A screwdriver is a must-have tool for installing a chandelier. You'll use it for many parts of the installation, like securing the mounting bracket and attaching the fixture. If you're replacing an old chandelier, you'll need it to take that down too.
- Securing the mounting bracket: This is the first step where you'll need your screwdriver. Make sure the bracket is tightly fixed to hold the weight of the chandelier.
- Attaching the fixture: Once the bracket is in place, you'll use the screwdriver again to attach the chandelier to the bracket.
- Removing an old fixture: If there's an old chandelier or light fixture, you'll need the screwdriver to take it down before putting up the new one.
Always make sure to turn off the power at the circuit board before starting any electrical work. This is a key safety step to avoid any accidents.
9. Ladder
When installing a chandelier, having a sturdy ladder is essential. Safety should always come first, so make sure the ladder is in good condition and stable. A wobbly ladder can lead to accidents, which can be easily avoided with proper precautions.
Before you start, check the height of your ceiling to ensure your ladder is tall enough. It's important to have a ladder that allows you to comfortably reach the ceiling without overextending yourself. This will make the installation process much easier and safer.
- Choose a ladder that is appropriate for the height of your ceiling.
- Ensure the ladder is on a flat, stable surface before climbing.
- Have someone hold the ladder steady if possible.
Using a ladder correctly can prevent many common installation mishaps. Always prioritize your safety to ensure a smooth and successful chandelier setup.
10. Voltage Tester
A voltage tester is a crucial safety tool that ensures the power is turned off before you begin the installation process. It helps to confirm that there is no electrical current running through the wires, providing a safe environment for handling the fixtures and wires.
How to Use a Voltage Tester
- Turn off the power: Before you start, make sure to switch off the power at the circuit breaker.
- Test the wires: Use the voltage tester to check if there is any electrical current in the wires.
- Confirm safety: Once you confirm there is no current, you can safely proceed with the installation.
Always double-check with a voltage tester to ensure your safety. This simple step can prevent accidents and ensure a smooth installation process.
Why It's Important
Using a voltage tester is essential for your safety. It helps you avoid electric shocks and ensures that you are working in a safe environment. This is especially important when dealing with crystal chandeliers collection featuring elegant and sophisticated designs with sparkling crystals. Ensuring safety allows you to focus on the installation without worrying about electrical hazards.
A voltage tester is a must-have tool for anyone working with electrical systems. It helps you check if a circuit is live, ensuring your safety. Don't take risks with electricity; always use a voltage tester. For more tips and tools, visit our website today!
Conclusion
Installing a chandelier might seem like a big job, but with the right steps, it can be a smooth and rewarding experience. From prepping your chandelier to securing it in place, every step is important to make sure it looks great and stays safe. Remember to always put safety first and don't hesitate to call in a professional if needed. With a bit of patience and attention to detail, you'll soon have a beautiful chandelier lighting up your space. Enjoy the glow and the elegance it brings to your home!
Frequently Asked Questions
What safety gear do I need for chandelier installation?
Always wear gloves and safety glasses. A hard hat can also protect you from any falling parts.
How do I handle the electrical wiring?
First, turn off the power at the circuit breaker. Then, follow the instructions that come with your chandelier. If you're unsure, it's best to call a professional.
What is a ceiling junction box?
A ceiling junction box is a metal or plastic box that holds the wiring connections for your chandelier. It must be securely attached to a ceiling joist.
How do I determine the right chain length for my chandelier?
The chain length depends on the height of your ceiling and the size of the room. A general rule is to have the chandelier hang 30 to 36 inches above a table.
What type of light bulbs should I use?
Check the manufacturer's recommendations for the best type of bulbs. LED bulbs are energy-efficient and last a long time.
Why is a voltage tester important?
A voltage tester helps you make sure the power is off before you start working with the wires. This keeps you safe from electrical shocks.


