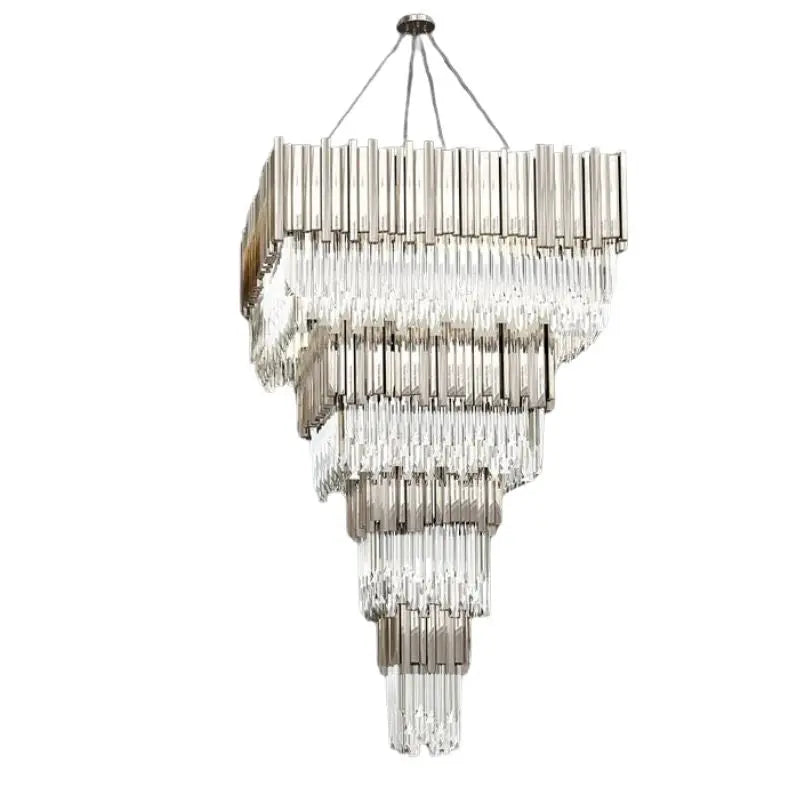
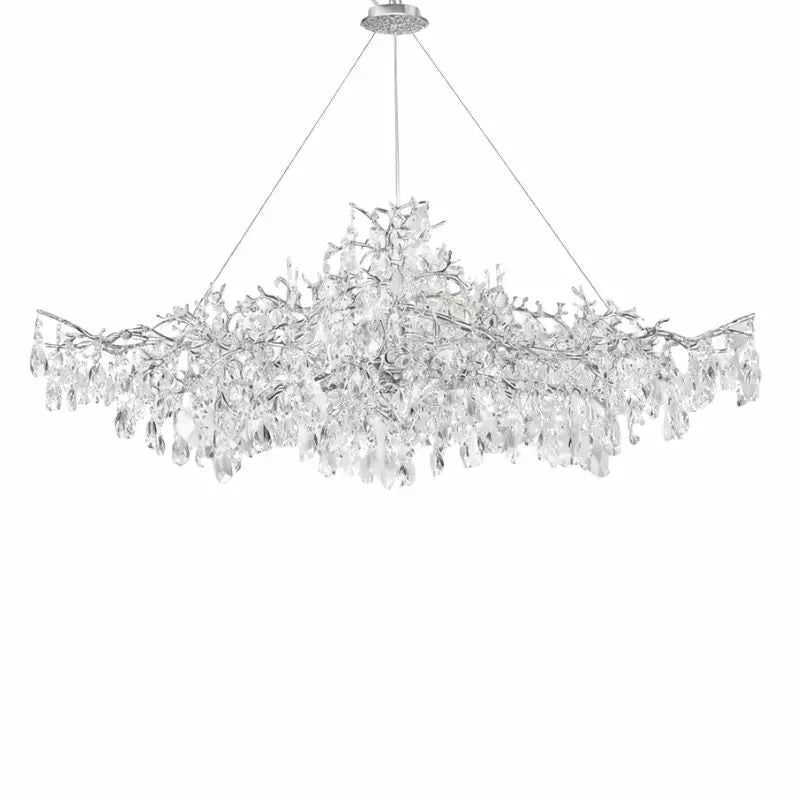
Step-by-Step Chandelier Wiring Guide for Beginners
Wiring a chandelier can seem like a tough job, but it's totally doable if you take it step by step. This guide is perfect for beginners who want to tackle this project safely and correctly. We'll walk you through everything you need to know, from gathering the right tools to making sure your chandelier is working perfectly.
Key Takeaways
- Always turn off the power at the breaker before starting any electrical work.
- Identify and understand the different wires: hot (black), neutral (white), and ground (green or bare).
- Use the right tools and safety gear, such as wire strippers, electrical tape, and safety glasses.
- Secure and insulate all wire connections to prevent electrical hazards.
- Test the chandelier thoroughly after installation to ensure everything is working correctly.
Gathering Essential Tools and Materials
Before you start wiring your chandelier, it's important to gather all the necessary tools and materials. This will make the process smoother and safer. Here's what you'll need:
List of Required Tools
- Voltage tester: Ensures the power is off before you start working.
- Sturdy ladder: Helps you reach the installation area safely.
- Wire cutters and strippers: For manipulating the chandelier’s wiring.
- Screwdriver set: Various types and sizes to secure the chandelier.
- Pliers: Handy for twisting wires and tightening nuts.
- Ceiling fan brace: Needed if your chandelier is heavier than a standard light fixture.
Choosing the Right Wires
Selecting the correct wires is crucial for safety and functionality. Make sure to choose wires that match the specifications of your chandelier and your home's electrical system. Using the wrong wires can lead to electrical hazards.
Safety Gear and Precautions
Safety should always come first. Wear safety goggles and gloves to protect yourself from any potential hazards. Always double-check that the power is off before you start working. If you're unsure about any step, it's best to consult a professional.
Taking the time to gather all the necessary tools and materials will make your chandelier installation much easier and safer.
By following these steps, you'll be well-prepared to tackle your chandelier wiring project with confidence.
Preparing the Chandelier for Wiring
Removing the Old Wiring
Before you start, make sure the chandelier is not connected to any power source. Double-check that the breaker is off. Unscrew the cap containing all the wires and remove the wire nuts. Pull the wires apart carefully. Loosen the sockets from the chandelier by unscrewing them.
Cleaning and Inspecting the Chandelier
Once the old wiring is removed, clean the chandelier thoroughly. Inspect it for any damage or wear. Look for any broken parts or rust that might need fixing. This step ensures your chandelier is safe and ready for new wiring.
Identifying Wire Types and Colors
Understanding the different wire types and colors is crucial. Typically, you will deal with white (neutral) wires and black (hot) wires. Knowing which wire is which helps in making the correct connections. If your chandelier has different colors, refer to its manual or a wiring diagram.
Always remember, safety first! Ensuring the power is off and understanding the wire types can prevent accidents.
By following these steps, you can prepare your chandelier for wiring, making the process smoother and safer.
Wiring the Chandelier Sockets
Selecting the Correct Socket Type
Before you start, identify the type of sockets your chandelier uses. Some chandeliers come with pre-wired sockets, while others require you to attach new wires. Make sure you get the right type for your chandelier. If you're unsure, take one of the old sockets to the store for comparison.
Attaching Wires to Sockets
- Strip about 0.5 inches of insulation from the ends of your wires using a wire stripper.
- Identify the hot and neutral wires. Typically, the smooth side of the wire is hot, and the side with a ridge or writing is neutral.
- Wrap the exposed wire around the screw on the socket in a clockwise direction and tighten the screw.
- Repeat the process for the other wire and replace any protective sheaths.
Securing and Insulating Connections
After attaching the wires, it's crucial to secure and insulate the connections properly. Use wire nuts to cap off the connections and wrap them with electrical tape for extra safety. This step ensures that the wires won't come loose and cause a short circuit.
Always double-check your connections to make sure they are secure and properly insulated. This is especially important if you're incorporating vintage home decor trends into your design, as older fixtures may have different wiring requirements.
By following these steps, you'll be well on your way to safely wiring your chandelier sockets, whether you're aiming for a boho chic home decor style or matching your living room color schemes.
Connecting the Chandelier to the Ceiling
Threading Wires Through the Chandelier
First, thread the remaining wires through the chandelier's canopy and up into the ceiling box. This will make it easier to connect them to the ceiling box wires. Make sure the canopy is still unscrewed from the ceiling box.
Joining Neutral and Hot Wires
In the ceiling box, you will typically find a hot wire (usually black) and a neutral wire (usually white). Sometimes, there is also a ground wire (usually copper). Pair the hot wire from the ceiling box with the hot wire from the chandelier, and the neutral wire from the ceiling box with the neutral wire from the chandelier. Twist the ends together and secure them with a wire connector.
- If your chandelier has a ground wire, connect it to the ground wire in the ceiling box.
- Always refer to the chandelier's instruction manual to identify the wires correctly.
Mounting the Chandelier
Once the wires are connected, it's time to mount the chandelier. Have someone help you hold the chandelier while you secure it to the ceiling. Use bolts or lock nuts to fasten it in place. Make sure it's securely attached to avoid any accidents.
Properly mounting the chandelier ensures it stays in place and functions correctly. Double-check all connections and mounting points before finishing.
After mounting, you can proceed to the final steps and testing to ensure everything is working correctly.
Final Steps and Testing
Capping and Taping Wires
After connecting all the wires, it's time to cap and tape them. Use wire connectors to cap off each wire connection. Once capped, wrap electrical tape around the connectors to ensure they are secure and insulated. This step is crucial to prevent any accidental short circuits.
Reattaching the Chandelier
With the wires securely capped and taped, you can now reattach the chandelier to the ceiling. Carefully lift the chandelier and align it with the mounting bracket. Secure it in place with screws or bolts, making sure it is firmly attached and level.
Testing the Electrical Connections
Before turning the power back on, double-check all connections to ensure there are no loose wires or exposed ends. Once everything looks good, turn the power back on at the circuit breaker. Flip the light switch to test your work. If the chandelier lights up, congratulations! You've successfully wired your chandelier. If not, you may need to troubleshoot the connections.
Remember, safety first! Always ensure the power is off before working with electrical components.
Troubleshooting Common Issues
Identifying Wiring Problems
When your chandelier isn't working, the first step is to identify the wiring problem. Check for any visible damage or loose connections. Sometimes, the issue might be as simple as a wire not being properly connected.
Fixing Loose Connections
Loose connections can cause flickering or complete loss of power. To fix this, turn off the power and inspect all connections. Tighten any loose wires and ensure they are properly insulated. This can often solve the problem without needing professional help.
When to Call a Professional
If you've tried troubleshooting and the chandelier still doesn't work, it might be time to call a professional. Electrical issues can be dangerous, and a professional can safely diagnose and fix the problem. Don't hesitate to seek help if you're unsure about any step in the process.
Always prioritize safety when dealing with electrical components. If in doubt, consult a professional to avoid any risks.
Having trouble with your chandelier? Our "Troubleshooting Common Issues" section is here to help! From flickering lights to installation problems, we cover it all. If you need more detailed guidance, don't hesitate to visit our website for expert advice and support.
Conclusion
Wiring a chandelier might seem tricky at first, but with patience and the right steps, it's a task that even beginners can handle. Always remember to turn off the power before starting and double-check your connections. Each chandelier may have its own quirks, so be prepared to adapt. With your new skills, you can now enjoy the beauty and elegance of a well-lit chandelier in your home. Happy wiring!
Frequently Asked Questions
What tools do I need to rewire a chandelier?
You'll need a wire stripper, wire connector caps, lamp wire, electrical tape, and new chandelier sockets if needed. Make sure you also have safety gear like gloves and goggles.
How do I know which wire is hot and which is neutral?
Typically, the smooth side of the wire is the hot wire and the side with ridges or markings is the neutral wire. Always double-check with a voltage tester if you're unsure.
Is it safe to rewire a chandelier by myself?
Rewiring a chandelier can be safe if you follow all safety precautions, such as turning off the power at the breaker. If you're not confident, it's best to call a professional.
What should I do if the chandelier doesn't work after wiring?
First, make sure all connections are secure and that the power is on. If it still doesn't work, you may have connected the wrong wires. Double-check your wiring or consult a professional.
How do I secure the wires after connecting them?
After connecting the wires, use wire connector caps and wrap them with electrical tape for extra security. Make sure there are no exposed wires.
When should I call a professional electrician?
If you encounter complex wiring issues, if the wires in your ceiling don't match the chandelier's wires, or if you're unsure about any step, it's best to call a professional electrician.

