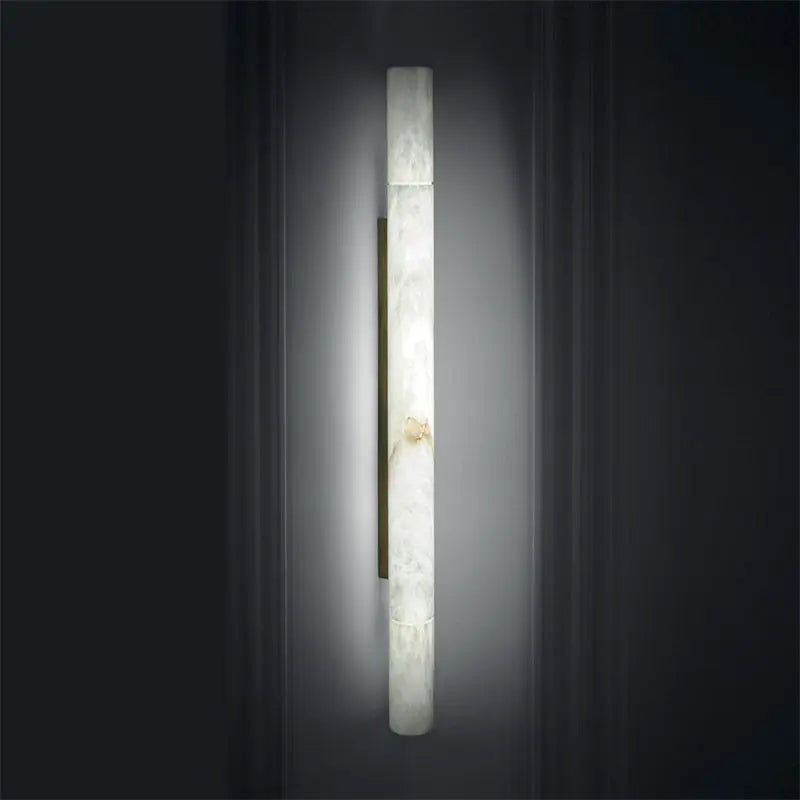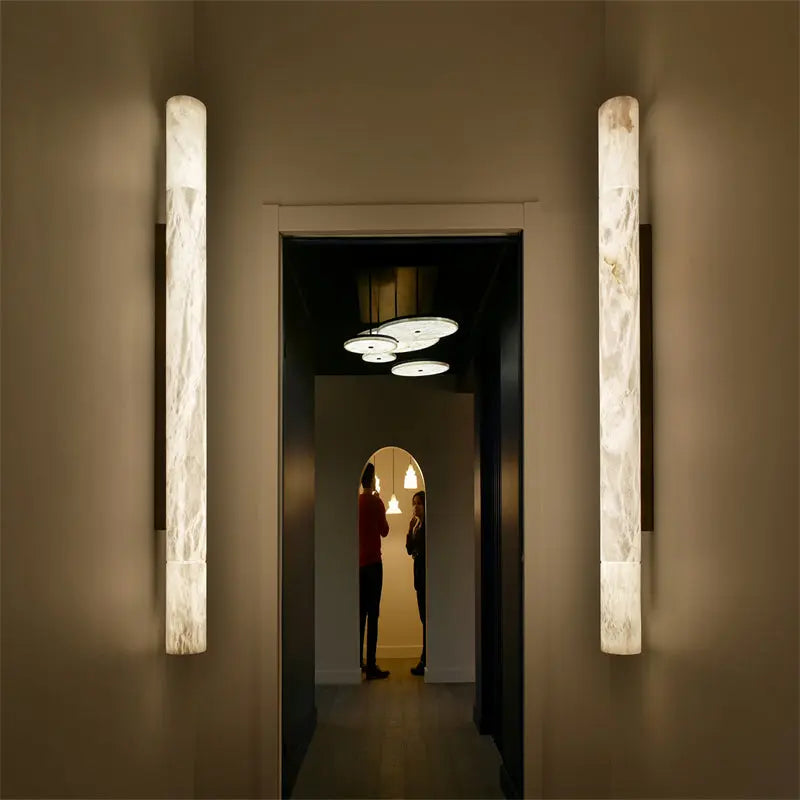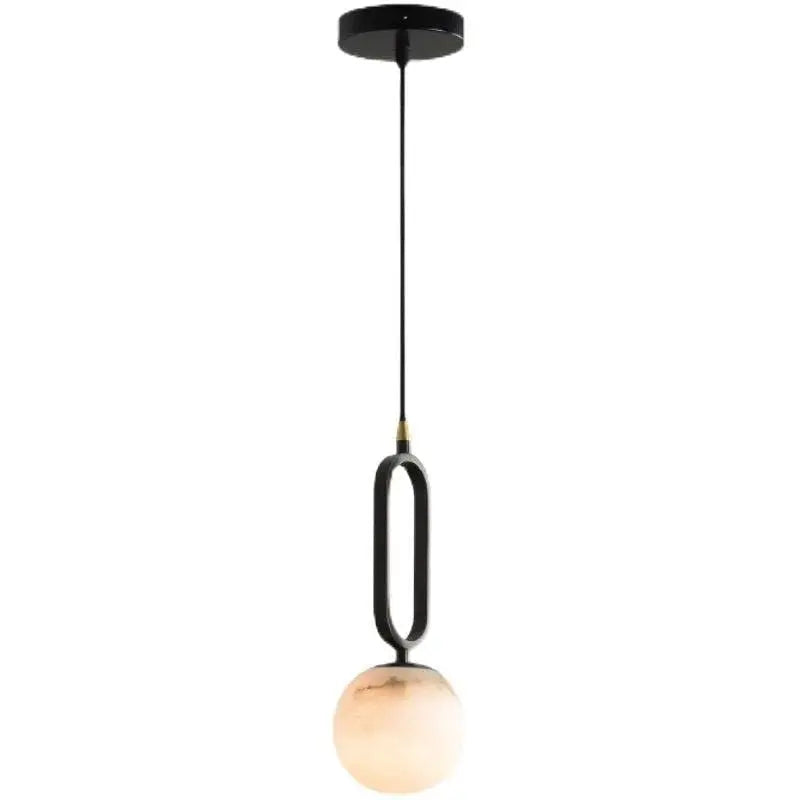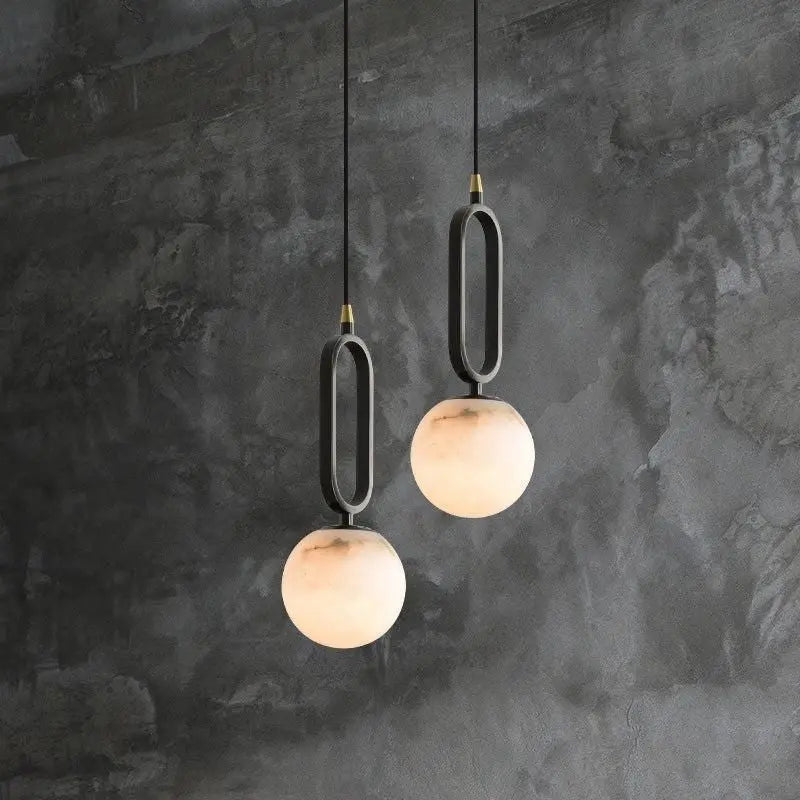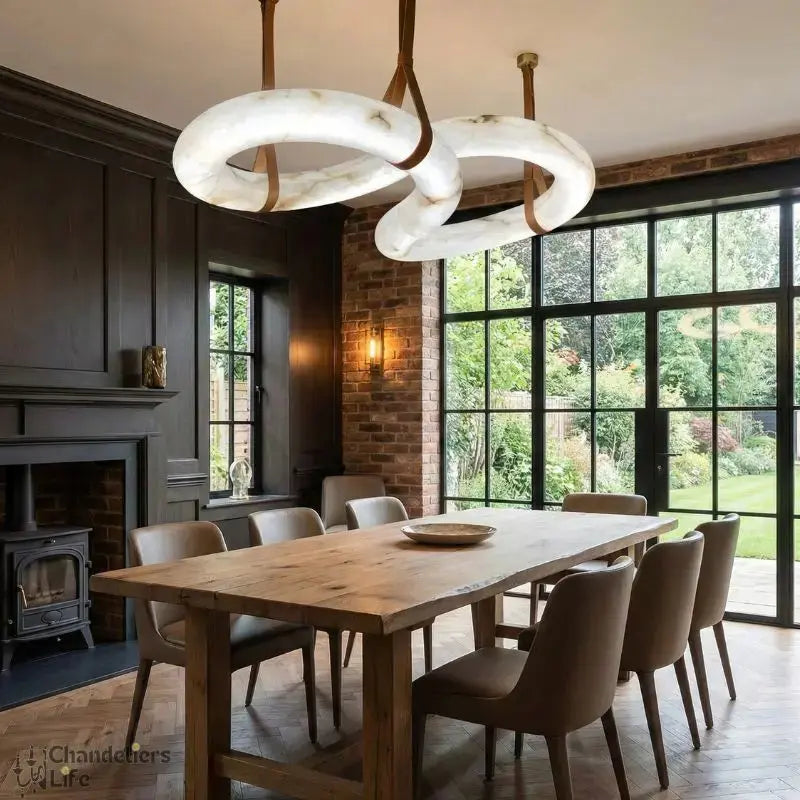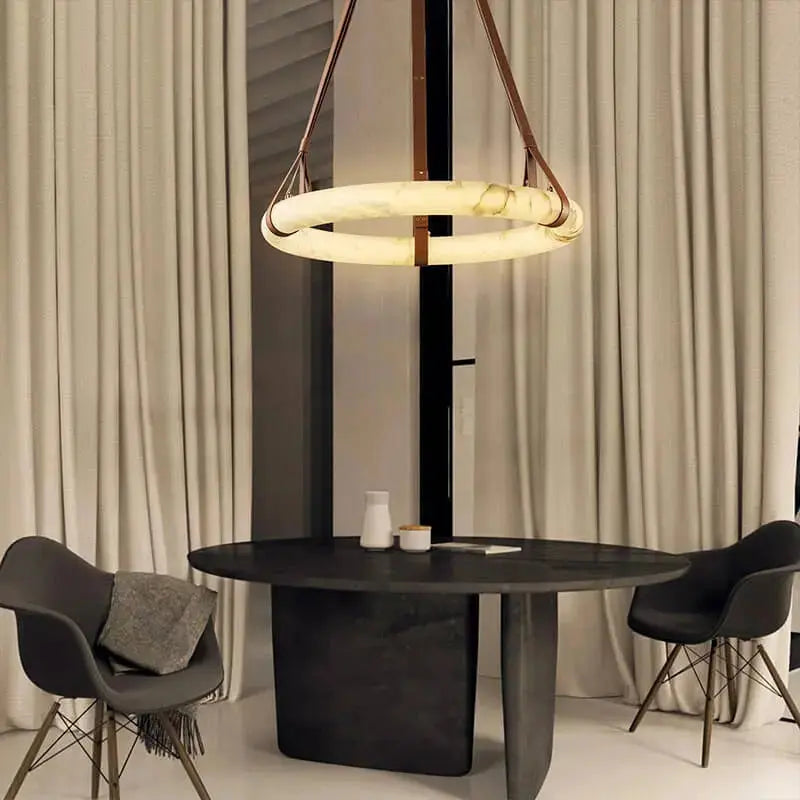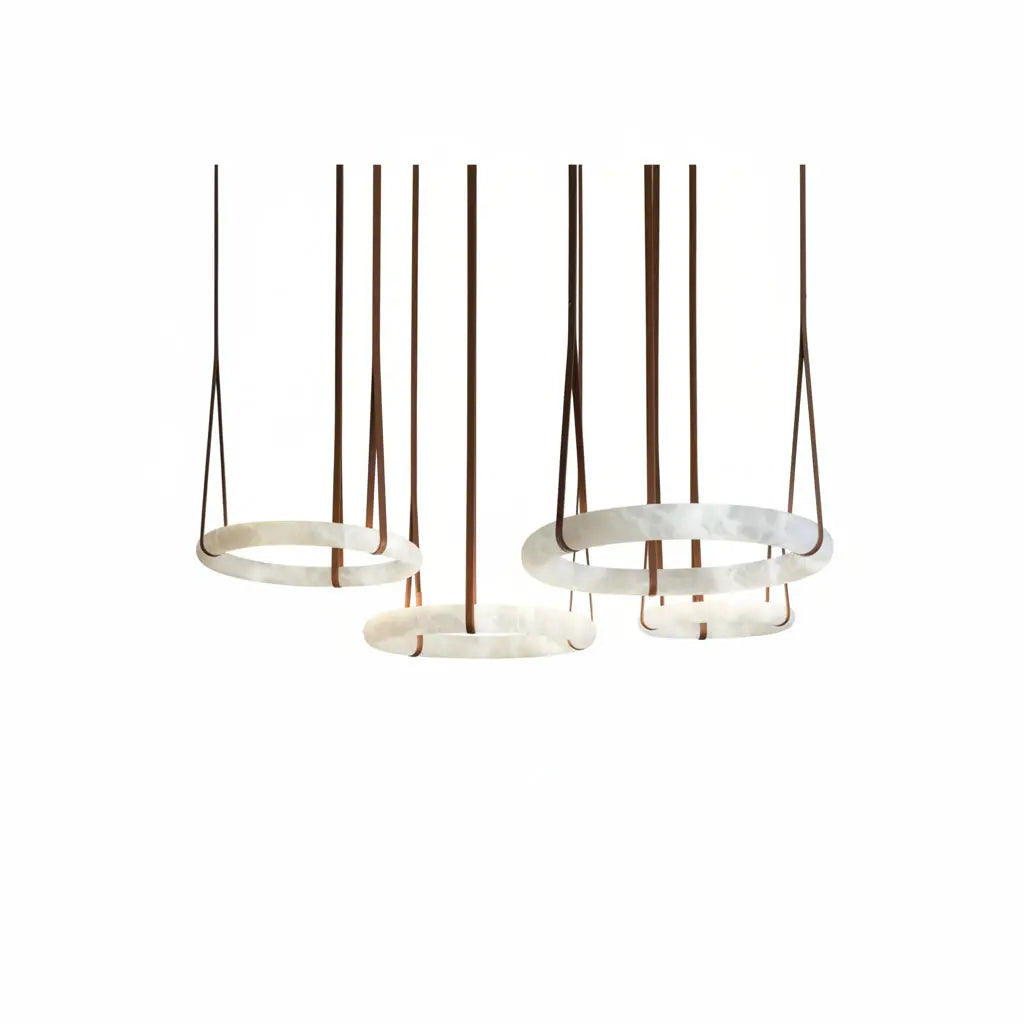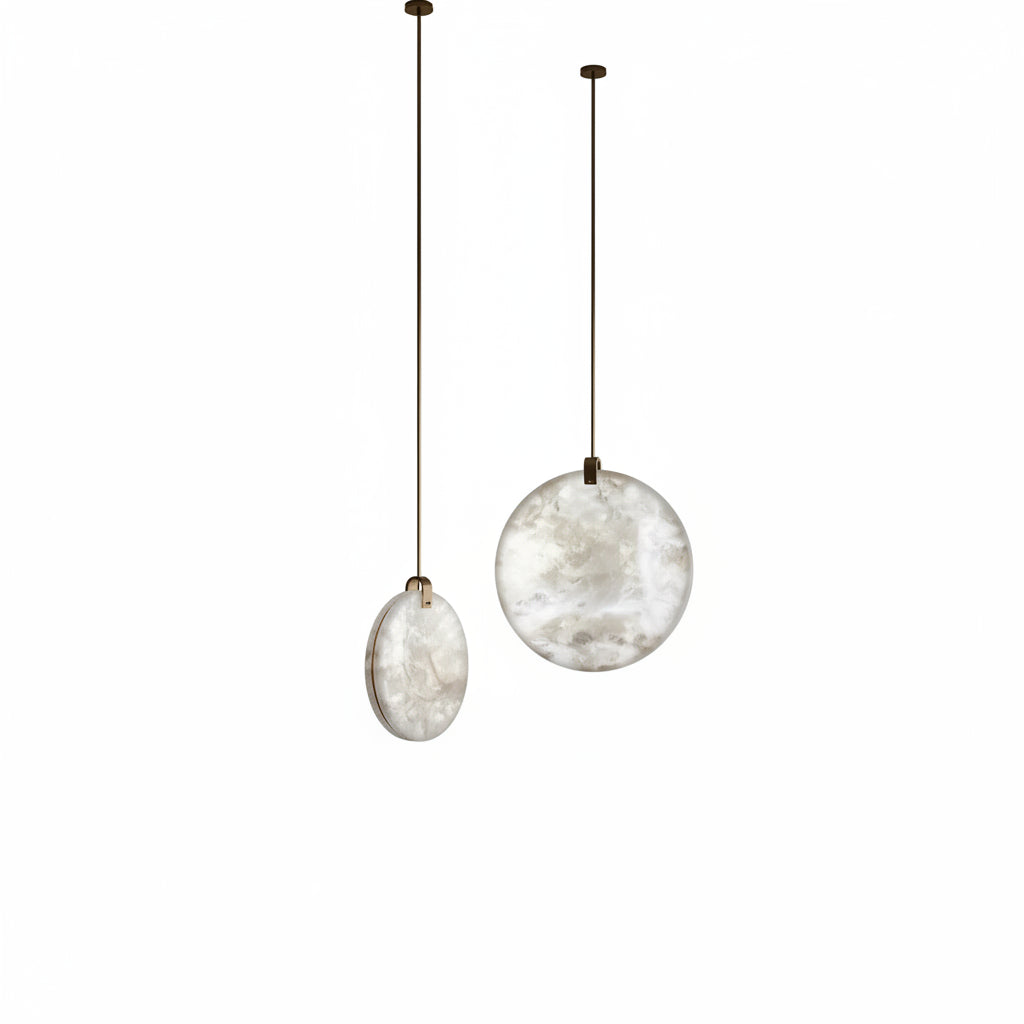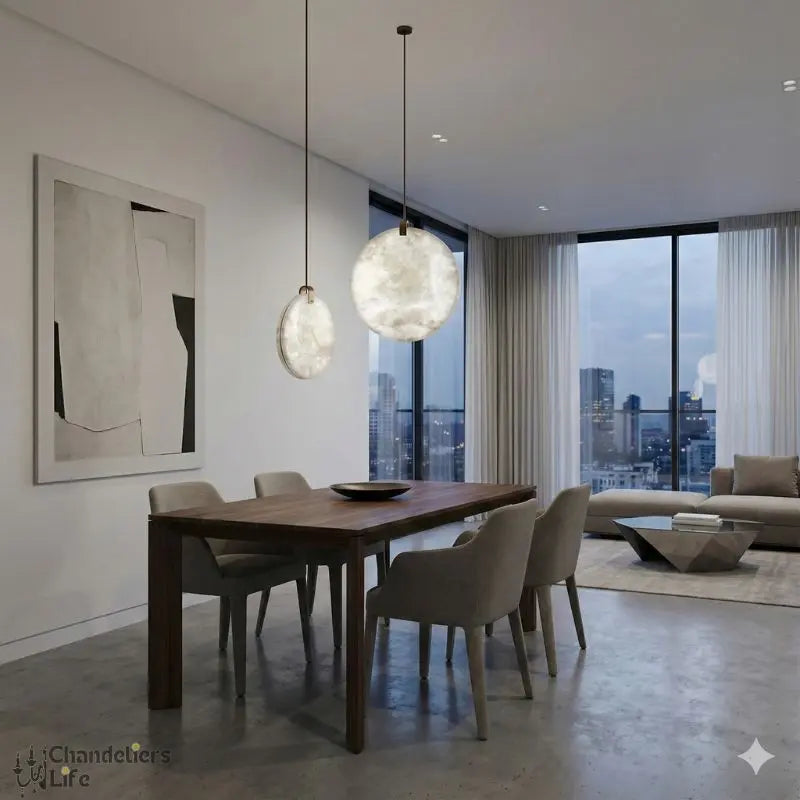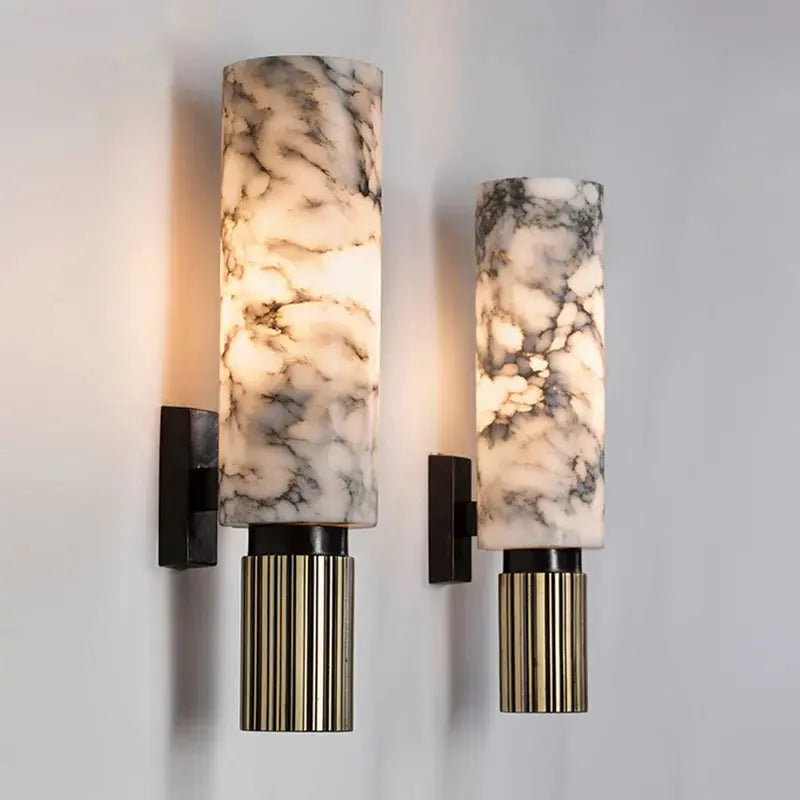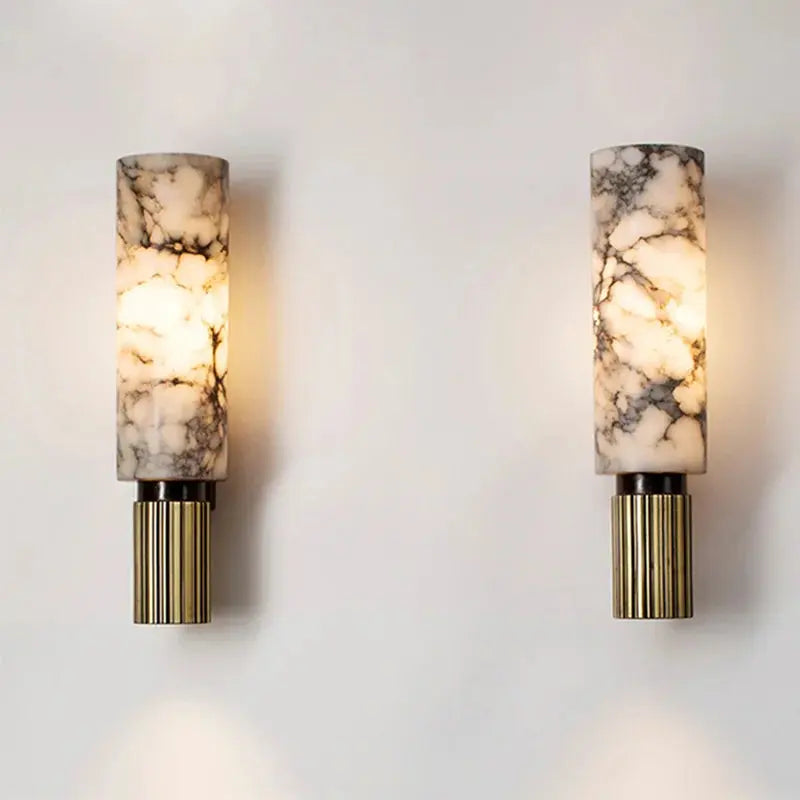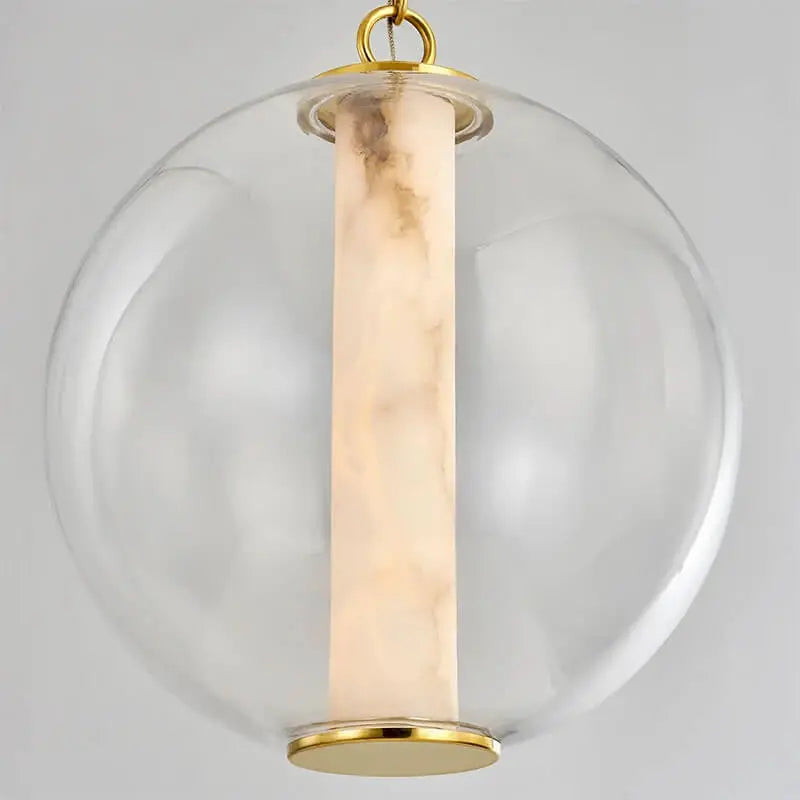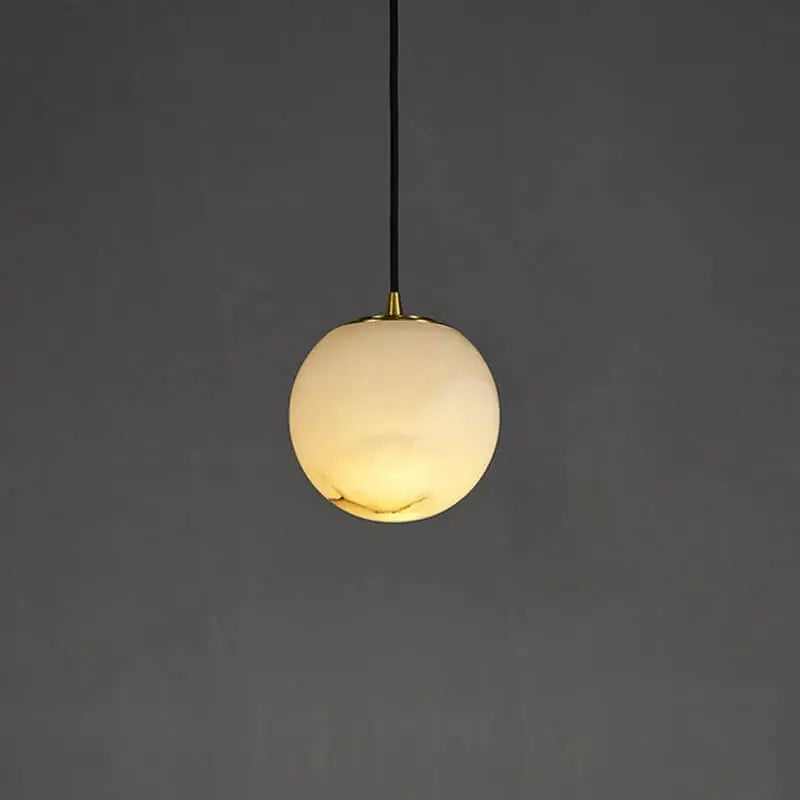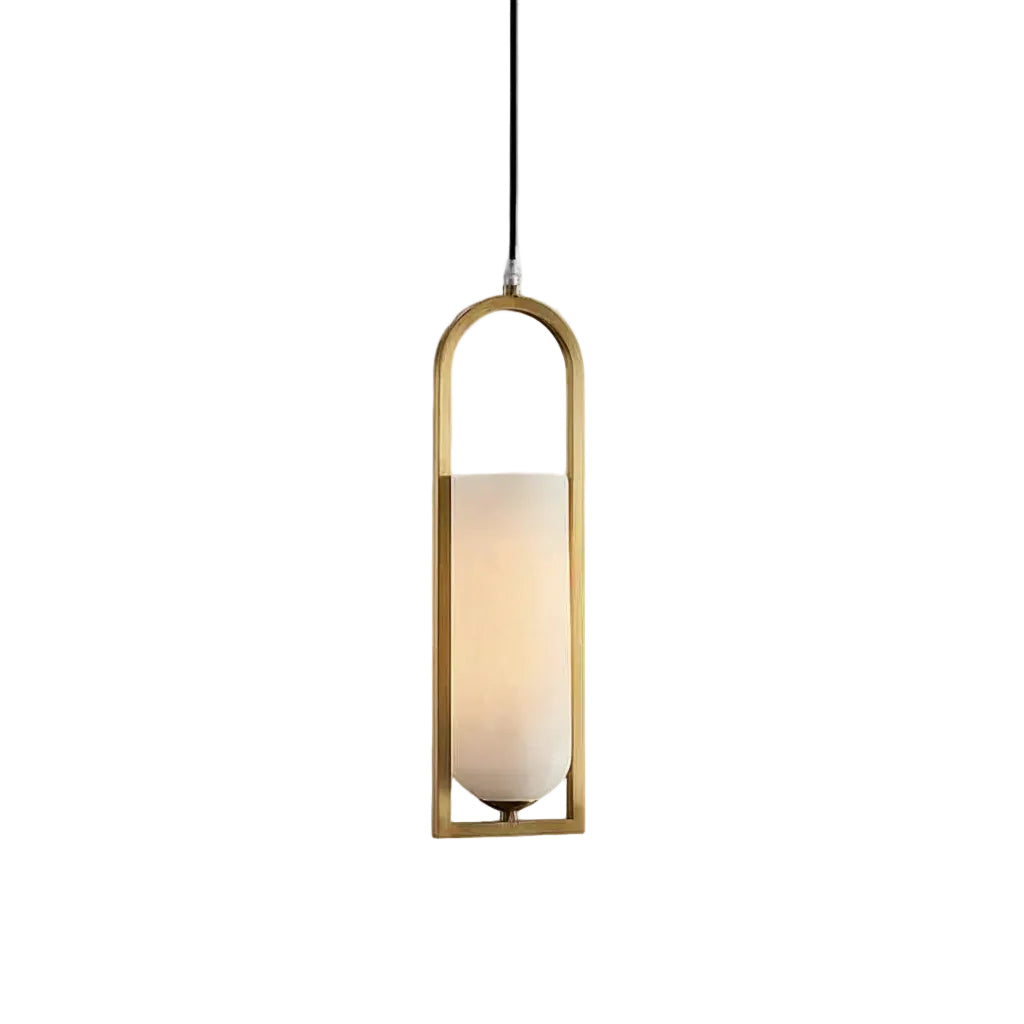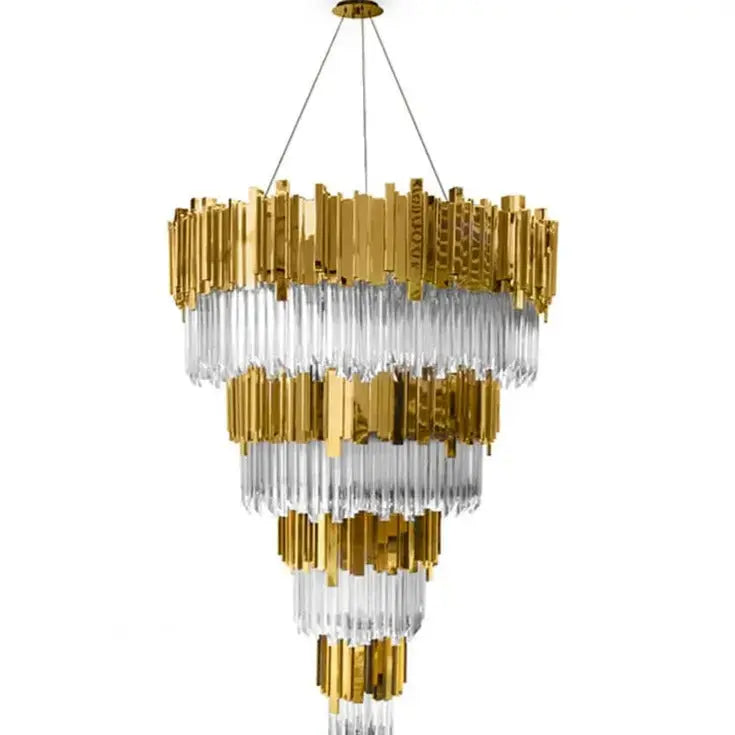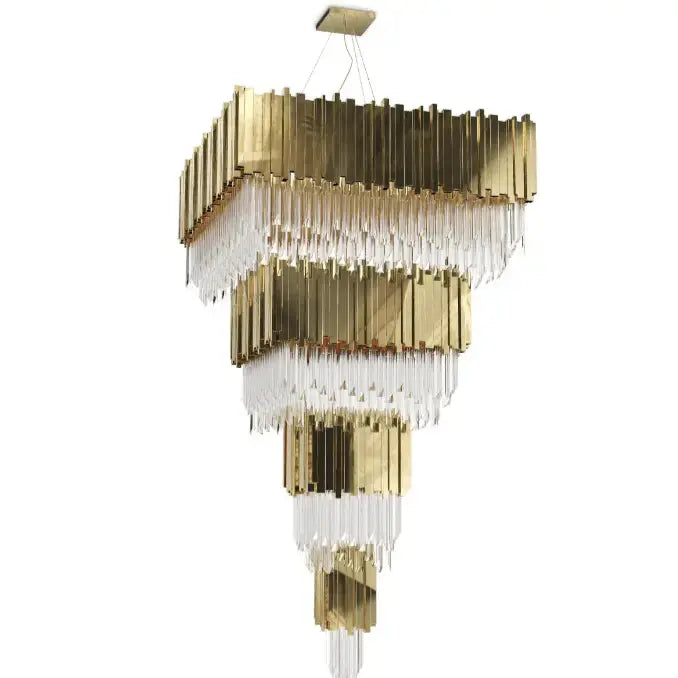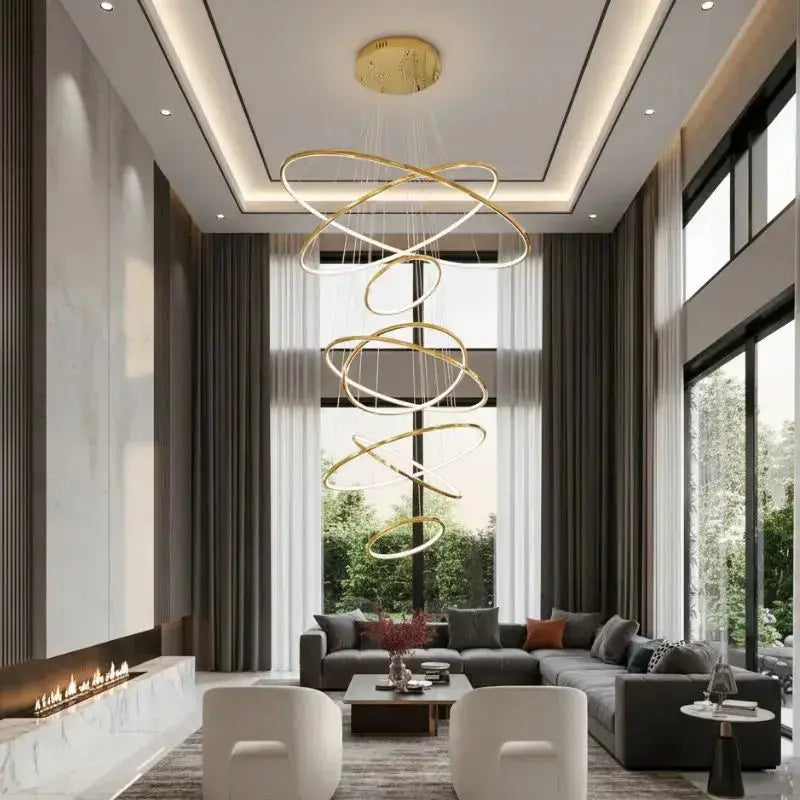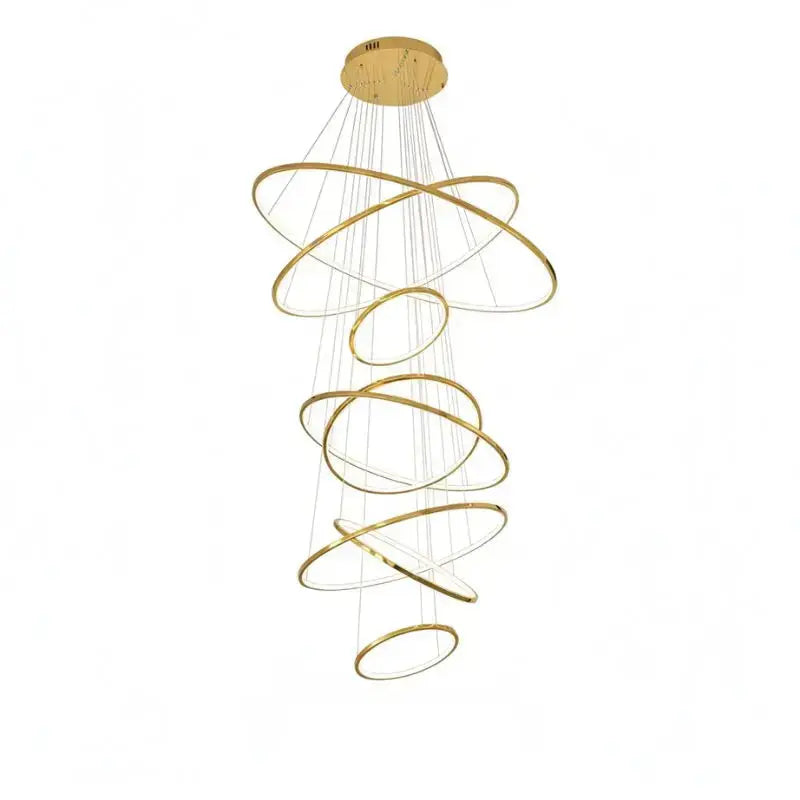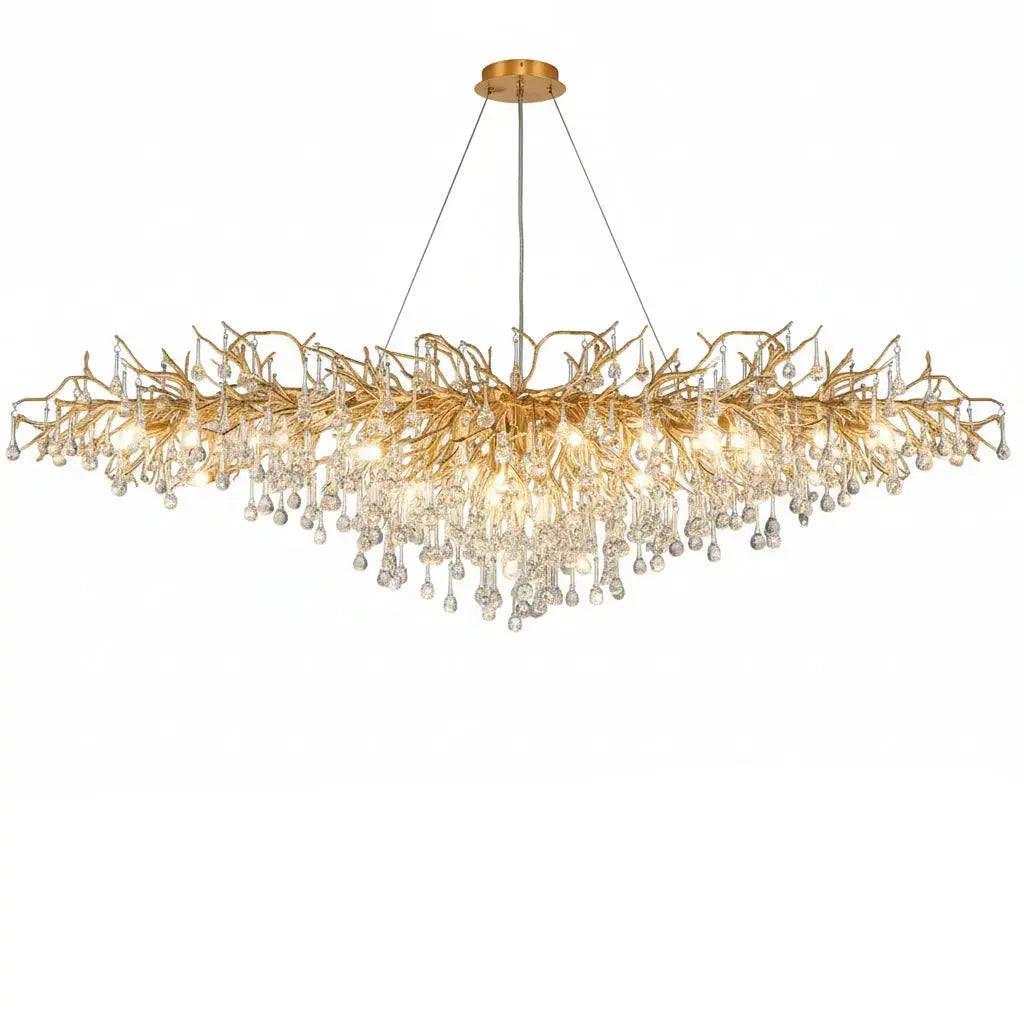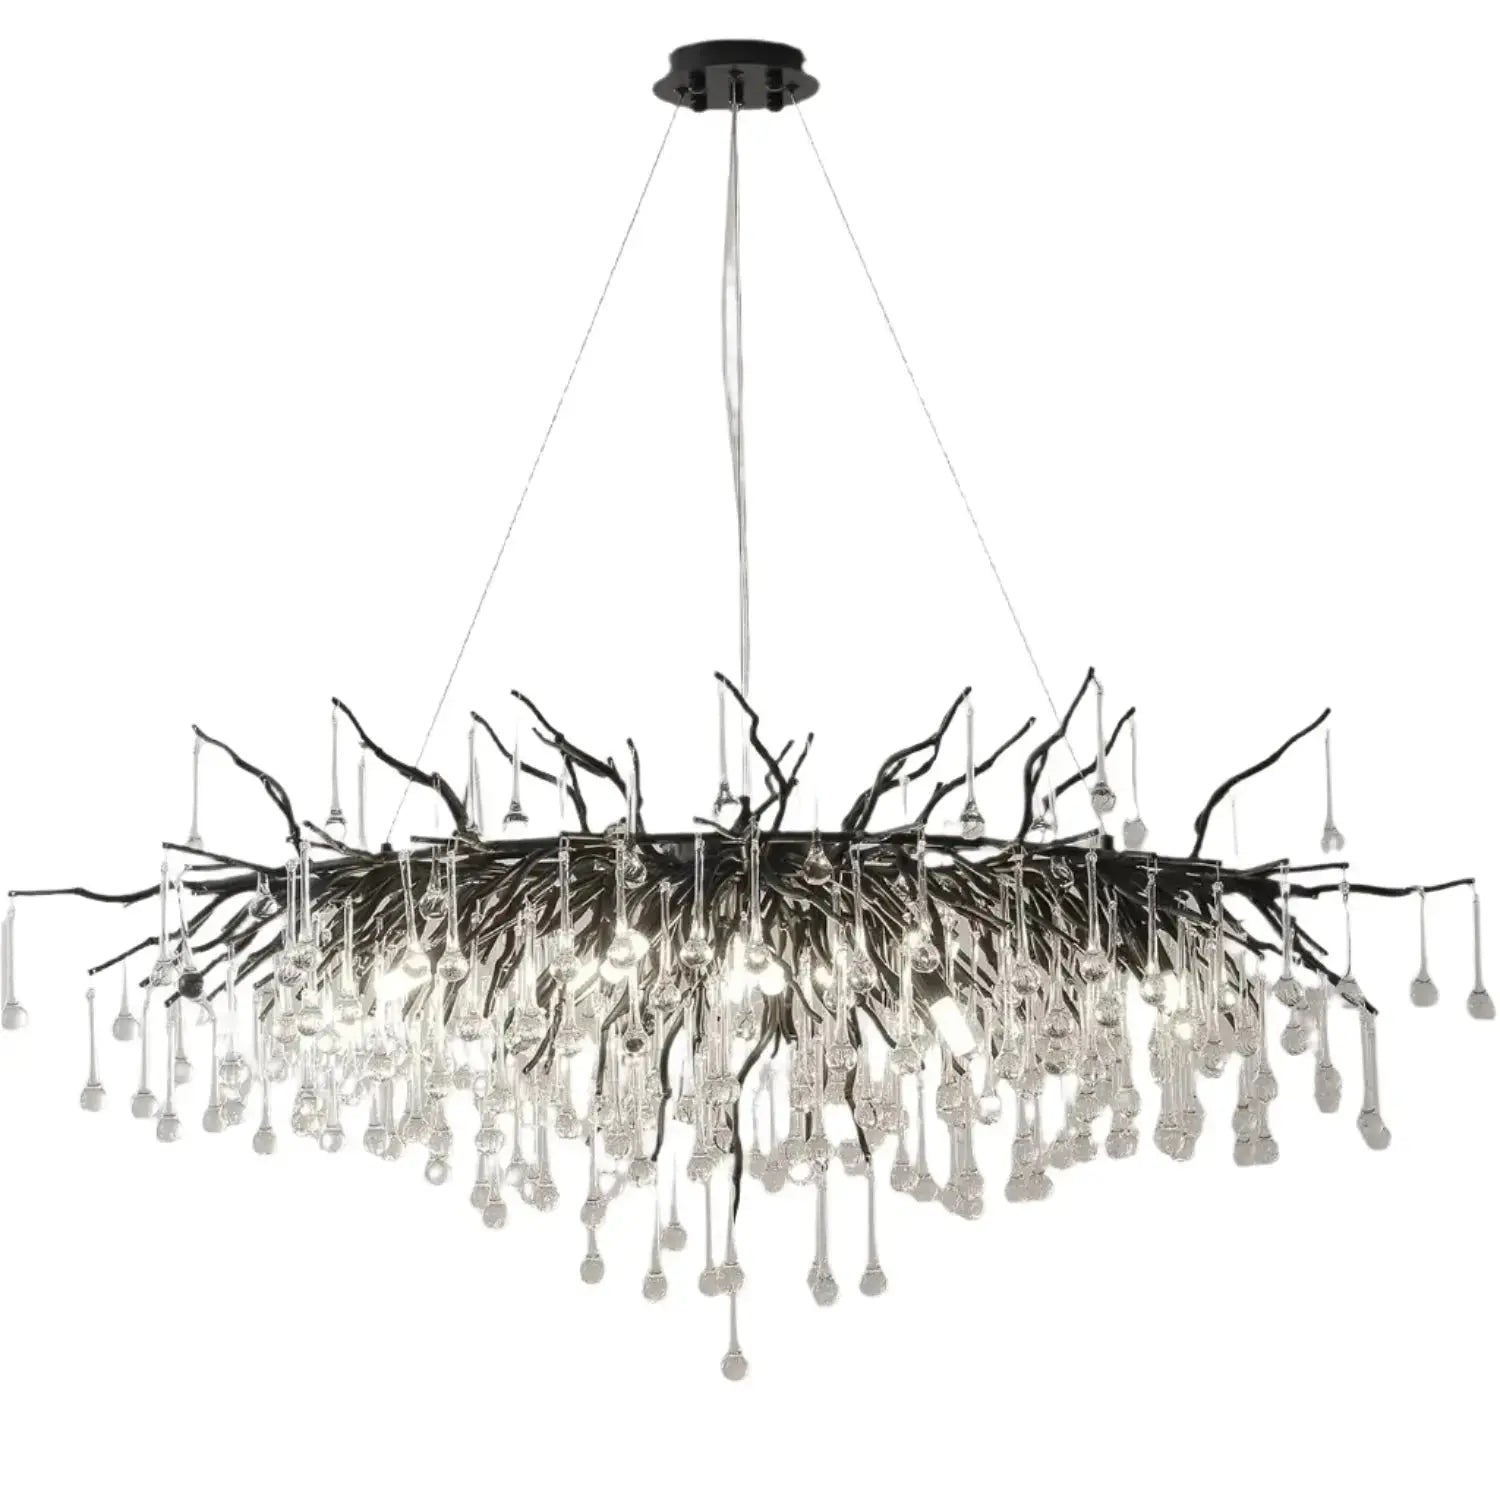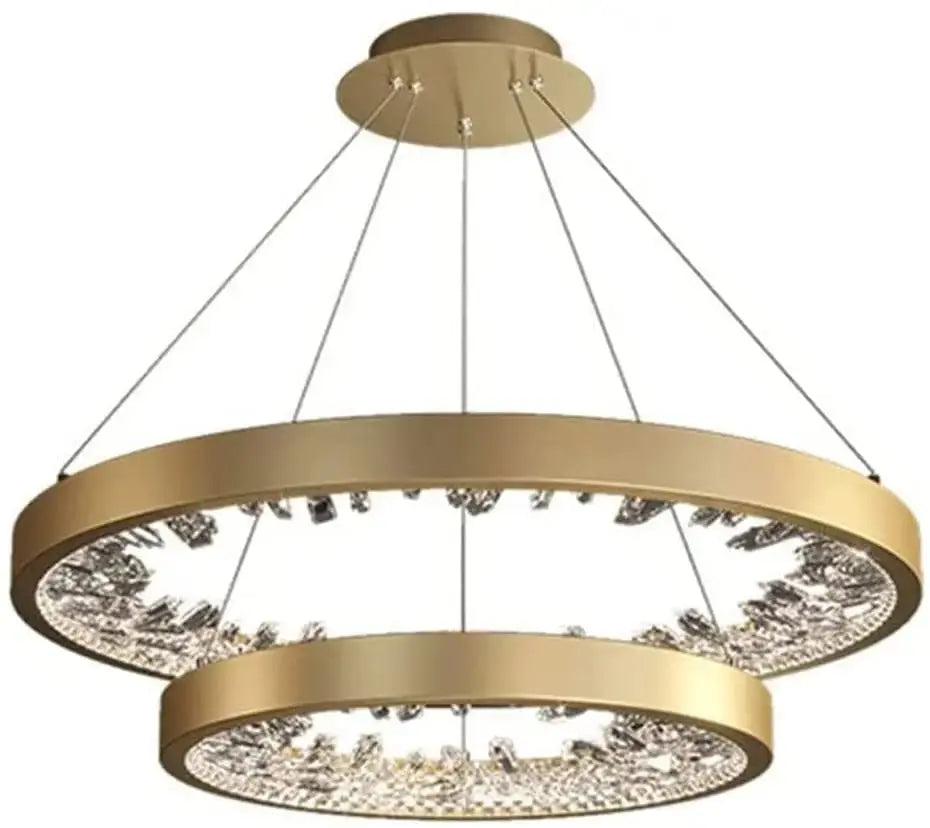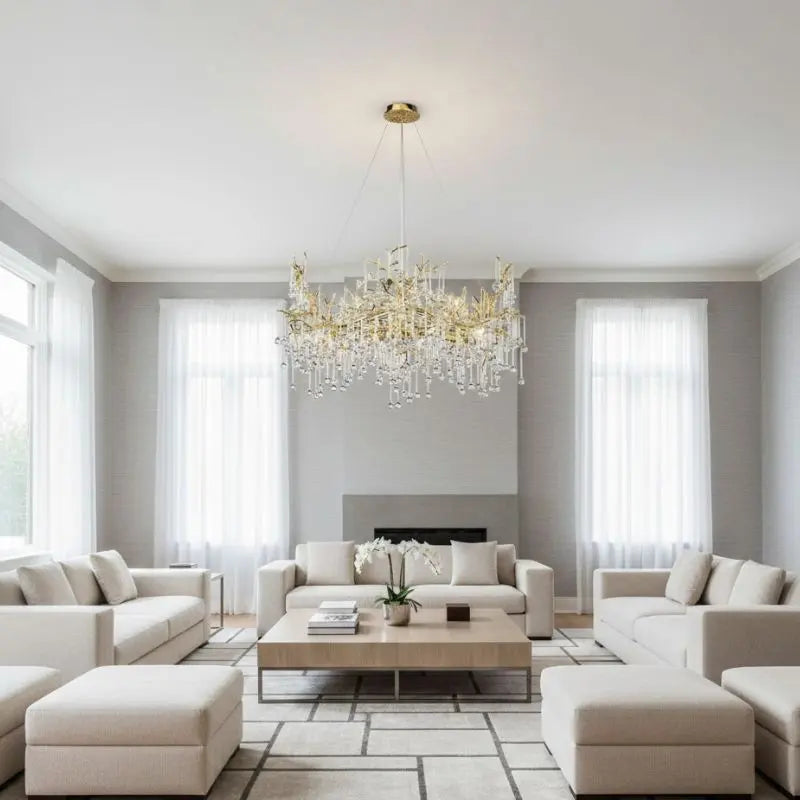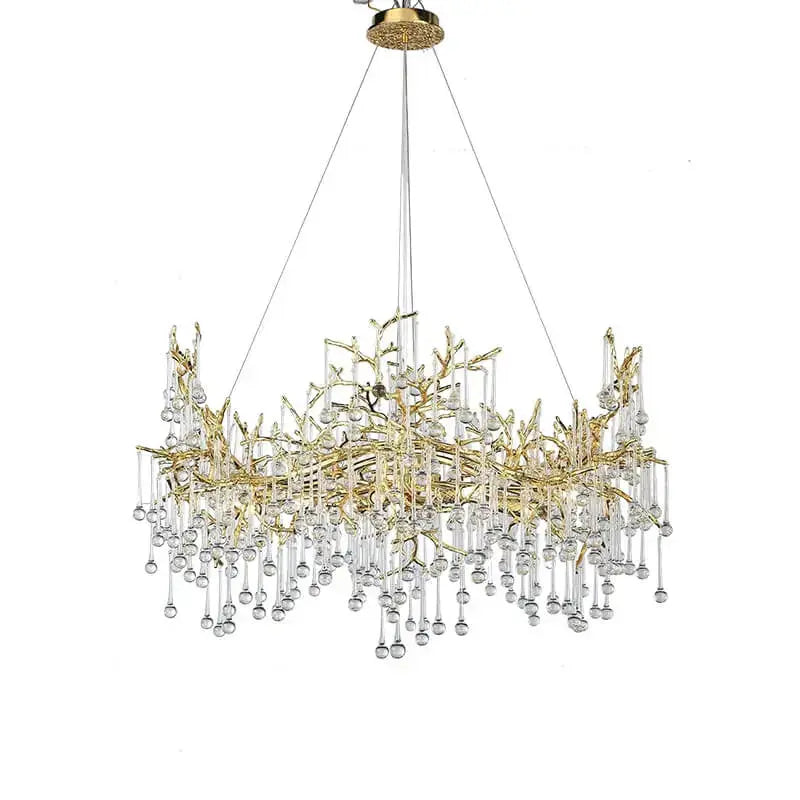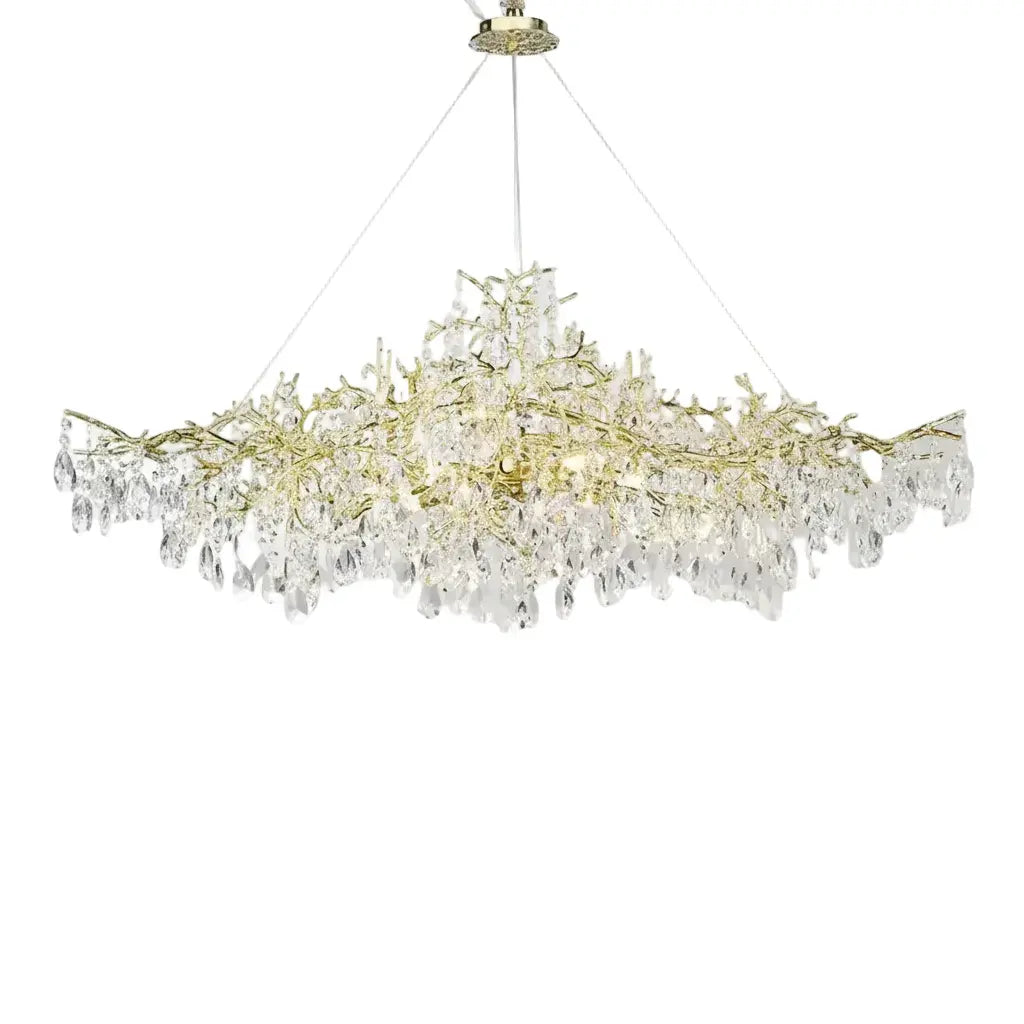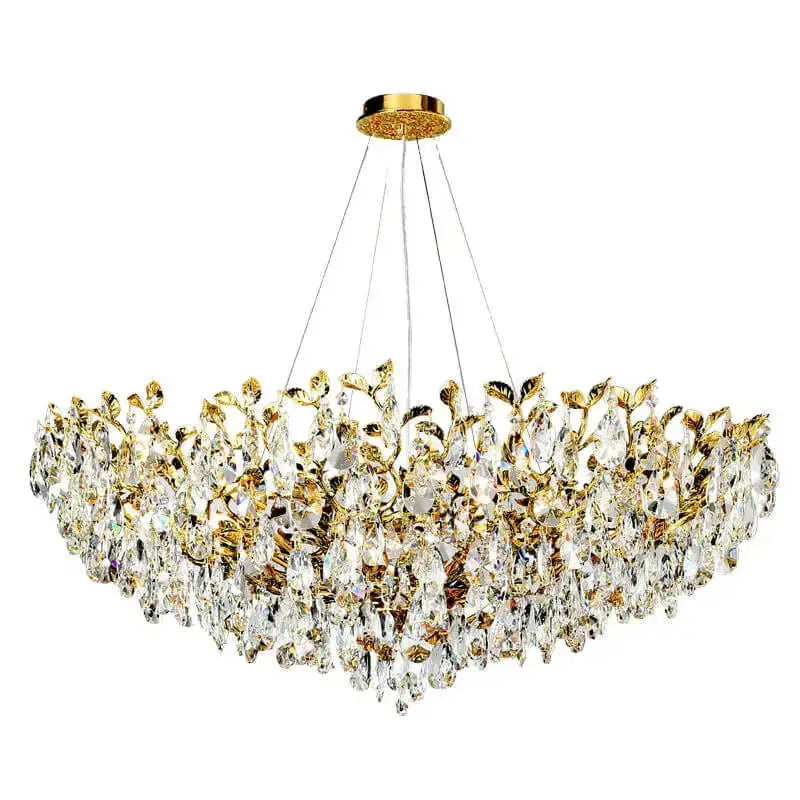
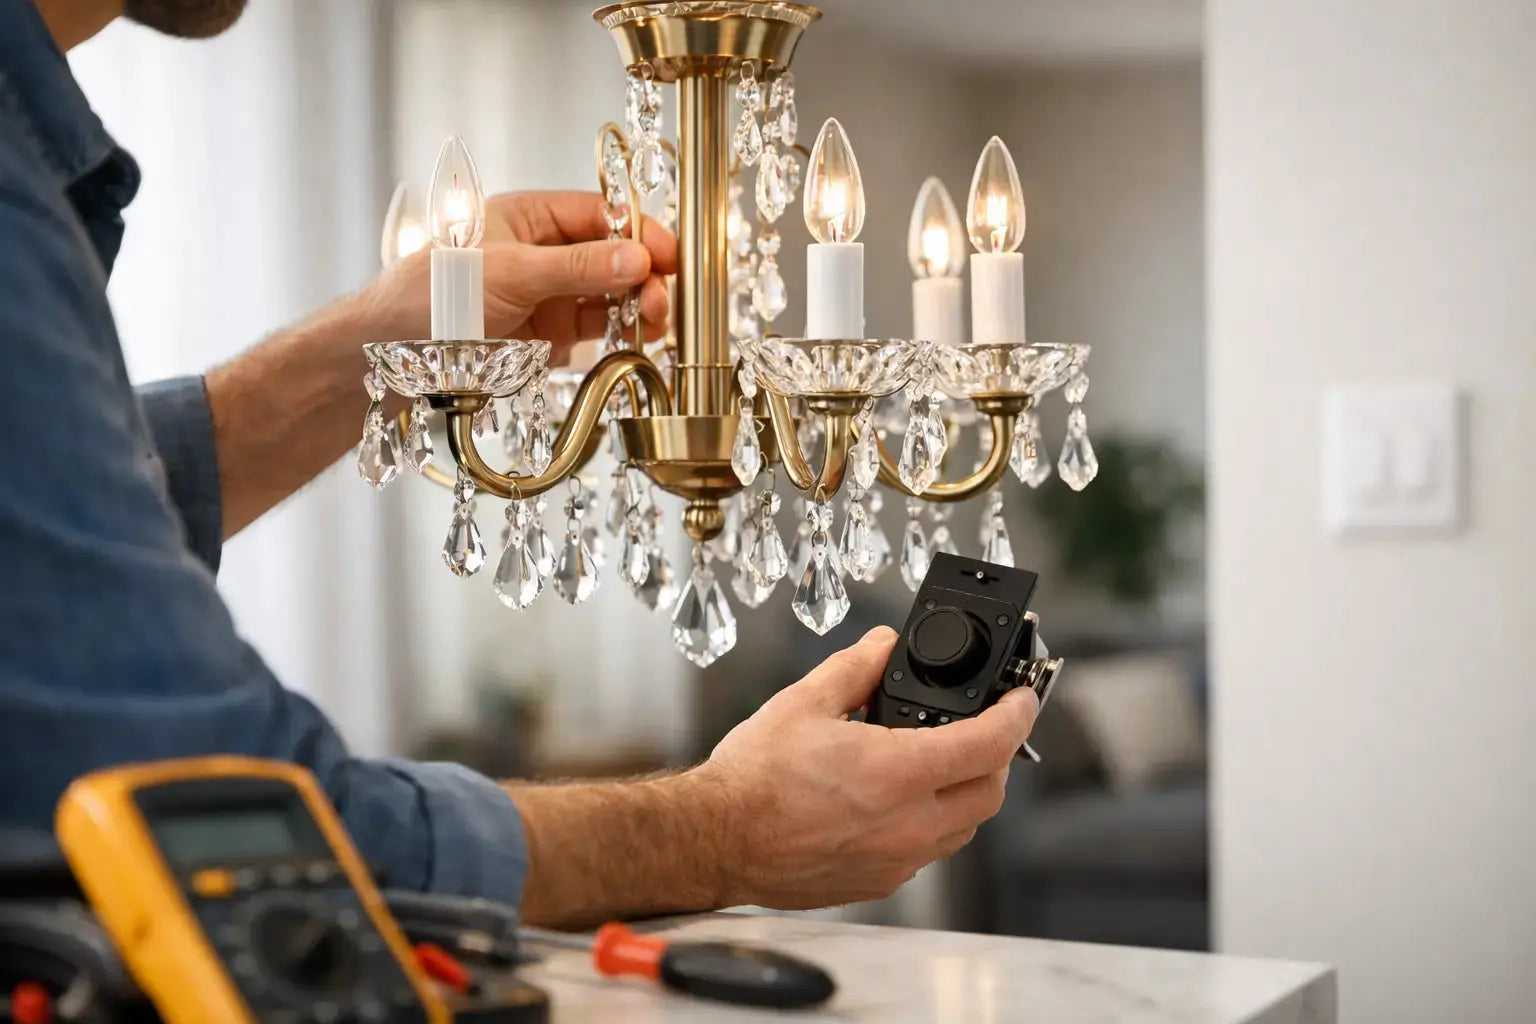
A chandelier should not be reduced to an on-or-off feature. When you know how to install a dimmer-compatible chandelier, you can shift a dining room from bright family breakfasts to a softly lit evening setting with one considered adjustment. The result is more than convenience: it gives a crystal, alabaster or contemporary sculptural fixture the atmosphere it was chosen to create.
The key is planning before the chandelier reaches the ceiling. Dimming problems are rarely caused by the fixture alone. They usually come down to a mismatch between the bulbs, dimmer switch, transformer or driver, and the wiring already in place. Get those details right and your statement lighting will feel as refined in use as it looks overhead.
Before You Install a Dimmer-Compatible Chandelier
Start with the chandelier specification. Confirm that the fixture is suitable for dimming and check whether it requires dimmable LED bulbs, integrated dimmable LEDs, or a specific driver. A chandelier may be described as LED-ready, for example, without its supplied bulbs being dimmable. That distinction matters.
Next, inspect the dimmer. Modern LED chandeliers usually perform best with an LED-rated trailing-edge dimmer. These are designed for the low wattage of LEDs and generally give quieter, smoother dimming than older leading-edge models. A leading-edge dimmer can still be appropriate for certain halogen lamps or compatible transformers, so follow the chandelier and bulb manufacturers' guidance rather than choosing by appearance or price alone.
Check the dimmer's minimum and maximum load as well. Six 4W LED candle bulbs draw only 24W in total. An older dimmer designed for higher-wattage incandescent lighting may not recognise that small load, causing flicker, delayed start-up or a limited dimming range. Some LED dimmers have an adjustable minimum brightness setting, which is particularly useful for multi-arm chandeliers fitted with low-wattage lamps.
Your ceiling structure deserves equal attention. Decorative chandeliers can be considerably heavier than a standard pendant fitting, especially when crystal drops, metal frames or natural stone elements are involved. The mounting point must be secured to a suitable joist, structural support or properly rated fixing system. Never rely on a standard ceiling rose or plasterboard fixing to carry the full weight unless it has been specifically designed and rated to do so.
If your property has older wiring, an unfamiliar ceiling connection, no visible earth conductor, or signs of heat damage around the existing fitting, pause the project. Electrical work in the UK is subject to safety requirements, and a qualified electrician is the right choice where the circuit, earthing or fixed wiring needs assessment. This is also the sensible route for high ceilings, exceptionally heavy fixtures and chandeliers with integrated LED drivers.
What You Will Need
Keep the installation area clean and deliberate. You will usually need the chandelier's mounting bracket and supplied fixings, a screwdriver, wire stripper, approved electrical connectors where required, a voltage tester, a drill and suitable bits for the ceiling structure, and a stable step ladder. For a large foyer or staircase chandelier, plan for a second person to support the fixture while it is connected and secured.
Do not assume the screws in the box suit every ceiling. Fixings must match the surface and the chandelier's weight. A solid timber joist, concrete ceiling and plasterboard ceiling all call for different approaches.
How to Install a Dimmer-Compatible Chandelier Safely
Turn off power at the consumer unit, not simply at the wall switch. Label the circuit if needed so no one restores power while you are working. Then test the wires at the ceiling with an appropriate voltage tester to confirm they are dead. If there is any uncertainty, stop and contact an electrician.
Fit the dimmer switch first
Where you are replacing a conventional switch, install a compatible dimmer before hanging the chandelier. Isolate the circuit, remove the existing switch faceplate and photograph the existing connections for reference. The permanent live, switched live and earth connections must be transferred correctly according to the dimmer's instructions.
UK wiring colours can vary in older homes, so never identify a conductor by colour alone. Modern fixed wiring commonly uses brown for live and blue for neutral, but older installations may use red and black, while switch wiring introduces further variations. A competent electrician can test and identify conductors safely if anything does not match the expected arrangement.
Choose a dimmer with enough physical depth for the back box and the wiring. Slim decorative switches can look beautifully understated beside a formal dining room or elegant entrance, but a crowded back box can damage connections or prevent the faceplate from sitting flush.
Install a properly rated mounting bracket
Remove the old light fitting only after the power has been isolated and tested. Hold the new chandelier bracket against the ceiling and mark its fixing points. Secure it into the joist or the chandelier's specified support method, checking that it is level before fully tightening.
Many chandeliers include a safety chain, cable or secondary support. Use it exactly as instructed. It is not an optional finishing detail; it reduces strain while the wiring is connected and provides additional reassurance for a substantial fixture.
Before lifting the chandelier into place, adjust the chain, downrod or suspension cable to the intended height. Above a dining table, the lowest point generally sits around 76 to 91 cm above the tabletop. In a circulation space, maintain comfortable head clearance. A dramatic staircase piece may need bespoke positioning, with both sightlines and safe movement considered from every floor level.
Connect the chandelier wiring
With the chandelier supported, connect its conductors to the matching ceiling terminals as directed in the fitting instructions. Typically, live connects to live, neutral to neutral, and earth to earth where the fixture requires it. Metal chandeliers commonly need an earth connection unless they are specifically manufactured as double insulated.
Use proper enclosed terminals or connectors that are correctly rated for the circuit. No bare copper should remain exposed beyond the terminal, and connections must not be under tension. Tuck cables carefully into the ceiling void or canopy without trapping or sharply bending them.
If the chandelier has an integrated LED driver, make sure the driver remains accessible if the manufacturer requires future servicing. Do not bury a non-maintenance-free driver behind a sealed ceiling or force it into an overheated, overcrowded canopy.
Secure, dress and test the fixture
Raise the canopy and fasten it neatly to conceal the mounting hardware. Only once the chandelier is fully secure should you attach delicate crystal strands, glass shades or decorative elements. This protects both the finish and your installation process.
Fit the recommended dimmable bulbs, observing the maximum wattage stated for each lamp holder. LED filament candle bulbs often suit classic crystal and candle-style chandeliers, while opal LEDs can create a softer, more contemporary glow in alabaster or globe designs. Keep all bulbs consistent in brand, wattage and colour temperature. Mixing bulbs can create uneven brightness and make dimming behaviour less predictable.
Restore power at the consumer unit and test the chandelier at full brightness first. Then slowly lower the dimmer. Watch for flickering, buzzing, sudden shut-off or bulbs that refuse to dim below a certain point. A small amount of variation at the very lowest level can occur with LEDs, but persistent issues need attention rather than patience.
If Your Chandelier Flickers or Buzzes
Flickering is often a compatibility issue, not a failed chandelier. First, confirm that every bulb is explicitly marked dimmable and that the total wattage sits within the dimmer's operating range. Replacing a legacy dimmer with a quality LED trailing-edge model resolves many problems.
Buzzing can come from the dimmer, bulbs or transformer. Some dimmers make a faint sound under load, but a clearly audible buzz in a quiet dining room is not the luxury finish most homeowners want. Try a compatible dimmer and matching bulbs before assuming the fixture is at fault.
If lights flash at low levels, adjust the dimmer's trim setting if it has one. Raise the minimum brightness until the lamps remain stable, then test the full range again. Integrated LED chandeliers may have a manufacturer-specified dimmer list, and following it is usually the quickest path to smooth performance.
Design the Light, Not Just the Fixture
A dimmer gives your chandelier a more versatile role in the room. In a dining space, use higher brightness for serving and clearing, then lower it once guests are settled. In a foyer, a welcoming mid-level glow lets the chandelier's materials catch the eye without overwhelming the space. For bedrooms, dimming transforms a statement ceiling fixture from decorative drama to a calmer, more restorative layer of light.
Consider colour temperature alongside brightness. Warm white, around 2700K, complements brass, crystal, marble-inspired finishes and traditional interiors with a gentle, inviting glow. A slightly cooler 3000K can suit crisp contemporary schemes and kitchens, particularly where the chandelier is paired with practical task lighting.
For homeowners selecting a new centrepiece, ChandeliersLife offers design-forward chandelier styles that make this final detail worthwhile. A carefully chosen fixture, correctly supported and paired with compatible dimming components, becomes a lasting part of how a home feels at every hour.
The most beautiful installation is one you can trust: secure above you, flattering to the room, and responsive enough to make every occasion feel considered.