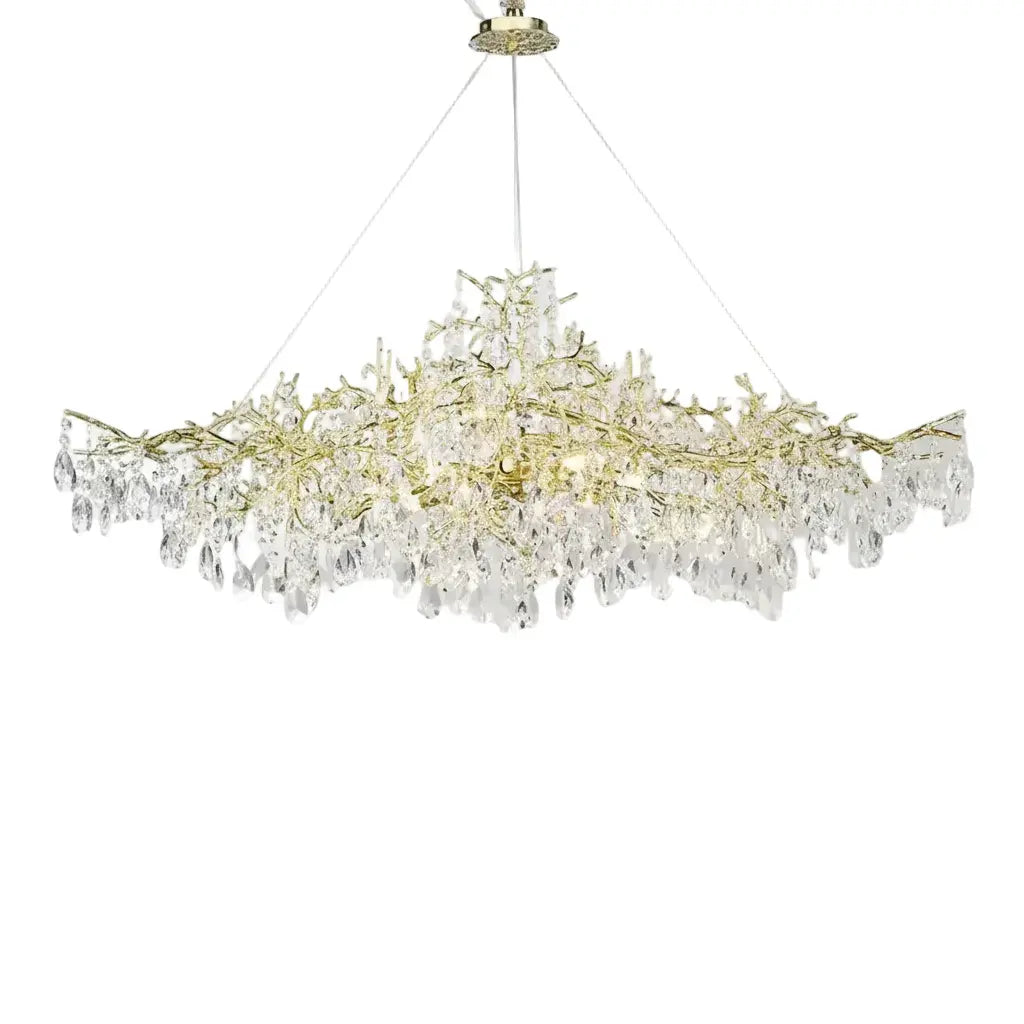
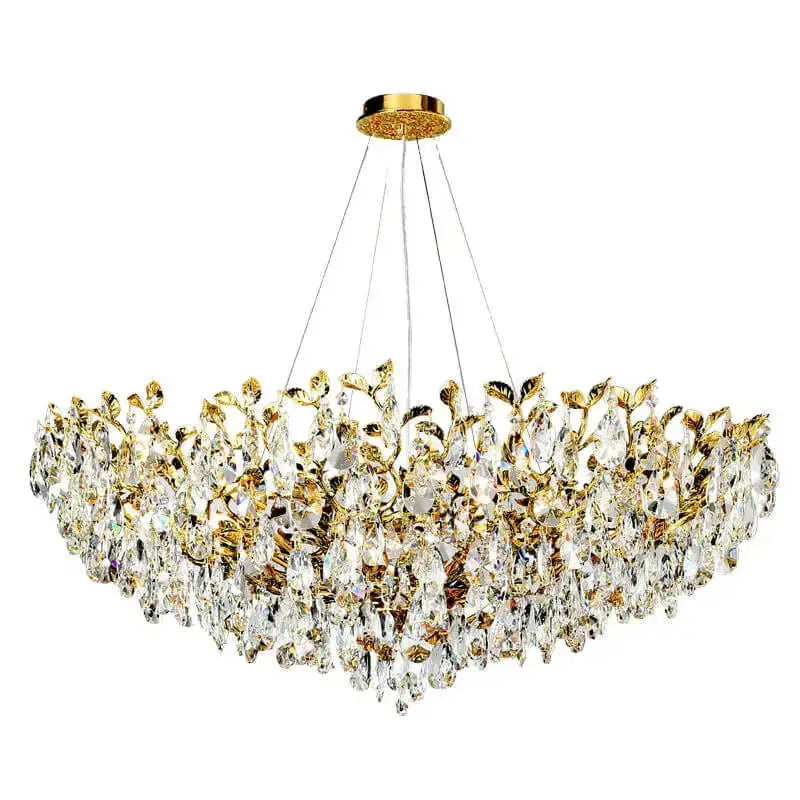
Restoring a vintage chandelier can transform a dusty old fixture into a stunning centerpiece for any room. Whether it's a family heirloom or a flea market find, bringing a chandelier back to life involves understanding its parts, using the right tools, and following careful steps. This guide will walk you through everything you need to know, from identifying different styles to the final installation.
Key Takeaways
- Understanding the anatomy of vintage chandeliers is crucial for effective restoration.
- Using the right tools and materials can make the cleaning and repair process easier.
- Step-by-step cleaning ensures each part of the chandelier is properly maintained.
- Repairing and replacing parts can restore the chandelier's original beauty.
- Regular maintenance is key to preserving the chandelier's condition over time.
Understanding the Anatomy of Vintage Chandeliers
Vintage chandeliers are captivating pieces that add a touch of elegance to any room. To restore these beautiful fixtures, it's important to understand their anatomy. Knowing the different parts and materials used in vintage chandeliers can help you in their upkeep and restoration.
Essential Tools and Materials for Restoration
Restoring a vintage chandelier requires the right tools and materials. Having the proper supplies can make the process smoother and more effective. Here’s a breakdown of what you’ll need:
Cleaning Supplies
To start, you’ll need some basic cleaning supplies:
- Soft cloths
- Mild soap
- Toothbrush
- Vinegar
- Ammonia
These items will help you remove dirt and grime without damaging the delicate parts of your chandelier.
Repair Tools
For repairs, gather these tools:
- Screwdrivers
- Pliers
- Wire cutters
- Soldering iron
- Electrical tape
These tools are essential for fixing any broken parts and ensuring everything is securely in place.
Replacement Parts
Sometimes, you might need to replace missing or damaged parts. Common replacement parts include:
- Crystals
- Light bulbs
- Wiring
- Metal chains
Having these on hand will make it easier to restore your chandelier to its former glory.
Remember, using the right tools and materials is key to a successful restoration. Whether you're working on alabaster chandeliers or another style, the right supplies can make all the difference.
Step-by-Step Cleaning Process
Restoring a vintage chandelier can be a rewarding experience. Follow these steps to ensure your chandelier shines like new.
Removing Dust and Debris
Start by carefully removing any loose dust and debris. Use a soft brush or a vacuum with a brush attachment to gently clean the surface. Avoid using harsh chemicals at this stage to prevent damage.
Cleaning Metal Surfaces
For metal parts, a gentle cleaner is essential. You can use a mixture of mild soap and water or a specialized metal cleaner. Apply the cleaner with a soft cloth or a toothbrush for intricate areas. Be sure to rinse thoroughly and dry completely to avoid water spots.
Polishing Crystals and Glass
To clean the crystals and glass, remove them from the chandelier if possible. Soak them in a solution of warm water and mild dish soap. After soaking, gently scrub each piece with a soft cloth. Rinse with clean water and let them air dry on a soft towel.
A clean chandelier not only looks stunning but also enhances the light quality in your room. Regular maintenance will keep it sparkling for years to come.
Repairing and Replacing Chandelier Parts
Fixing Electrical Wiring
When fixing the electrical wiring of a chandelier, safety is the top priority. Always ensure the power is off before starting any work. Follow these steps:
- Turn off the power at the circuit breaker.
- Remove the chandelier from the ceiling.
- Inspect the wires for any damage or wear.
- Replace any frayed or damaged wires.
- Reattach the chandelier and turn the power back on.
If you are unsure about any step, it is best to consult an essential chandelier wiring guide for homeowners or hire a professional.
Replacing Missing Crystals
Replacing missing crystals can restore the chandelier's original beauty. Here’s how to do it:
- Identify the type and size of the missing crystals.
- Purchase replacement crystals that match the original ones.
- Carefully attach the new crystals to the chandelier.
Restoring Metal Finishes
Restoring the metal finishes of a chandelier can make it look brand new. Follow these steps:
- Clean the metal surfaces with a gentle cleaner.
- Use a metal polish to restore shine.
- If necessary, apply a new coat of paint or finish.
Taking the time to properly restore and replace parts of your chandelier can bring back its original elegance and charm.
Painting and Finishing Touches
Choosing the Right Paint
Selecting the right paint is crucial for restoring your vintage chandelier. Mineral paint is a popular choice due to its durability and smooth finish. Metallic paints, like Vintage Gold, can add a touch of elegance, making your chandelier a stunning focal point in any room. For a more rustic look, consider using milk paint, which gives a charming, aged appearance.
Applying Paint to Metal Surfaces
Before you start painting, make sure to clean the metal surfaces thoroughly. Use a TSP alternative to remove any grime or old paint. Apply the paint in thin, even coats to avoid drips. A small brush works best for intricate details. If you're aiming for a distressed look, lightly sand the edges after the paint dries.
Sealing and Protecting the Finish
Once the paint is dry, it's important to seal and protect the finish. Use a clear wax or a tough coat to add a layer of protection. This not only enhances the paint's durability but also gives it a polished look. For chandeliers in high-humidity areas, like bathrooms, consider using a water-resistant sealant.
A well-painted chandelier can transform your space, adding a touch of elegance and sophistication. Whether you're into boho chic home decor or prefer a more minimalist style, the right paint and finish can make all the difference.
Highlights
- Mineral paint is durable and smooth.
- Use a TSP alternative for cleaning.
- Apply paint in thin, even coats.
- Seal with clear wax or tough coat.
- Consider water-resistant sealant for bathrooms.
Reassembling and Installing Your Chandelier
Reattaching Crystals and Ornaments
Start by carefully reattaching any crystals and ornaments to your chandelier. Make sure each piece is securely fastened to avoid any accidents. Double-check each connection to ensure everything is stable.
Ensuring Structural Integrity
Before you install your chandelier, it's crucial to ensure its structural integrity. Inspect all parts for any signs of wear or damage. Tighten any loose screws or bolts and replace any worn-out parts. This step is essential for the safety and longevity of your chandelier.
Proper Installation Techniques
- Turn off the power to the electrical box where you'll be installing the chandelier.
- Attach the mounting bracket or canopy to the electrical box, following the manufacturer's instructions. Ensure the bracket is securely in place and can support the weight of the chandelier.
- Connect the wires from the chandelier to the corresponding wires in the electrical box, matching the colors (typically black for hot, white for neutral, and green or bare copper for ground). Use wire nuts or other approved connectors to make these connections.
- Carefully lift the chandelier into place, aligning the mounting hardware with the previously installed bracket or canopy. Secure the chandelier in place, tightening any screws or fasteners as directed by the manufacturer.
- Before restoring power, double-check all connections and ensure the chandelier is securely in place. Once satisfied, turn the power back on and test the chandelier to ensure it's functioning properly.
Taking the time to follow these steps will ensure your chandelier is safely and securely installed, providing a beautiful and functional centerpiece for your room.
If your chandelier features adjustable chains or rods, take the time to level the fixture and adjust the height to your desired positioning. This step is crucial for ensuring the chandelier is properly centered and aligned within the space.
Finally, consider adding any additional decorative elements or accessories, such as candle sleeves or decorative chains, to personalize your chandelier and enhance its overall aesthetic.
Maintaining Your Restored Chandelier
Once you've restored your vintage chandelier, keeping it in top condition is essential. Regular maintenance will ensure it remains a stunning centerpiece in your home for years to come.
Regular Cleaning Tips
- Dust frequently: Use a soft, dry cloth to remove dust from metal frames and exposed bulbs.
- Clean glass and crystals: Turn off the power, let bulbs cool, and use a gentle glass cleaner with a lint-free cloth.
- Wooden elements: Use a wood-specific cleaner or mild soap solution, avoiding harsh chemicals.
Preventing Damage
- Check electrical components: Ensure all bulbs work and wiring is intact. If issues arise, consult a professional.
- Handle with care: When moving or storing, support the chandelier's weight evenly to avoid damage.
Long-Term Care and Preservation
- Regular inspections: Periodically check for any wear and tear or loose parts.
- Professional cleaning: For intricate chandeliers, consider professional services to maintain their sparkle.
Consistent care and attention to detail will keep your chandelier looking as beautiful as the day it was restored.
Keeping your chandelier looking its best is easier than you think. Regular dusting and occasional deep cleaning will keep it sparkling. For more tips and tricks on maintaining your chandelier, visit our website. You'll find everything you need to keep your lighting fixtures in top shape.
Conclusion
Restoring a vintage chandelier is a rewarding journey that brings a touch of history and elegance into your home. By following the steps outlined in this guide, you can transform a dusty, old fixture into a stunning centerpiece. Remember, patience and attention to detail are key. Whether you're cleaning crystals, painting metal, or rewiring, each step is crucial to achieving a beautiful result. So, roll up your sleeves and enjoy the process of bringing new life to a timeless piece. Happy restoring!
Frequently Asked Questions
How do I clean a vintage chandelier without damaging it?
To clean a vintage chandelier, first, remove any dust with a soft brush or cloth. For metal parts, use a gentle cleaner like a mixture of water and mild dish soap. For crystals, you can use a solution of water and vinegar. Always dry each part thoroughly to avoid water spots.
Can I restore a chandelier if it has missing parts?
Yes, you can restore a chandelier with missing parts. You can find replacement crystals, arms, and other components online or at specialty lighting stores. Make sure to match the style and size of the original parts for a cohesive look.
What tools do I need for chandelier restoration?
For chandelier restoration, you'll need basic tools like pliers, screwdrivers, and wire cutters. Additionally, you might need specialized cleaning supplies, replacement parts, and possibly some paint or finish to touch up the metal surfaces.
Is it safe to rewire an old chandelier myself?
Rewiring a chandelier can be done by yourself if you have some electrical knowledge. However, if you're unsure, it's best to consult a professional to avoid any safety hazards. Always make sure to turn off the power before starting any electrical work.
How do I choose the right paint for a vintage chandelier?
When choosing paint for a vintage chandelier, opt for a spray paint designed for metal surfaces. Look for paints that are durable and provide a smooth finish. It's also a good idea to use a primer before painting to ensure better adhesion and longevity.
How often should I clean and maintain my restored chandelier?
You should clean your chandelier every few months to keep it looking its best. Dust it regularly and do a more thorough cleaning once or twice a year. Regular maintenance will help preserve its beauty and functionality for years to come.


