Want to brighten up your yard without spending a lot of money on professional help? Good news! You can install outdoor lights all by yourself. This guide will show you step-by-step how to do it, no matter your budget or skill level. Ready to get started? Let's dive in!
Key Takeaways
- Plan your outdoor lighting design before you start installing.
- Gather all the tools and materials you'll need ahead of time.
- Follow safety precautions to avoid accidents.
- Test your lights to make sure they work properly.
- Regularly maintain your lights to keep them in good shape.
Planning Your Outdoor Lighting Design
Before you start your outdoor lighting project, it's important to have a clear idea of what you want to achieve. This will help you choose the right lighting fixtures and determine the best placement for each light. Planning ahead can save you time and money by avoiding mistakes and redoing work.
Gathering the Necessary Tools and Materials
Before you start your outdoor lighting project, make sure you have all the necessary tools and materials. This will help you finish the job quickly and correctly. Here are the key items you'll need:
Essential Tools for Installation
For this project, you should have basic wiring skills to make proper connections. The essential tools include:
- Wire strippers
- Screwdriver
- Shovel or trenching tool
- Stake installer
While not crucial, a trench shovel, a mattock, and a sledgehammer can make trench work easier and faster. Allow about a day to complete this project if you gather all the parts in advance.
Selecting the Right Cables and Connectors
Choosing the right cables and connectors is vital for a successful installation. Make sure to select cables that are suitable for outdoor use and can handle the electrical load of your lighting fixtures. Connectors should be weatherproof to prevent any damage from moisture.
Safety Gear and Precautions
Safety should always be a priority. Wear appropriate safety gear, such as gloves and safety glasses, to protect yourself during installation. Additionally, make sure to turn off the power before working with any electrical components to avoid accidents.
By planning your lighting design in advance, you’ll save time and money by avoiding mistakes and having to redo work.
Installing the Lighting Fixtures
Mounting Wall Lights
Start by marking the spots where you want to place your wall lights. Drill holes for each fixture and run the wiring through them. Make sure to use a drill bit slightly larger than the wiring so it fits snugly. After drilling, mount the lighting fixtures in their designated spots and connect the wiring.
Setting Up Pathway Lights
Place your pathway lights along the path where you want them installed. Keep them about 8-10 feet apart for even lighting. Dig small holes for the stakes and insert the lights. Run the wiring along the path, making sure it is hidden and secure.
Installing Spotlights and Floodlights
Position your spotlights and floodlights where they will provide the best coverage. Mount them on walls, eaves, or stakes in the ground. Run the wiring to each fixture and connect it according to the manufacturer's instructions. Ensure the lights are angled correctly to highlight your desired areas.
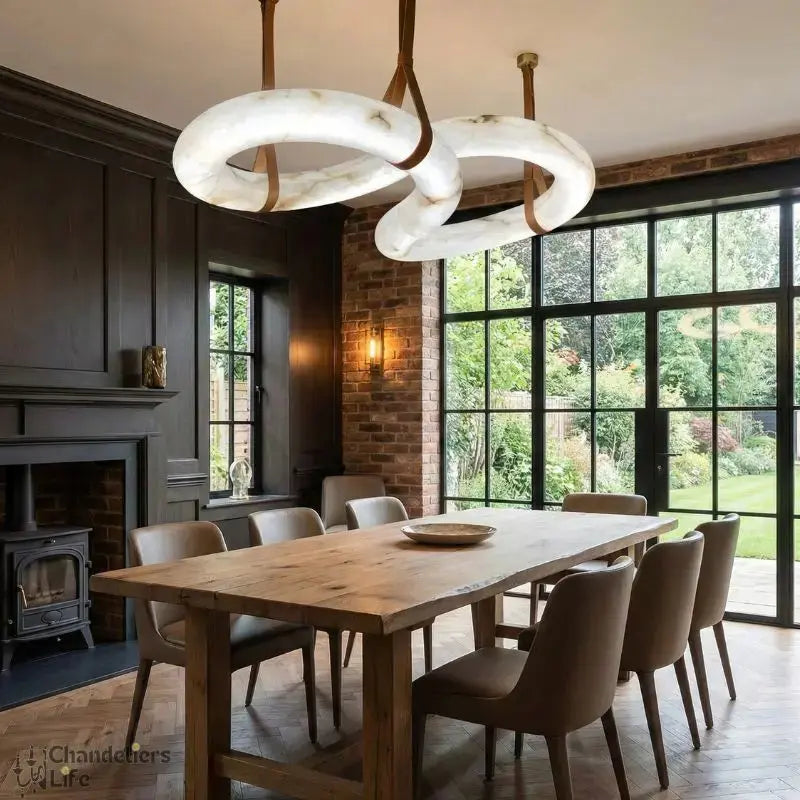
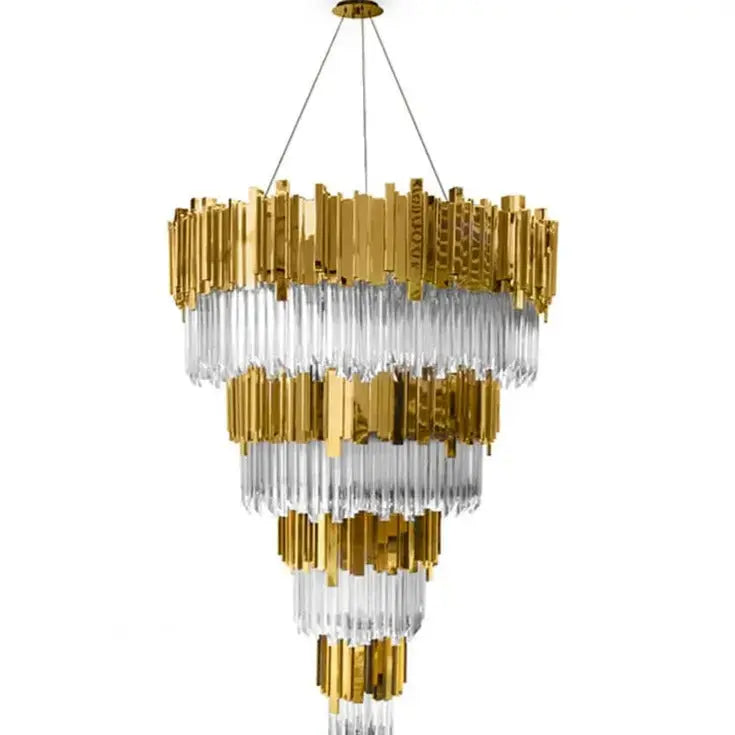
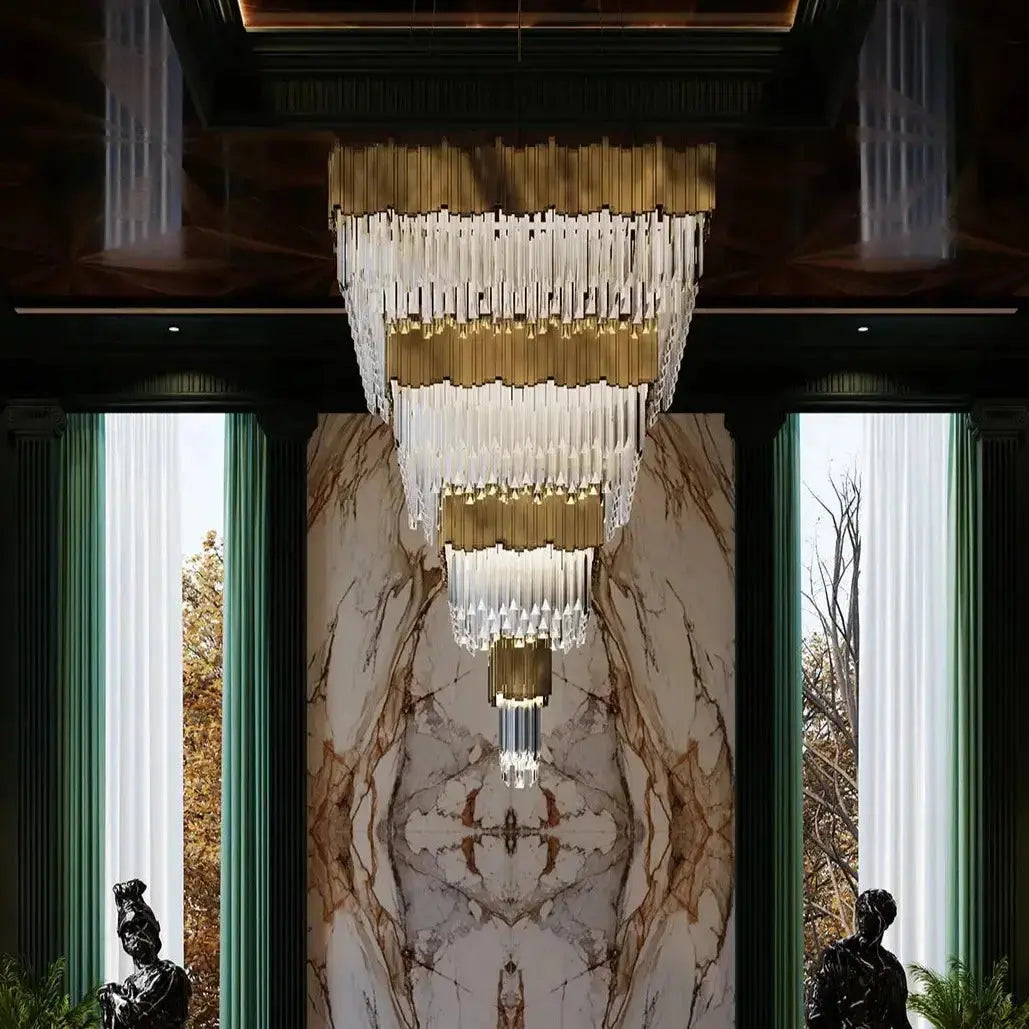
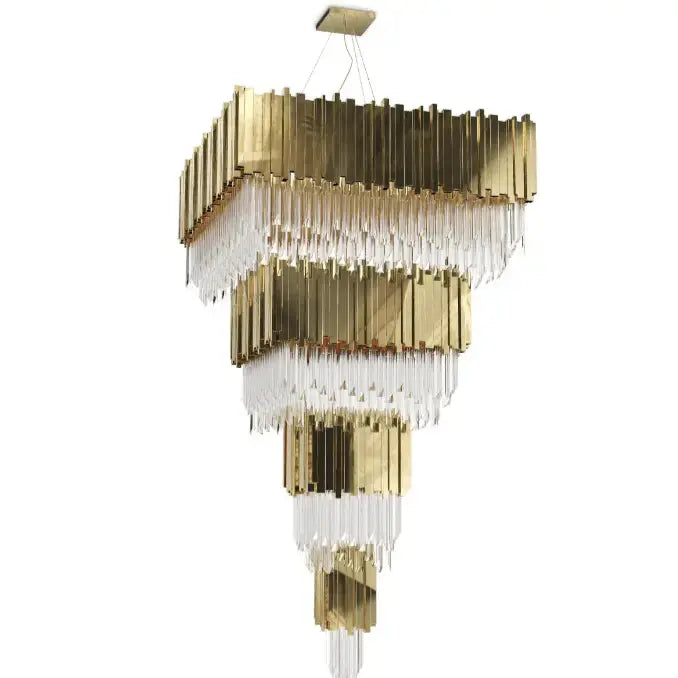
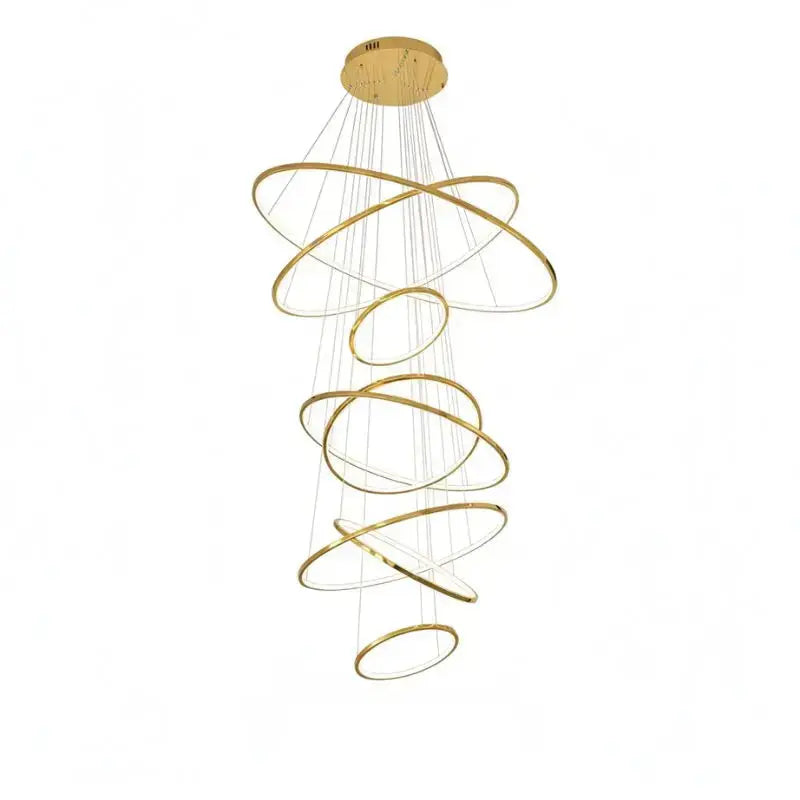
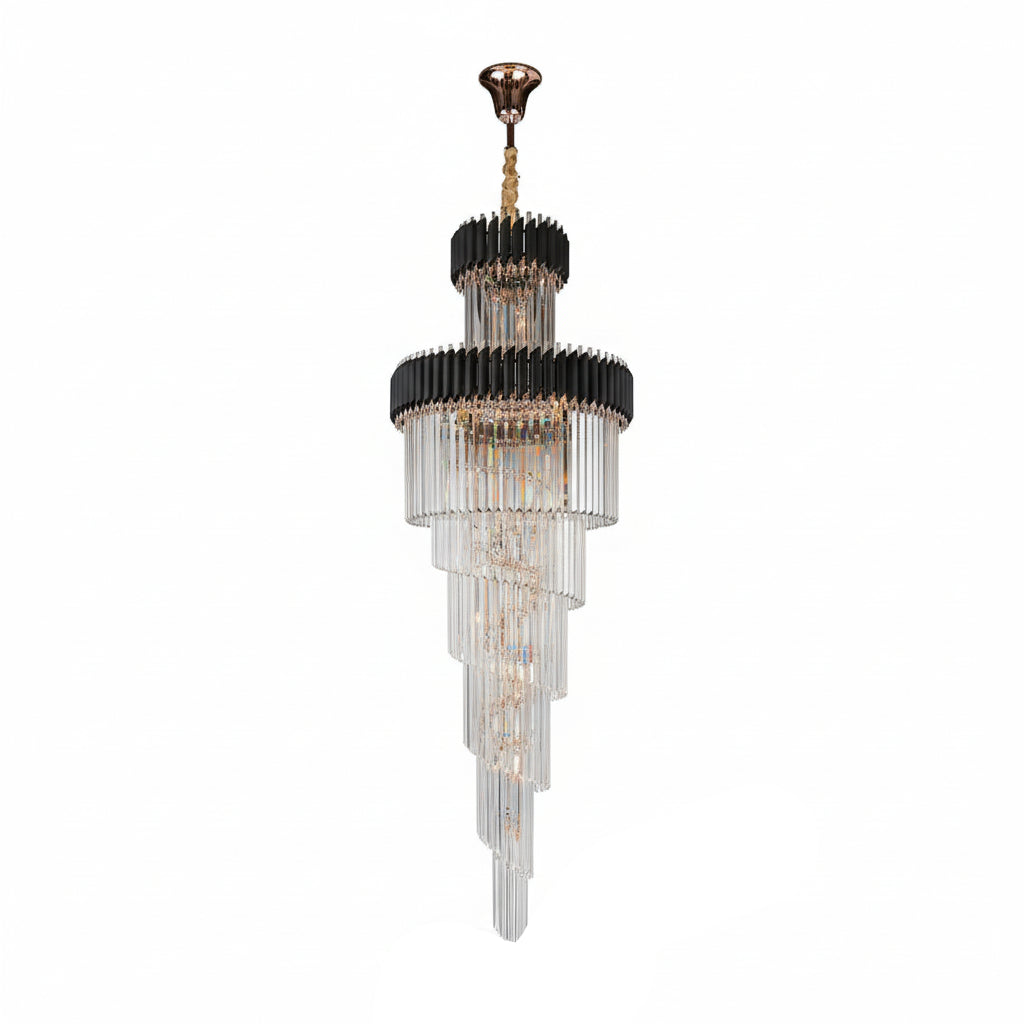
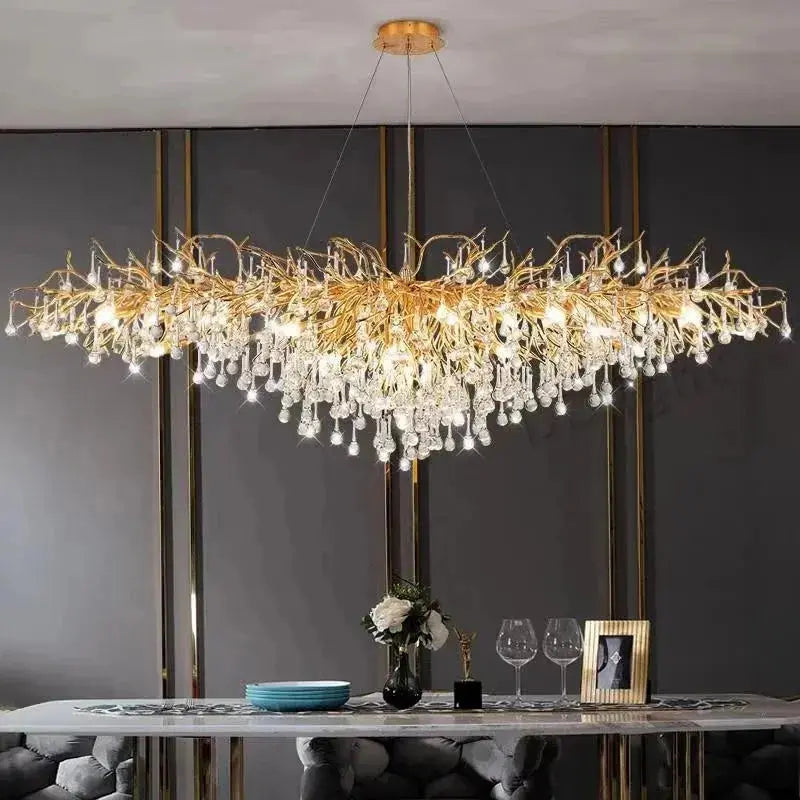
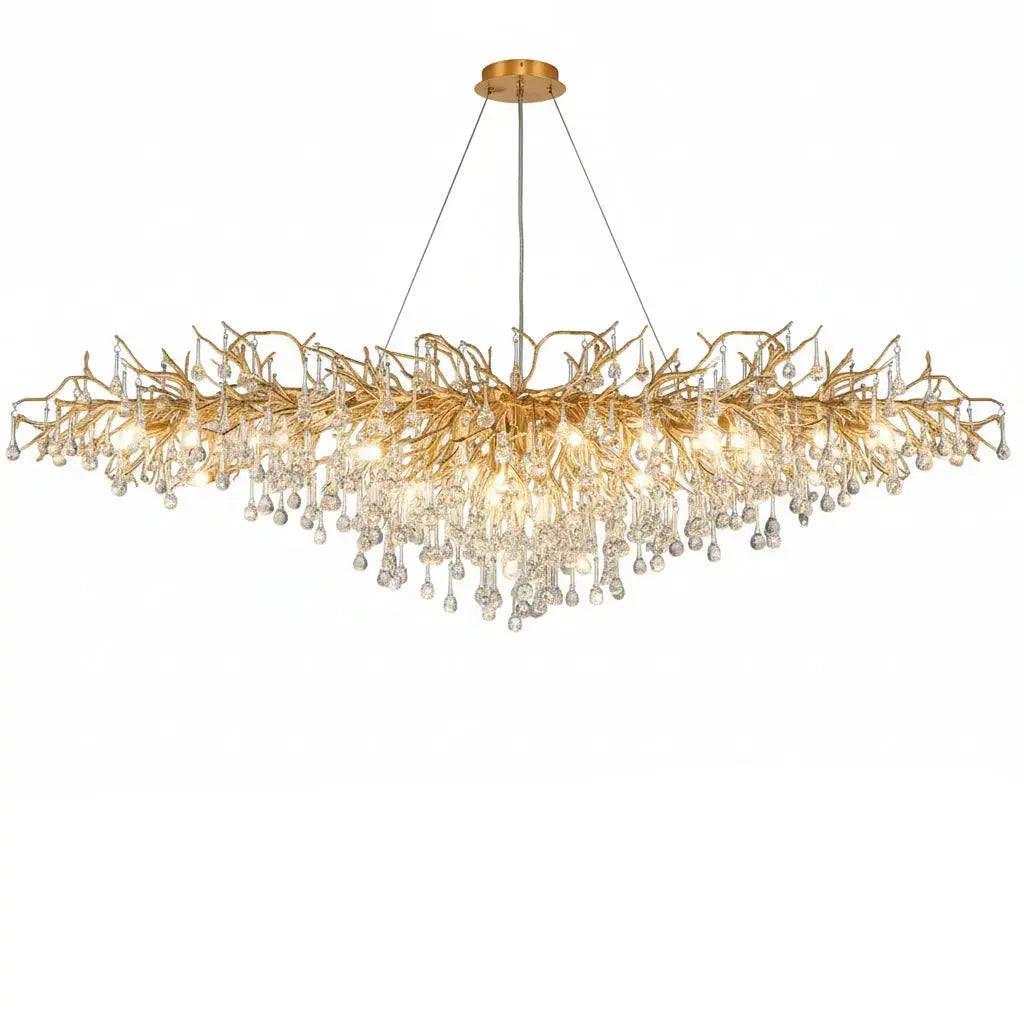
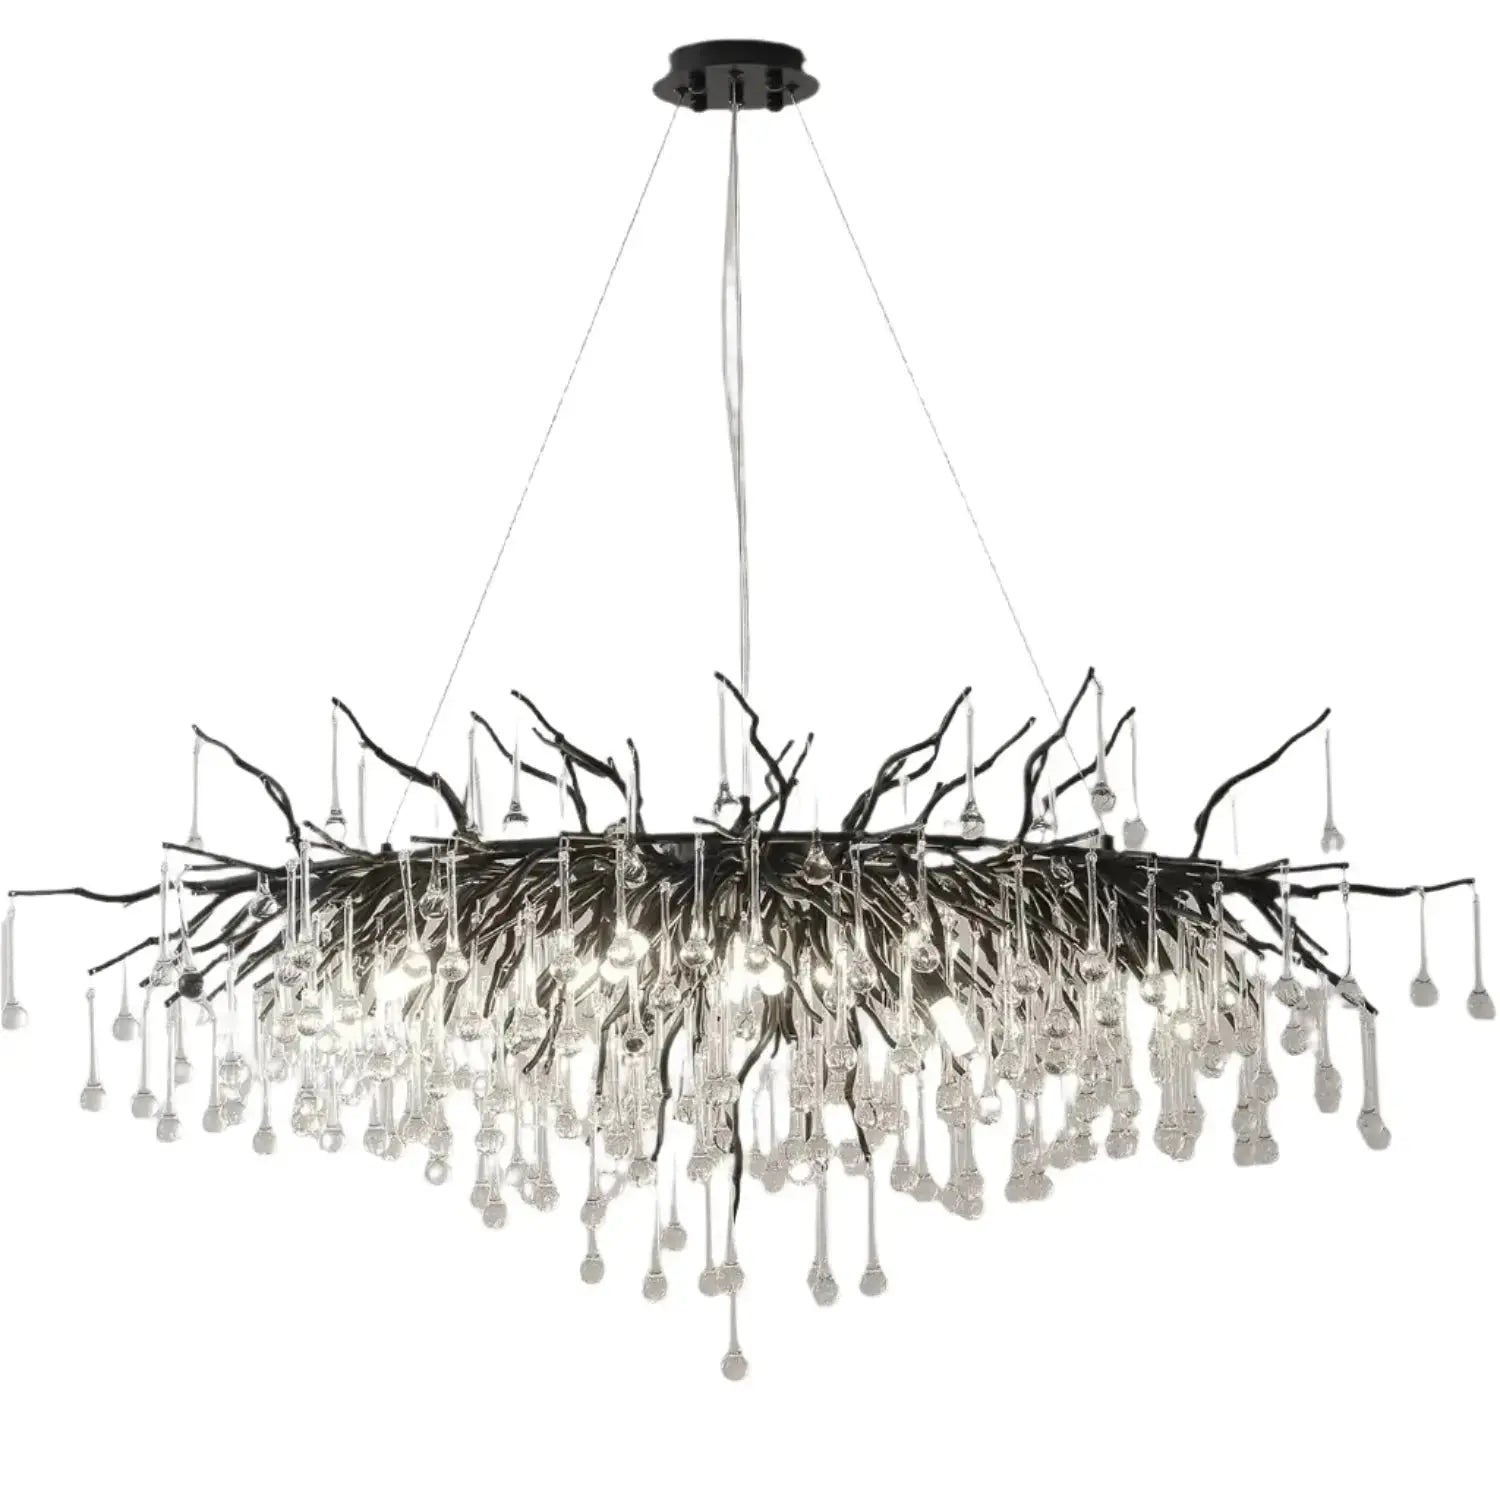
This comprehensive guide on chandelier installation costs and process emphasizes the importance of professional help, electrical requirements, and installation steps for safety and success.
Wiring and Powering Your Outdoor Lights
Running Electrical Cables
Before you start, make sure the power is off to avoid any accidents. Use outdoor-rated electrical wires for safe use. Run the cables from your power source to the lighting fixtures, ensuring they are buried or hidden to prevent tripping hazards.
Connecting to a Power Source
If you're using electric lights, you'll need to connect the wiring to an outdoor electrical outlet. Strip the ends of your wires and attach them to the correct terminals on your outlet. Finally, turn the power back on and test your lights to make sure they’re working properly.
Using Solar-Powered Options
For a simpler and eco-friendly option, consider solar-powered lights. These lights don't require wiring and can be placed anywhere with direct sunlight. They are perfect to enhance your walkway with solar-powered garden path lights. Just make sure to place them where they can get enough sunlight during the day to function at night.
Testing and Adjusting Your Lighting Setup
Checking for Proper Functionality
Once all your connections are made, it's time to test your system. Turn on your transformer and walk around your property to ensure every fixture is lit. If one is out, it may be due to a bad connection. Loose connections are often the main issue, so check the wiring again and see if it is damaged. Replace any faulty wiring and turn the circuit back on.
Adjusting Light Angles and Coverage
Wait until nighttime before starting adjustments; that way, you can clearly see the lighting effects created by each fixture. Walk your property again and make sure each light is aimed at the desired feature in your landscape. Keep an eye out for any areas that need more light or where the light is too harsh.
Troubleshooting Common Issues
If you spot any lights that don’t turn on, turn all the lights off to address the issue. More often than not, the main problem is loose connections. Check the wiring once more and see if it is damaged in any place. If so, replace the wiring and turn the circuit back on.
Proper testing and adjustment ensure your outdoor lighting setup is both functional and visually appealing.
Maintaining Your Outdoor Lighting
Once your outdoor lighting is installed, it’s important to keep it in good condition. Regular maintenance will help ensure that your lights last for many years and continue to provide the desired effect. Here are some tips to help you maintain your outdoor lighting:
Keeping your outdoor lights in top shape is easier than you think. Regularly check for burnt-out bulbs and clean the fixtures to keep them shining bright. For more tips and a wide selection of lighting options, visit our website today!
Conclusion
Installing outdoor lights by yourself might seem like a big job, but with the right steps, it's totally doable. By following this guide, you can light up your yard or garden just the way you want. Remember, planning is key. Take your time to design your lighting layout, gather all the materials, and follow each step carefully. If you run into any problems, don't hesitate to ask for help or look up more resources. Now, go ahead and enjoy your beautifully lit outdoor space!
Frequently Asked Questions
Do I need a permit to install outdoor lights?
In most places, you don't need a permit for low-voltage lighting. But if you're working with high-voltage systems, it's best to check with your local building department to see if a permit is required.
Can I install outdoor lights by myself?
Yes, you can! With the right tools and a step-by-step guide, installing outdoor lights can be a DIY project. Just make sure to follow safety guidelines.
What type of lights should I use for pathways?
Pathway lights are great for lighting up walkways. Solar-powered lights are easy to install and energy-efficient, but you can also use low-voltage lights for more brightness.
How do I maintain my outdoor lights?
Regularly clean the fixtures and check for any damage. Replace bulbs as needed and make adjustments for seasonal changes. This will ensure your lights last longer and work properly.
Is it safe to use extension cords for outdoor lighting?
It's not recommended to use extension cords for permanent outdoor lighting. Instead, use outdoor-rated cables and connectors for a safer and more durable setup.
Can outdoor lights be connected to a smart home system?
Yes, many outdoor lights can be connected to smart home systems. This allows you to control the lights remotely using your smartphone or voice commands.


