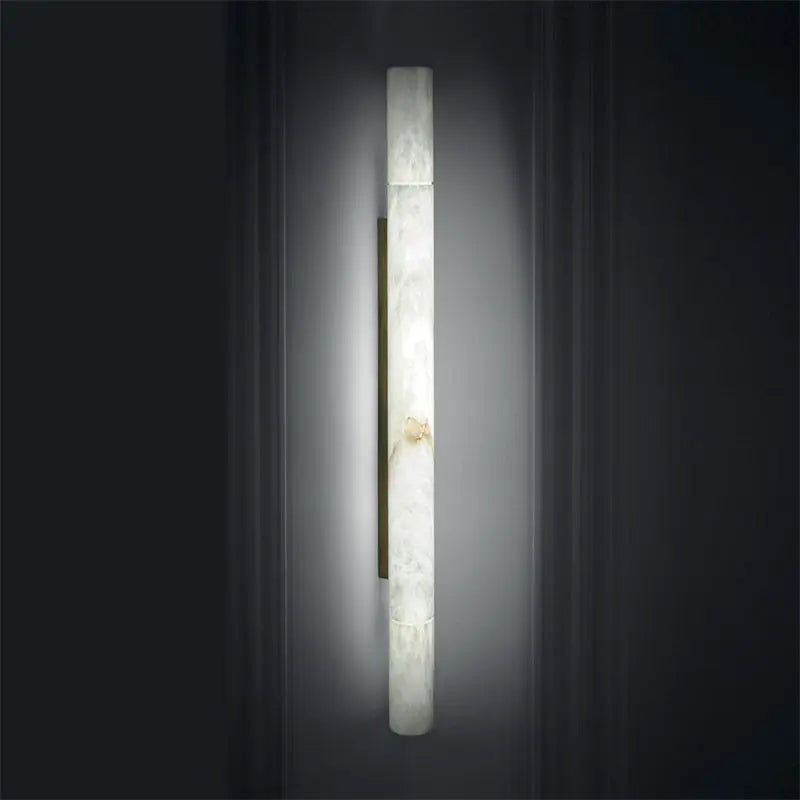
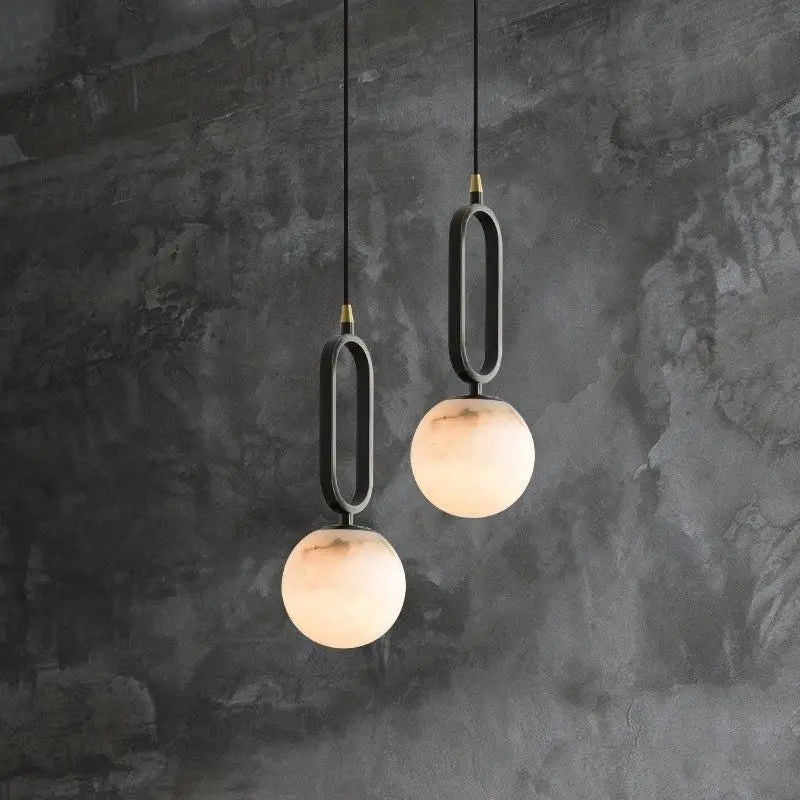
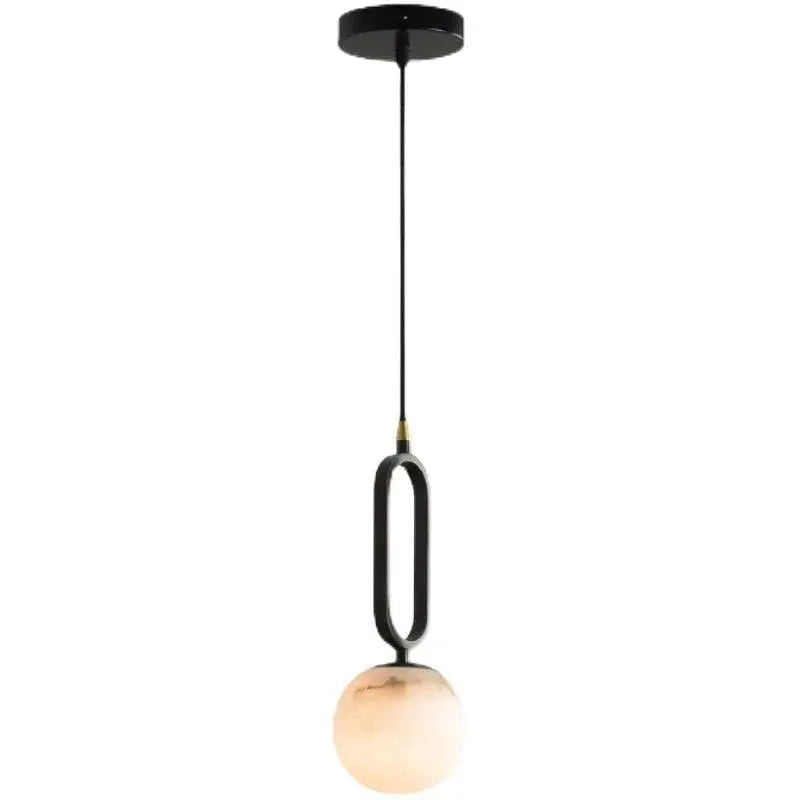
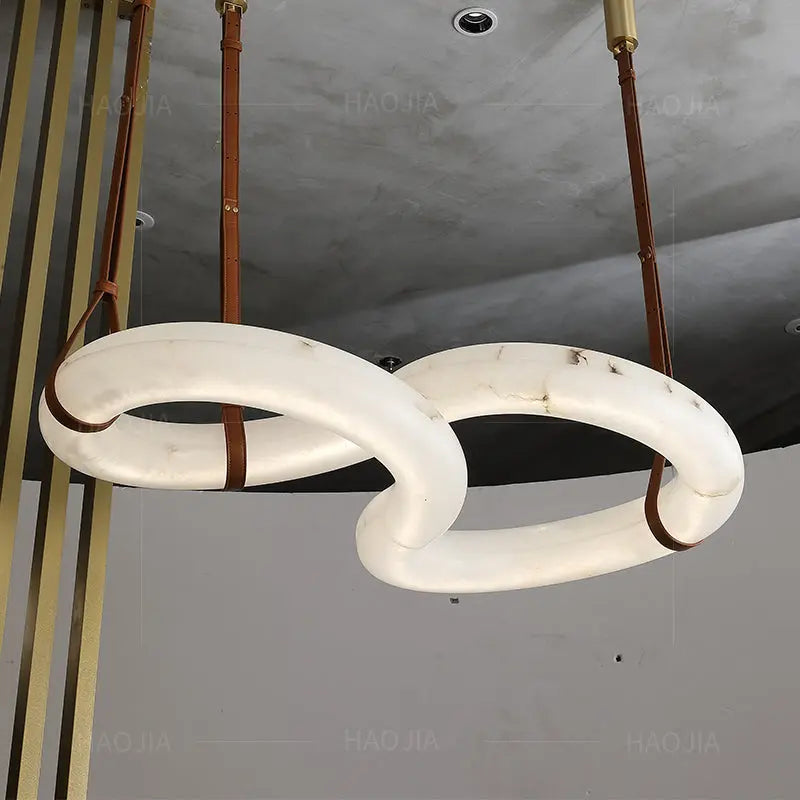
Installing a chandelier can seem like a daunting task, but with the right approach, you can do it like a pro. Whether you're looking to add a touch of elegance to your living space or just want to brighten up a room, knowing how to install a chandelier properly is key. In this guide, we’ll walk you through everything from preparation to the final checks, ensuring your installation goes off without a hitch.
Key Takeaways
- Clear the installation area for safety and ease of movement.
- Gather all necessary tools and materials before starting.
- Understand the different types of chandeliers to choose the right one for your space.
- Follow a step-by-step guide for assembly and installation.
- Always double-check your connections and ensure the chandelier is grounded.
Preparing The Installation Area
Before you even think about touching that shiny new chandelier, let's get the area prepped. Trust me, a little prep work goes a long way in making the whole process smoother and safer. It's like prepping ingredients before you start cooking – nobody wants to be scrambling for a missing spice halfway through!
Clearing The Space
First things first, clear the area directly beneath where the chandelier will hang. Move any furniture out of the way. You don't want to be bumping into your coffee table or tripping over a rug while you're trying to balance on a ladder with a heavy light fixture. This is especially important if you're working with a crystal chandelier; those things can be surprisingly delicate.
Laying Protective Covering
Next, protect your floor. Lay down a drop cloth or some old blankets. Seriously, do it. Chandeliers can have small parts that fall during installation, and you don't want to scratch your hardwood floors or stain your carpet. Plus, it'll catch any dust or debris that comes down from the ceiling. Think of it as a safety net for your floors.
Ensuring Safety During Installation
The most important step is to turn off the power! Go to your breaker box and switch off the circuit that controls the existing light fixture. Use a voltage tester to double-check that the power is indeed off before you start messing with any wires. Better safe than sorry, right? Also, make sure you have a stable ladder to work from. Don't try to balance on a wobbly chair or a stack of books. A good, sturdy ladder is your best friend during this process.
Working with electricity can be dangerous, so if you're not comfortable with any of these steps, it's always best to call a qualified electrician. It's not worth risking your safety to save a few bucks.
Tools And Materials Needed
Essential Tools For Installation
Okay, so you're ready to hang that chandelier! First, let's talk tools. You absolutely need a voltage tester. Seriously, don't skip this. It's how you make sure the power is off before you even think about touching any wires. A good, sturdy ladder is also a must. You don't want to be wobbling around up there. Get one that's tall enough so you can comfortably reach the ceiling without stretching too much. Wire cutters and wire strippers are your friends when it comes to dealing with the chandelier's wires. And, of course, a screwdriver set. Make sure you have different types and sizes because you never know what kind of screws you'll encounter. Pliers are also super handy for twisting wires and tightening nuts. If your chandelier is on the heavier side, you might need a ceiling fan brace to support the extra weight.
Gathering Necessary Materials
Now, let's gather the materials. You'll need a junction box. This is where all the wires connect, and it's important to have a secure one. A mounting bracket is also essential. This is what actually holds the chandelier to the ceiling. Electrical tape is a must-have for insulating the wires. Don't skimp on this; it's important for safety. If you're working alone, or if the chandelier is particularly heavy, you might want to consider getting a chandelier lift. It can make the whole process a lot easier and safer. And, of course, you'll need the chandelier itself and any decorative elements you want to add.
Optional Equipment For Heavy Chandeliers
If you're dealing with a really heavy chandelier, there are a few extra things you might want to consider. A chain or cable support system can help distribute the weight and prevent the mounting bracket from failing. A helper is always a good idea, especially if you're not comfortable lifting heavy objects. And if you're working on a high ceiling, you might want to rent a scaffolding instead of using a ladder. It'll give you a more stable and comfortable work platform. Remember, safety first!
Installing a chandelier can seem daunting, but with the right tools and materials, it's totally doable. Just take your time, follow the instructions, and don't be afraid to ask for help if you need it.
Here's a quick checklist to make sure you have everything:
- Voltage tester
- Ladder
- Wire cutters
- Wire strippers
- Screwdriver set
- Pliers
- Junction box
- Mounting bracket
- Electrical tape
- Chandelier lift (optional)
- Chain or cable support (optional)
- Helper (optional)
- Scaffolding (optional)
Understanding Chandelier Types
When you're thinking about putting up a chandelier, it really helps to know what kinds are out there. It's not just about picking something that looks cool; it's about finding the right fit for your space and style. I mean, a super modern chandelier might look weird in a really old house, right?
Exploring Crystal Chandeliers
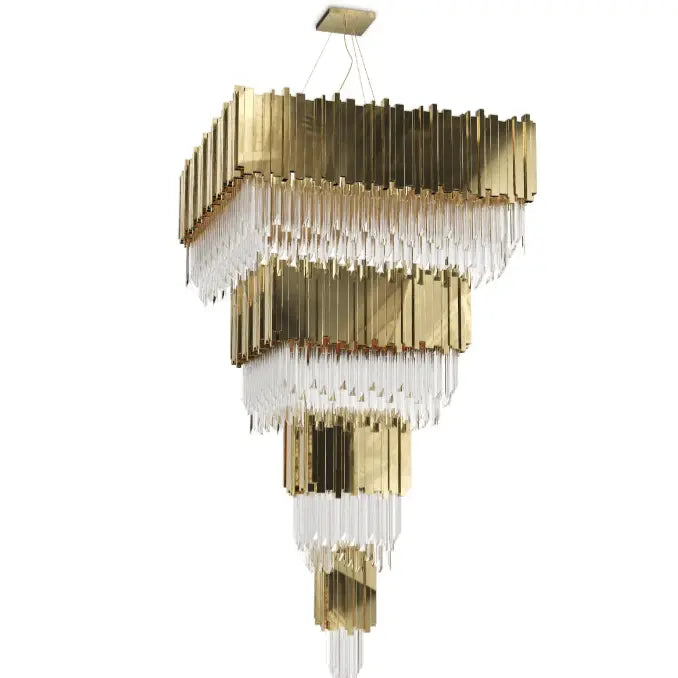
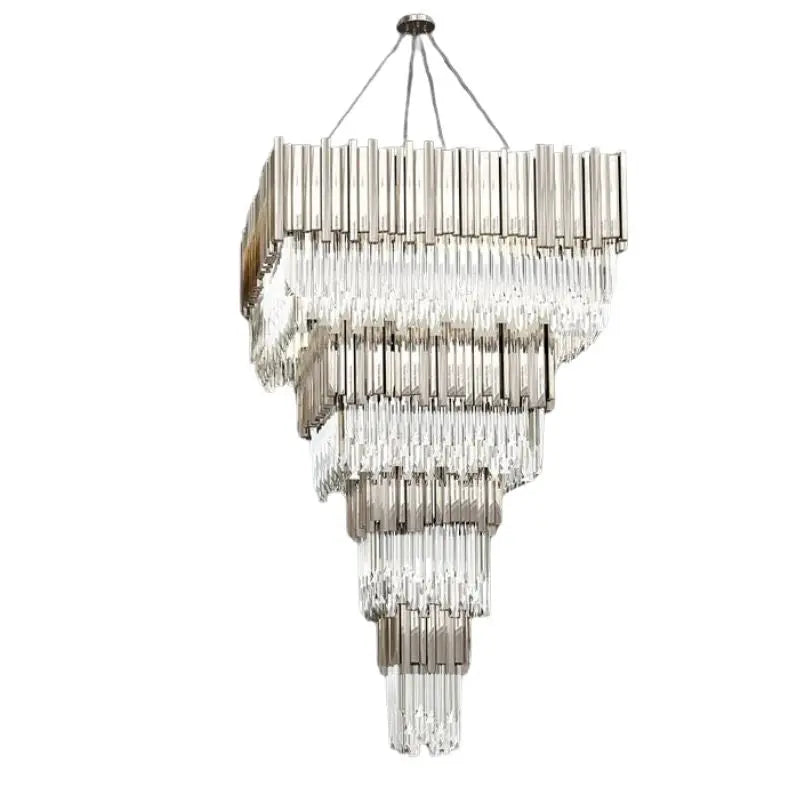
Crystal chandeliers are the classic choice if you want to add some fancy vibes to a room. They're all about sparkle and elegance. The way the light bounces off the crystals can really transform a space, making it feel more luxurious. They're great for dining rooms or entryways where you want to make a statement. But, fair warning, they can be a pain to clean!
Contemporary Designs
If you're more into clean lines and modern looks, then contemporary chandeliers are the way to go. These often use materials like metal, glass, or even wood in simple, geometric shapes. They're perfect for spaces that have a minimalist or modern feel. They can still be eye-catching, but in a more understated way. Plus, they tend to be easier to keep clean than those crystal ones.
Vintage And Rustic Options
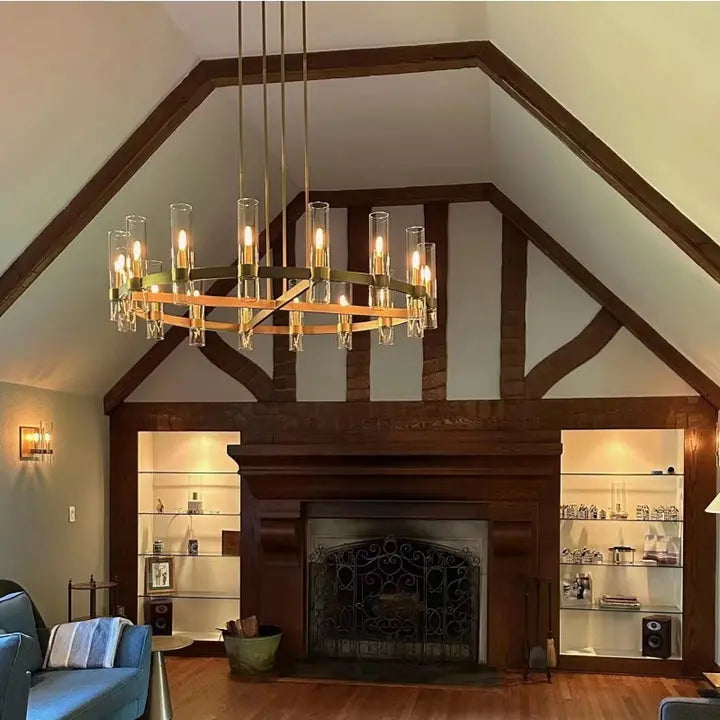
Vintage and rustic chandeliers bring a totally different vibe. Vintage ones have that old-world charm, with ornate details and intricate designs. Rustic chandeliers, on the other hand, often use natural materials like wood or wrought iron to create a cozy, inviting feel. These are great for adding character to a room. Think about a rustic chandelier over a dining table in a farmhouse-style kitchen – perfect!
Choosing the right chandelier really depends on the overall style you're going for in your home. Think about the existing decor, the size of the room, and the kind of atmosphere you want to create. It's all about finding that perfect balance between function and style.
Step-By-Step Installation Guide

Assembling The Chandelier
Okay, so you've got your chandelier, and it's probably in a bunch of pieces. Don't freak out! Most chandeliers come with instructions, and honestly, they're usually pretty good. The first step is to lay out all the parts on a clean surface. This way, you can see everything you're working with and avoid losing anything. Typically, you'll start by attaching the arms to the main body. This might involve screws, bolts, or some kind of clip. Just follow the instructions, and you'll be fine. Make sure everything is snug but not too tight – you don't want to strip any screws.
Mounting The Bracket
Alright, now for the fun part – getting that bracket up on the ceiling. First things first, make sure the power is OFF. Seriously, double-check with a voltage tester. Safety first! Now, find the electrical box in the ceiling. This is where the chandelier will hang. Attach the mounting bracket to the box using the screws that came with it. Make sure it's super secure. You don't want your chandelier crashing down later. If the box seems loose or damaged, you might need to replace it before moving on. This is important for the chandelier installation process.
Connecting The Wiring
Okay, this is where things can get a little tricky, but don't worry, you can do it. You'll usually have three wires: black (hot), white (neutral), and green or bare copper (ground). Match these up with the wires coming from the ceiling. Use wire connectors (those little plastic caps) to twist the matching wires together. Make sure the connections are tight and secure. Tuck the wires neatly into the electrical box. This part is crucial for safety, so take your time and double-check everything. If you're not comfortable with wiring, it's always best to call an electrician. It's better to be safe than sorry! Here's a quick guide:
- Black (Chandelier) to Black (Ceiling)
- White (Chandelier) to White (Ceiling)
- Green/Bare (Chandelier) to Green/Bare (Ceiling)
Remember, electricity can be dangerous. If you're unsure about any part of this process, please consult a qualified electrician. It's not worth risking your safety or damaging your home's electrical system.
Safety Tips And Final Checks

Grounding The Chandelier
Okay, so you've got the chandelier up, but hold on! This is where things get real serious. Grounding is not optional; it's a must-do for safety. Think of it like this: you wouldn't skip the brakes on your car, right? Same deal here. Make sure the power is OFF at the breaker. I mean, really off. Use a voltage tester to double-check. No buzzing? Good. Now, that green or bare copper wire? That's your ground. Connect it properly. If your house wiring is old and weird, maybe call an electrician. Seriously. It's better to be safe than sorry.
Double-Checking Connections
Alright, you've wired everything up, but before you even THINK about flipping that breaker back on, let's do some detective work. I'm talking about a super thorough check of every single connection. Are those wire nuts twisted on tight? Is there any exposed wire peeking out? Because that's a big no-no. Give everything a gentle tug – not like you're trying to rip it apart, but enough to make sure nothing is loose. This is also a good time to make sure the mounting bracket is still securely attached to the ceiling. If anything feels even a little bit off, fix it now. Trust me, it's way easier to fix it now than after you've got the whole thing powered up.
Final Inspection Before Powering On
Okay, deep breaths. You've grounded the chandelier, you've double-checked the connections, and now it's time for the final boss: the final inspection. Before you even think about touching that circuit breaker, take a good, long look at the whole setup. Is the chandelier hanging level? Are all the screws tightened? Are the wires tucked neatly into the junction box? Make sure there's no strain on any of the wires. If you've got a crystal chandelier, make sure all the crystals are hanging properly. Basically, pretend you're an inspector and you're looking for anything that could possibly go wrong. If everything looks good, then – and only then – can you flip that breaker back on. And when you do, stand back and admire your work! You did it!
Wrapping It Up
So there you have it! Installing a chandelier might seem like a big task, but with the right tools and a little patience, you can totally do it. Just remember to take your time, follow the steps, and double-check everything for safety. Once it’s up, you’ll be amazed at how much it can change the look of your space. Whether you went for something classic or modern, your new chandelier will definitely add a special touch. Now, go ahead and enjoy your beautiful new lighting!
Frequently Asked Questions
What tools do I need to install a chandelier?
You will need a voltage tester, a sturdy ladder, screwdrivers, wire cutters, and wire strippers. A drill and pliers can also be helpful.
How do I ensure safety while installing a chandelier?
Always turn off the power at the circuit breaker before starting. Use a voltage tester to make sure the wires are not live.
Can I install a chandelier by myself?
Yes, but if the chandelier is heavy, it’s better to have someone help you to ensure safety and ease during installation.
What types of chandeliers are there?
There are many types, including crystal, contemporary, vintage, and rustic chandeliers. Each type can change the look and feel of your room.
How do I connect the wires when installing a chandelier?
Connect the black wire from the chandelier to the hot wire, the white wire to the neutral wire, and the green or copper wire to the ground.
What should I check after installing the chandelier?
Make sure all connections are secure, the chandelier is level, and there are no exposed wires before turning the power back on.

