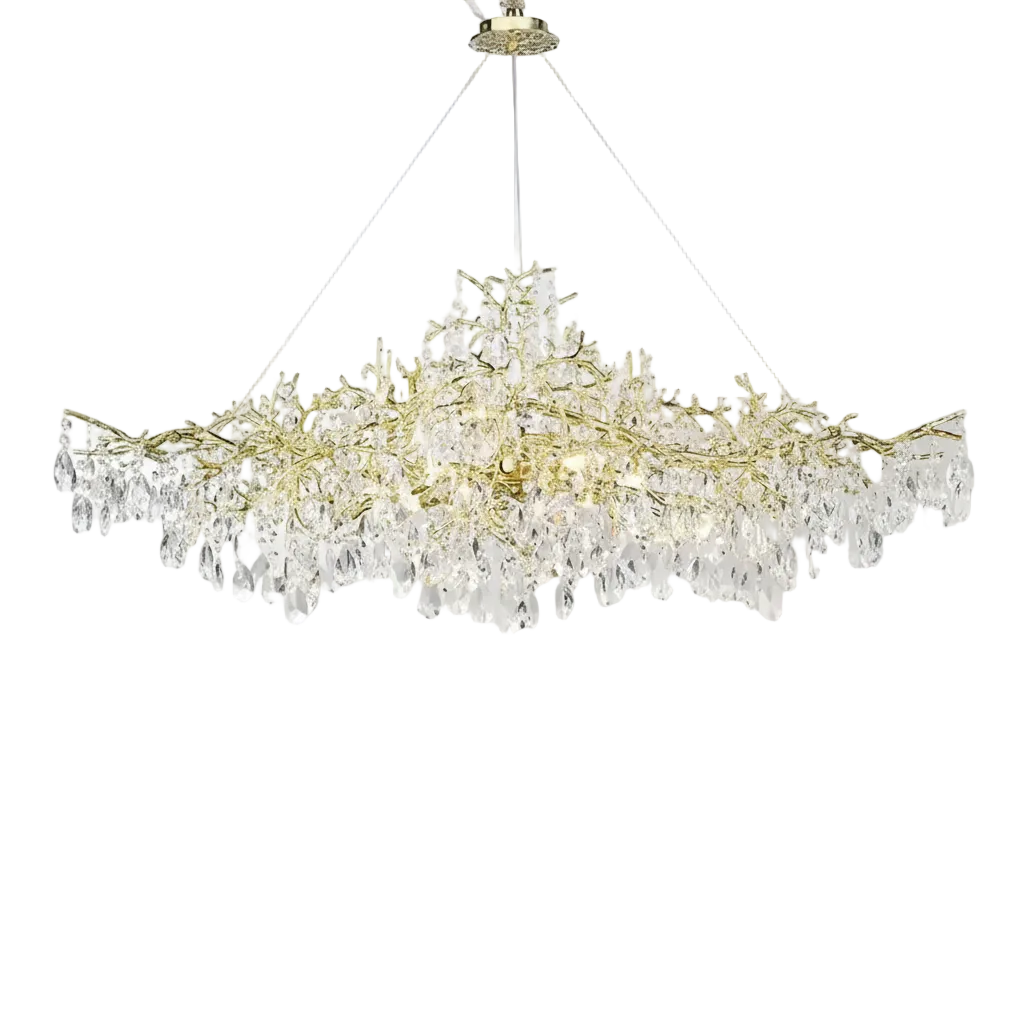
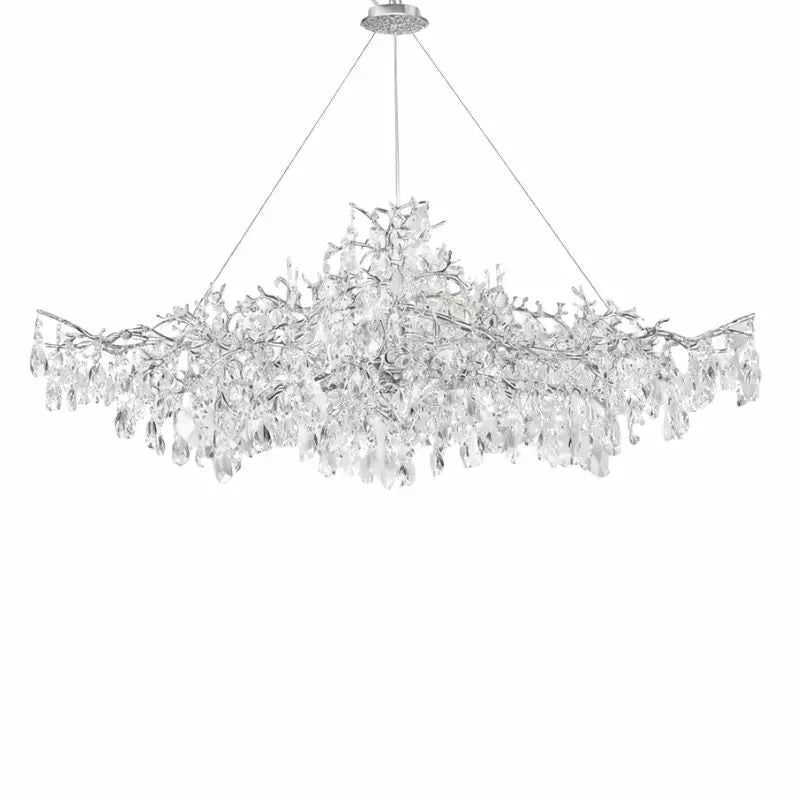
Is your crystal chandelier looking dusty and dull? It's time to give it a good cleaning! This guide will show you how to clean your chandelier step by step. With the right supplies and a bit of patience, you can make your chandelier sparkle like new.
Key Takeaways
- Always turn off the power before cleaning your chandelier to stay safe.
- Use a soft cloth and mild cleaning solution to avoid damaging the crystals.
- Take photos before disassembling to help with reassembly.
- Lay down a drop cloth to catch any debris or fallen crystals.
- Regular dusting can keep your chandelier looking great longer.
Gathering Necessary Supplies
Before you start cleaning your crystal chandelier, it's important to gather all the necessary supplies. This will make the process smoother and help you avoid any mishaps. Having the right tools and materials on hand is crucial for a successful cleaning.
Preparing the Chandelier for Cleaning
Turning Off the Power
Before you start, turn off the power to the chandelier. This is crucial for your safety. Make sure the light bulbs are cool to the touch before proceeding.
Setting Up a Safe Work Area
Lay a plastic drop cloth or tarp under the chandelier to protect your floor and catch any fallen debris. Set up your ladder or step stool to safely reach the chandelier. Place thick blankets or towels on the floor under the chandelier to provide a cushion in case a piece of crystal or glass becomes loose and falls off during the cleaning process.
Taking Photos for Reference
Take photos of the chandelier from multiple angles. This will help you remember the placement of the crystals when it's time to reassemble it. Documenting the chandelier is a simple yet effective step to ensure you can put everything back in its proper place.
Preparing the chandelier properly is the ultimate guide to cleaning a chandelier without taking it down. Follow these steps to ensure a safe and effective cleaning process.
Cleaning the Crystals
Removing the Crystals
Start by carefully taking off each crystal from the chandelier. Make sure to note where each piece goes by taking photos or labeling them. This will help you put them back in the right place later.
Washing Each Crystal
Fill a sink or a large bowl with warm water and add a few drops of mild dish soap. Line the bottom with a towel to prevent any chips. Use a soft cloth or sponge to gently clean each crystal. If the crystals are very dirty, you can add a bit of distilled white vinegar to the water for extra cleaning power. Rinse each piece well with cool water.
Drying and Polishing the Crystals
Lay the cleaned crystals on a clean, dry cloth and let them air dry completely. Once dry, use a lint-free microfiber cloth to polish each crystal until it sparkles. This will make sure your chandelier looks its best when you put it back together.
Taking your time to clean each crystal carefully will make your chandelier shine like new.
Cleaning the Chandelier Frame
Dusting the Frame
Start by gently dusting the chandelier's frame using a dry microfiber cloth. Pay close attention to any spots where dust tends to accumulate, such as the arms or chain. This step helps remove loose dust and prepares the frame for a deeper clean.
Wiping Down with Cleaning Solution
Next, use a damp microfiber cloth with a suitable cleaning solution to wipe down the chandelier's frame, arms, and chain. Make sure to rinse the cloth with clean water and wipe the frame again to remove any soap residue. This ensures that no cleaning solution is left behind, which could damage the frame over time.
Polishing the Metal Parts
Finally, dry the frame thoroughly with a clean, dry microfiber cloth. For an extra touch of shine, you can polish the metal parts of the chandelier. This step not only enhances the chandelier's appearance but also helps maintain its lasting beauty and elegance.
Regular cleaning of the chandelier frame is essential for keeping your chandelier looking its best. A clean frame complements the sparkling crystals and adds to the overall brilliance of your chandelier.
Reassembling the Chandelier
Reattaching the Crystals
Using the photos you took earlier, carefully reattach each crystal to the chandelier. Make sure all connections are secure and the crystals are properly aligned. This step is crucial for ensuring the chandelier looks as beautiful as it did before.
Ensuring Proper Placement
Double-check that each crystal is in its correct spot. This will help maintain the chandelier's balance and overall appearance. If you notice any crystals out of place, adjust them now to avoid any issues later.
Final Inspection and Adjustments
Once all the crystals are reattached, give the chandelier a final inspection. Look for any loose connections or misplaced crystals. Turn on the chandelier to enjoy its restored brilliance and make any last-minute adjustments if needed.
Taking your time during reassembly ensures that your chandelier will shine brightly and remain a stunning focal point in your home.
Maintaining Your Crystal Chandelier
Regular Dusting Tips
Dust your chandelier every two to three months with a feather duster or lambswool duster. This helps keep it looking its best and prevents dust buildup. Never rotate the chandelier to reach different sections; instead, move your ladder around as you clean.
Deep Cleaning Schedule
Complete a thorough cleaning of your chandelier about once a year. This involves removing and washing each crystal, as well as cleaning the frame. Avoid ammonia-based cleaners, as they can damage the finish on the hooks holding the crystals.
Avoiding Common Mistakes
- Do not use ammonia-based cleaners.
- Never rotate the chandelier; move your ladder instead.
- Handle crystals with care to avoid chipping or breaking.
Regular maintenance not only keeps your chandelier sparkling but also extends its life, ensuring it remains a stunning focal point in your home.
Keeping your crystal chandelier looking its best is easier than you think. Regular dusting and occasional deep cleaning will keep it sparkling like new. For more tips and tricks on maintaining your chandelier, visit our website. You'll find everything you need to know to keep your lighting fixtures in top shape.
Conclusion
Cleaning a crystal chandelier might seem like a big task, but with the right steps, it can be done easily. By following this guide, you can make sure your chandelier shines bright and looks like new. Remember to always turn off the light and let it cool before starting, and take your time to clean each piece carefully. With a little effort, your chandelier will sparkle and add beauty to your home for years to come.
Frequently Asked Questions
How often should I clean my crystal chandelier?
It's best to clean your crystal chandelier at least once a year. However, if it’s in a high-traffic area or tends to collect dust quickly, you might need to clean it more often.
Can I use any type of cleaner on my chandelier?
No, you should avoid harsh chemicals. A mild dishwashing liquid mixed with warm water or a solution of isopropyl alcohol and distilled water works best.
Do I need to take the chandelier down to clean it?
Not necessarily. You can clean it while it's still hanging, but make sure the power is off and the bulbs are cool. Use a ladder to reach it safely.
What should I do if a crystal breaks?
If a crystal breaks, you should replace it as soon as possible. Look for replacement crystals that match the size and style of the original ones.
How can I prevent my chandelier from getting too dusty?
Regular dusting with a microfiber cloth can help. Also, keeping windows closed and using air purifiers can reduce dust buildup.
Is it okay to clean the chandelier frame with water?
It's better to use a damp cloth with a gentle cleaning solution for the frame. Avoid soaking it in water to prevent damage.


