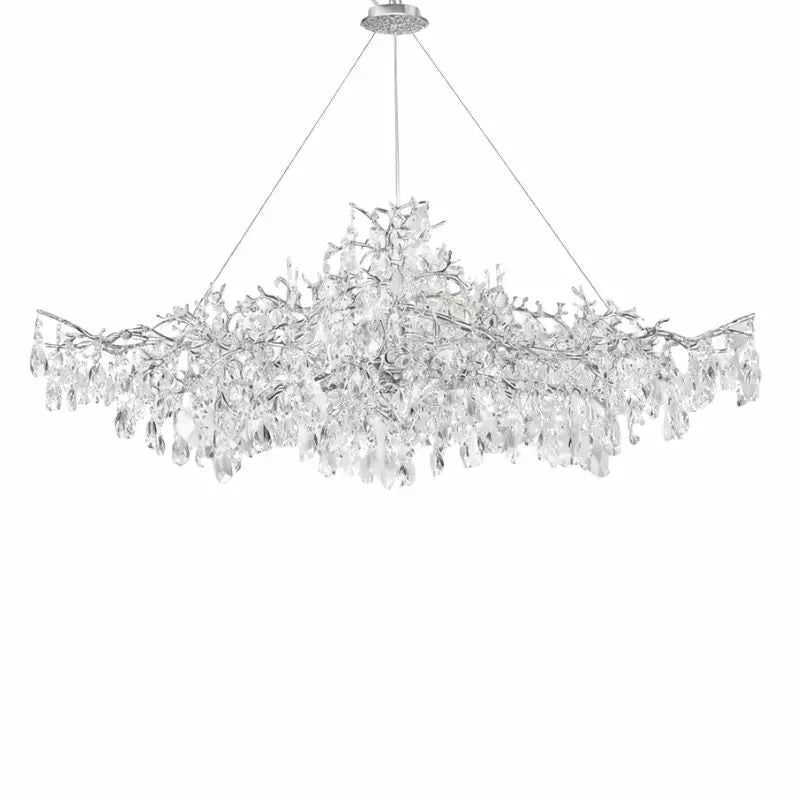
Installing a chandelier can transform any room, adding a touch of elegance and style. However, the process can be tricky and requires careful planning and execution. Whether you're a DIY enthusiast or considering hiring a professional, understanding the steps involved, the necessary safety precautions, and the common challenges can make the task smoother and safer.
Key Takeaways
- Always choose a chandelier that matches the size and decor of your room for the best visual appeal.
- Ensure the electrical box can support the weight of the chandelier to prevent accidents.
- Turn off the power at the breaker box before starting any electrical work to avoid electric shocks.
- Follow the manufacturer's instructions carefully for a successful installation.
- Consider hiring a professional for complex installations or if you're uncomfortable working with electricity.
Choosing the Right Chandelier for Your Space
Assessing Room Size and Ceiling Height
When picking a chandelier, room size and ceiling height are key. Measure your room's length and width in feet, then add those numbers together. This sum, in inches, is the ideal diameter for your chandelier. For example, an 8x10 foot room would need an 18-inch chandelier. If your ceiling is higher than 9 feet, add 3 inches to the chandelier's height for every extra foot.
Matching Style with Room Decor
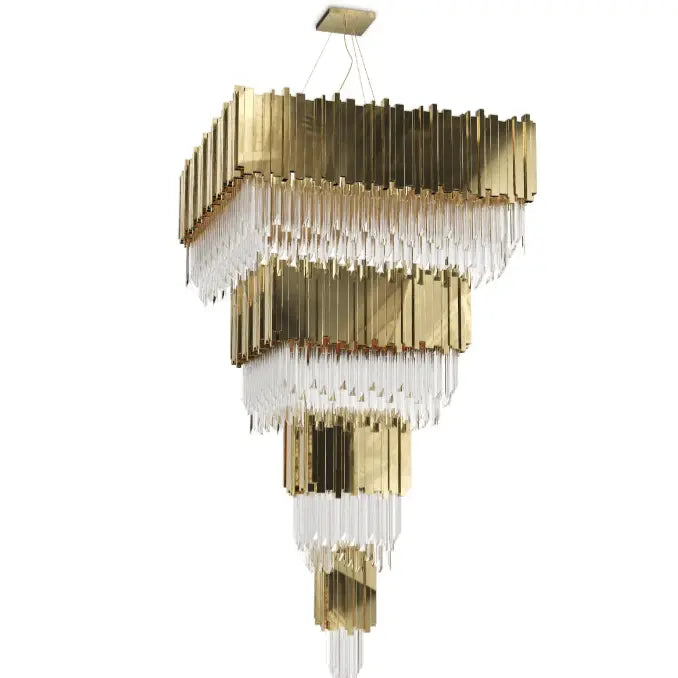
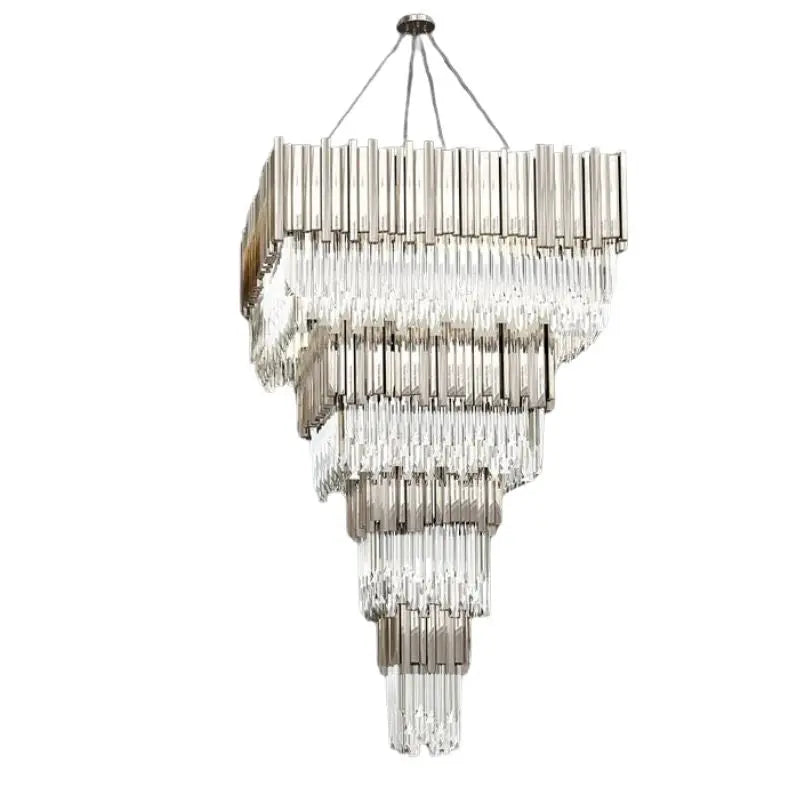
Your chandelier should match your room's decor. Whether you prefer boho chic home decor or minimalist living room decor, there's a chandelier for you. For a traditional look, choose a classic design. For modern spaces, go for simple lines and minimal ornamentation. Remember, your chandelier is a focal point, so it should reflect your style.
Considering Light Output and Bulb Type
Think about the light output and bulb type. Chandeliers can provide ambient or accent lighting. If your room already has enough light, use the chandelier for mood lighting. Dimmer switches can help you adjust the light level. Also, consider the bulb type—LEDs are energy-efficient and long-lasting, while incandescent bulbs offer a warm glow.
A well-chosen chandelier can transform any room, from a small apartment decor idea to a modern farmhouse kitchen decor. Make sure it fits your space and style for the best effect.
Preparing for Installation
Gathering Necessary Tools and Materials
Before you start, make sure you have all the tools and materials you need. This will save you time and make the job easier. Here’s a list of what you might need:
- Screwdrivers
- Stepladder
- Wire strippers
- Needle-nosed pliers
- Non-contact voltage tester
- Tape measure
- Power drill
- Electrical tape or heat shrink tubing
Having everything ready will help you avoid unnecessary delays.
Ensuring Electrical Box Support
Make sure your electrical box can support the weight of your chandelier. Some chandeliers are heavy and need extra support. Check the manufacturer’s instructions to see if you need a special type of electrical box or additional bracing.
A stable mounting bracket is crucial for a secure chandelier setup. Always double-check the weight limits of your ceiling box.
Turning Off Power Safely
Safety first! Always turn off the power at the breaker box before you start working. Don’t just rely on the wall switch. Use a non-contact voltage tester to make sure the power is off. This will help you avoid any electrical accidents.
Step-by-Step Installation Guide
Installing a chandelier can seem daunting, but with the right steps, it becomes manageable. Follow this guide to ensure a smooth installation process.
Removing the Old Fixture
- Turn off the power at the circuit breaker to ensure safety.
- Use a voltage tester to confirm the power is off at the fixture.
- Remove the old fixture by unscrewing it from the electrical box and disconnecting the wires.
Installing the Mounting Bracket
- Attach the new mounting bracket to the electrical box using screws.
- Ensure the bracket is secure and can support the weight of the chandelier.
Connecting the Wiring
- Connect the chandelier’s neutral wire to the neutral wire in the electrical box (usually white).
- Connect the chandelier’s hot wire to the hot wire in the electrical box (usually black or red).
- Wrap the ground wire from the chandelier around the ground screw on the mounting bracket.
- Use wire connectors to secure all connections and wrap them with electrical tape for added safety.
Securing the Chandelier in Place
- Lift the chandelier and attach it to the mounting bracket. This step may require an extra pair of hands.
- Secure the chandelier by tightening the screws on the mounting bracket.
- Ensure the chandelier is level and all connections are tight.
Assembling parts on the ground before climbing the ladder can save time and reduce discomfort.
By following these steps, you can successfully install your chandelier and add a touch of elegance to your home.
Safety Tips During Installation
Handling Electrical Components Safely
When working with electrical parts, always turn off the power at the circuit breaker. This is the most important step to avoid accidents. Use a voltage tester to ensure no electricity is flowing before you start. Never work with wet hands, as water and electricity are a dangerous mix.
Using Proper Ladder Techniques
Using a ladder correctly is crucial for your safety. Make sure the ladder is stable and placed on a flat surface. Always have someone hold the ladder for extra support. Avoid overreaching; instead, move the ladder closer to your work area.
Ensuring Secure Connections
Double-check all electrical connections to make sure they are secure. Loose connections can lead to electrical shorts or even fires. Use wire nuts and electrical tape to secure the connections properly. If you're unsure, consult an essential chandelier wiring guide for homeowners to avoid common mistakes.
Safety should always be your top priority when installing a chandelier. Taking the time to follow these tips can prevent accidents and ensure a successful installation.
Post-Installation Considerations
Adjusting the Hanging Height
After installing your chandelier, you might need to adjust its height. Chandeliers should hang between 30 and 36 inches above a table with an 8-foot ceiling. If your ceiling is higher, add 3 inches for each additional foot of ceiling height. This ensures the chandelier is neither too low nor too high, providing the perfect balance for your room.
Testing the Chandelier
Once your chandelier is in place, it's time to test it. Turn on the power and check if the light works properly. If it doesn't, there might be an issue with the wiring or a missing part. Make sure to turn off the power again before inspecting the fixture. If your chandelier has dimmers, test them to ensure they function correctly.
Maintaining and Cleaning Your Chandelier
Regular maintenance and cleaning are essential to keep your chandelier looking its best. Dust the chandelier weekly and deep clean it every few months. For a deep clean, turn off the power, remove the bulbs, and gently clean each part with a soft cloth and mild cleaner. This will help maintain the chandelier's brilliance and extend its lifespan.
Proper post-installation care ensures your chandelier remains a stunning focal point in your home for years to come.
Common Installation Challenges and Solutions
Dealing with Heavy Chandeliers
Installing a heavy chandelier can be tricky. Make sure the ceiling can support the weight. You might need extra support like a brace or a stronger electrical box. If you're unsure, it's best to get help from a professional.
Addressing Ceiling Height Issues
Chandeliers that hang too low can be a problem. They should be installed between 30 and 36 inches from an 8-foot ceiling. If your ceiling is higher, adjust the height accordingly. This ensures the chandelier is both safe and looks good.
Troubleshooting Electrical Problems
Wiring can be confusing. Even if wires are color-coded, it’s easy to make a mistake. Always turn off the power before starting. If you’re not comfortable with electrical work, hire an electrician. This can prevent accidents and ensure everything works correctly.
When to Hire a Professional
Identifying Complex Installations
Some chandelier installations can be tricky. If your chandelier is very heavy or has a complicated design, it might be best to call a pro. They have the right tools and know-how to handle these tough jobs.
Understanding Electrical Limitations
Not everyone is comfortable working with electrical wiring. If you don't feel safe or sure about handling wires, it's a good idea to get help. Safety should always come first when dealing with electricity.
Finding a Qualified Electrician
When you decide to hire someone, make sure they are qualified. Look for electricians with good reviews and proper licenses. This way, you know your chandelier will be installed correctly and safely.
Hiring a professional can save you time and prevent potential problems. It's worth the investment to ensure your chandelier is installed right the first time.
Sometimes, it's best to call in the experts. If you're unsure about installation or want to ensure your chandelier looks perfect, hiring a professional can save you time and stress. Visit our website to explore our wide range of stunning chandeliers and find the perfect one for your space.
Conclusion
Installing a chandelier can be a rewarding project that adds elegance and charm to your home. However, it's important to approach this task with caution and proper planning. Always ensure that your ceiling can support the weight of the chandelier and that you follow all safety guidelines, including turning off the power before starting any electrical work. If you're not comfortable with electrical tasks, it's best to hire a professional electrician to ensure a safe and secure installation. By taking these precautions, you can enjoy the beauty and sophistication of your new chandelier for years to come.
Frequently Asked Questions
Is it necessary to hire an electrician to install a chandelier?
While it's possible to install a chandelier yourself, hiring an electrician is recommended, especially if you're not comfortable working with electrical wiring. Professionals ensure the job is done safely and correctly.
What tools do I need to install a chandelier?
Common tools needed include a screwdriver, wire strippers, a voltage tester, pliers, and a ladder. Make sure to also have the chandelier's installation manual handy.
How do I choose the right chandelier for my room?
Consider the room's size, ceiling height, and existing decor. The chandelier should complement the room's style and provide adequate lighting without overwhelming the space.
What should I do if my chandelier is too heavy for the ceiling?
If your chandelier is too heavy, you may need additional support like a reinforced electrical box or a ceiling brace. Consult a professional to ensure safe installation.
How high should a chandelier hang above a dining table?
A chandelier should hang about 30 to 36 inches above the dining table if you have an 8-foot ceiling. Adjust accordingly for higher ceilings.
What safety precautions should I take during installation?
Always turn off the power at the breaker box before starting. Use a voltage tester to ensure the power is off. Additionally, use a sturdy ladder and avoid working alone if the chandelier is heavy.


