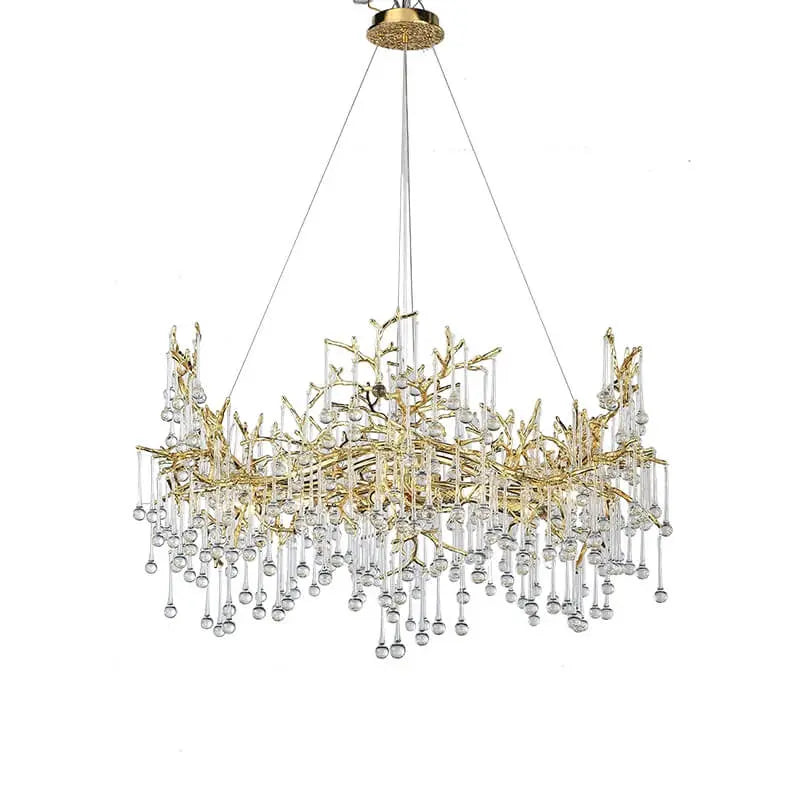
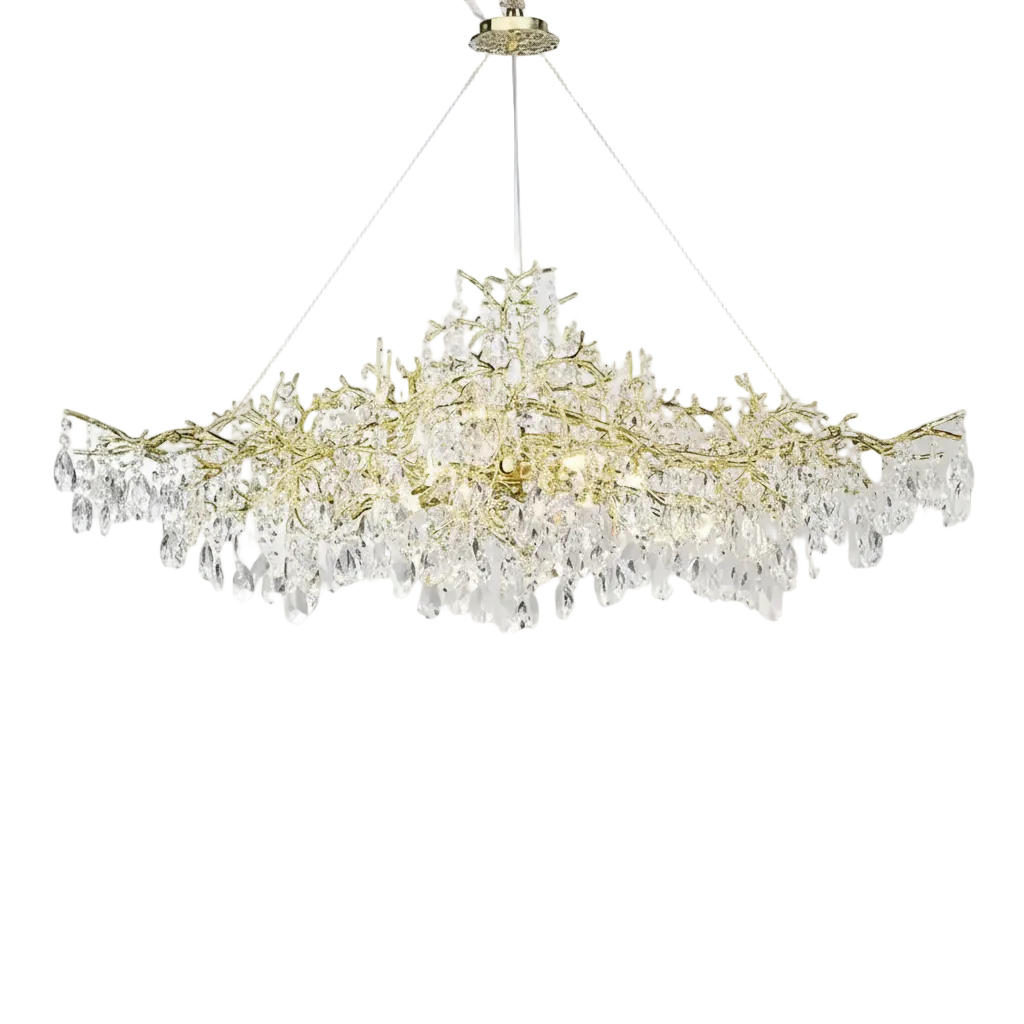
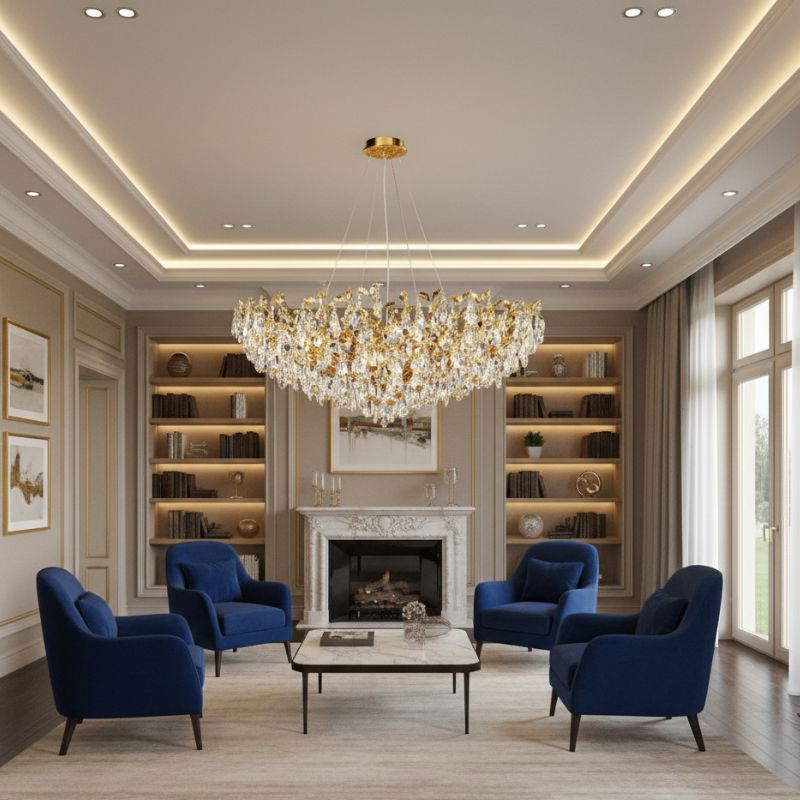
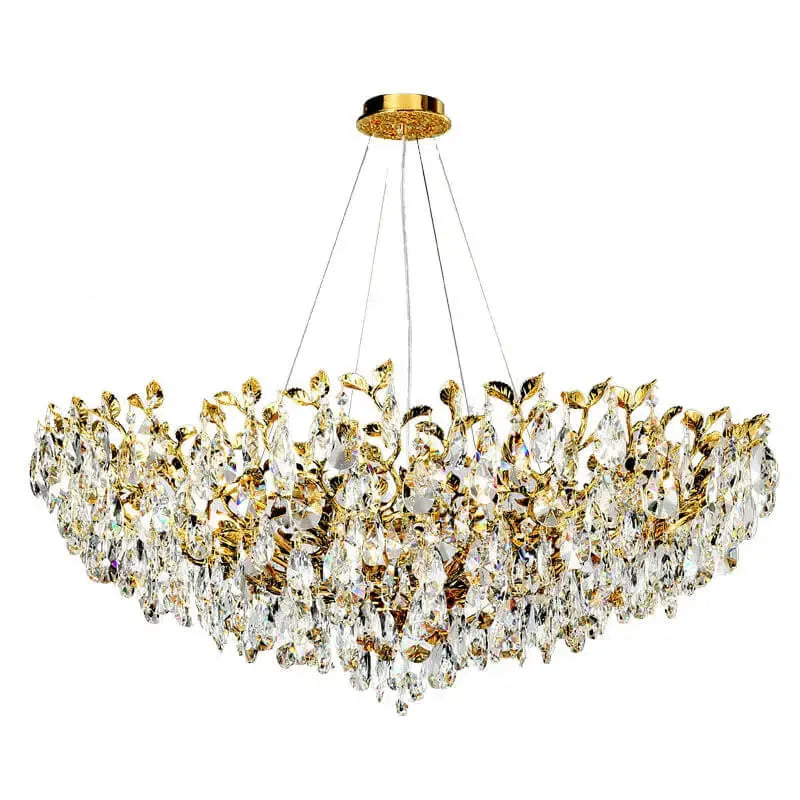
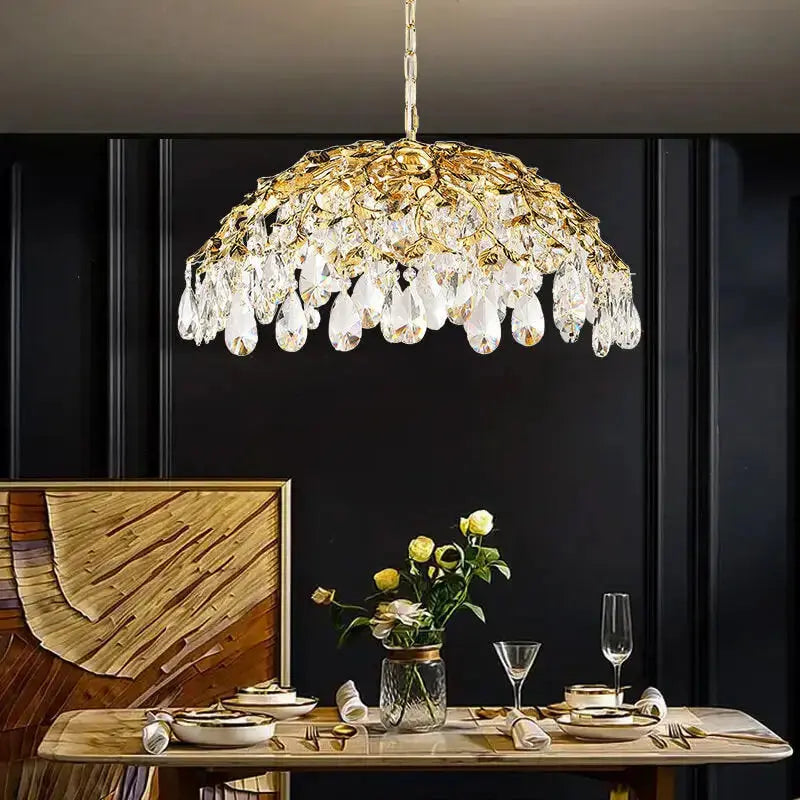
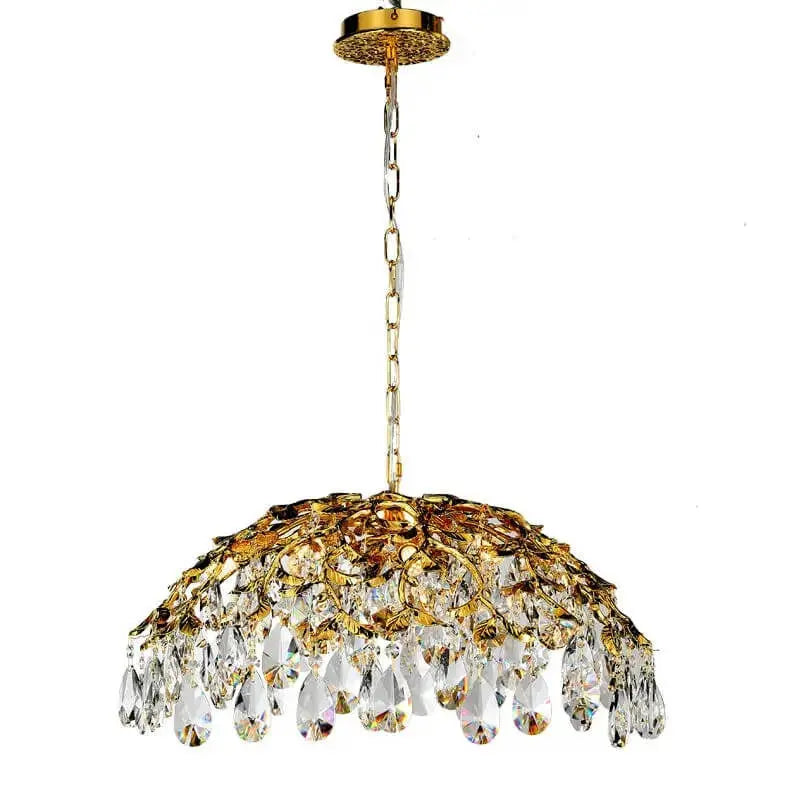
If you're looking to give your home a fresh vibe without spending a fortune, a chandelier makeover might just be the perfect project for you. Transforming an old light fixture into something stunning can be both fun and rewarding. Whether you want to add some color, sparkle, or a personal touch, this guide will walk you through the steps to create a beautiful centerpiece that enhances your space. Get ready to roll up your sleeves and let your creativity shine!
Key Takeaways
- Selecting the right chandelier is essential for a successful makeover.
- Always take the chandelier apart and clean it before starting your project.
- Experiment with different painting techniques to give your chandelier a unique flair.
- Consider adding decorative touches like crystals, beads, or fabric for added style.
- Remember to prioritize safety by disconnecting power and using the right tools.
Choosing The Perfect Chandelier For Your Makeover
So, you're thinking about giving your chandelier a makeover? Awesome! But before you grab that spray paint, let's talk about picking the right chandelier for the job. It's not just about what looks pretty; it's about what works in your space. You don't want to end up with a mismatched chandelier that throws off the whole room.
Understanding Your Space
First things first: take a good look around. What's the style of your room? Is it modern, traditional, bohemian? Your chandelier should complement, not clash. Think about the colors, the furniture, and the overall vibe. A super ornate, Victorian-style chandelier might look a little out of place in a minimalist, modern living room, right? Consider the function of the room too. Is it a dining room where you want a warm, inviting glow? Or a living room where you need brighter, more general lighting?
Measuring For The Right Fit
Okay, this is where the math comes in, but don't worry, it's not too scary! You need to measure the height and width of your room to figure out the right size chandelier. A too-small chandelier will get lost, and a too-big one will overwhelm the space. Here's a super simple guide:
- Height: Add the height and width of the room in feet. That number, in inches, is roughly the ideal height of your chandelier.
- Width: For a dining room, the chandelier should be about 12 inches narrower than the width of your table. For other rooms, use your best judgement based on the overall size of the room.
- Chain Length: Make sure you have enough chain to hang the chandelier at the right height. You don't want it too close to the ceiling or so low that people bump their heads!
Selecting The Right Style
Now for the fun part: picking a style! This is where you can really let your personality shine. Here are a few popular styles to consider:
- Traditional: Think classic, elegant, and timeless. These chandeliers often feature crystals, ornate details, and warm finishes.
- Modern: Sleek, minimalist, and geometric. Modern chandeliers often use clean lines, simple shapes, and cool metals.
- Bohemian: Eclectic, colorful, and unique. Bohemian chandeliers might incorporate beads, fabrics, and other unconventional materials.
- Industrial: Raw, edgy, and functional. Industrial chandeliers often feature exposed bulbs, metal cages, and vintage-inspired designs.
Don't be afraid to mix and match styles to create something truly unique! The most important thing is to choose a chandelier that you love and that reflects your personal style. After all, it's your home, and it should feel like you.
Consider the environmental benefits of repurposing an old chandelier. It's a great way to reduce waste and create something beautiful at the same time.
Preparing Your Chandelier For A Makeover

Before you even think about paint colors or fancy beads, getting your chandelier ready is key. It's like prepping a wall before painting – skip this step, and you'll regret it later. Trust me, I've learned the hard way!
Disassembling The Fixture Safely
Okay, first things first: safety! Turn off the power at the breaker. Seriously, don't skip this. Then, carefully take the chandelier down. I usually put an old blanket or sheet underneath to catch any falling pieces. As you take it apart, keep track of where everything goes. I like to use little baggies and label them with a marker. Taking pictures as you go can also be a lifesaver when it's time to put it all back together. This is a crucial step to disassemble the fixture safely.
Cleaning Techniques For A Fresh Start
Once it's in pieces, it's time to clean! Dust and grime can really mess with your paint job, so don't skimp on this. I usually start with a dry cloth to get the loose stuff off, then move on to a mild soap and water solution. For stubborn spots, a little vinegar can work wonders. Just make sure everything is completely dry before you start painting or adding anything else. A clean surface ensures that paint or other decorative elements adhere properly. Thoroughly cleaning the chandelier is crucial.
Gathering Necessary Tools
Before you start, make sure you have everything you need. There's nothing worse than getting halfway through a project and realizing you're missing something. Here's a basic list:
- Screwdrivers (various sizes)
- Pliers
- Mild soap and water
- Vinegar (optional)
- Soft cloths
- Paint and brushes (or spray paint)
- Drop cloth or old sheet
- Protective gloves
- Safety glasses
Having all your tools ready will make the process smoother and more efficient. It's also a good idea to have a clear workspace where you can spread everything out. I usually use my garage or a spare room. A well-prepared workspace is essential for a successful chandelier makeover.
Taking the time to properly prepare your chandelier will make the entire makeover process much easier and more enjoyable. It's all about setting yourself up for success!
Creative Painting Techniques For Chandeliers
Choosing The Right Paint Finish
Picking the right paint is key! You've got a few options, and each gives a different vibe. Metallic spray paint is awesome for a glam look, giving your chandelier that shiny, eye-catching appeal. Matte finishes, on the other hand, offer a more modern, understated elegance. Consider the existing decor in your room. Does it lean towards classic or contemporary? The paint finish should complement that. Also, think about durability. Some paints are more resistant to chipping and scratching, which is important for a chandelier that might get bumped occasionally. Don't forget to use a good primer! It helps the paint stick better and last longer. For example, if you're restoring wrought iron chandeliers, a rust-inhibiting primer is a must.
Applying Paint Like A Pro
Okay, so you've got your paint. Now what? Prep is everything. Make sure your chandelier is clean and dry. Lightly sand the surface to give the paint something to grip onto. When you're actually painting, do thin, even coats. This prevents drips and gives you a smoother finish. Spray paint is great for even coverage, but if you're using a brush, be mindful of brushstrokes. Let each coat dry completely before adding another. Patience is key here! And remember, work in a well-ventilated area. Nobody wants to get dizzy from paint fumes. If you're using spray paint, hold the can about 10-12 inches away from the chandelier for the best results. Consider using a turntable to easily rotate the chandelier while spraying.
Incorporating Unique Patterns
Want to get a little wild? Try adding some patterns! Stencils are your friend here. You can find all sorts of cool designs online or at craft stores. Or, if you're feeling artistic, freehand it! Geometric patterns, floral designs, or even abstract art can really make your chandelier a statement piece. Another fun idea is to use painter's tape to create stripes or chevrons. Just make sure the tape is securely in place to prevent paint bleed. Ombre effects are also super trendy. Start with a light color at the top and gradually transition to a darker shade at the bottom. It's a bit more work, but the result is stunning. You can even try incorporating ribbon accents for an extra touch of elegance.
Painting your chandelier is a fun way to express your creativity and give your space a unique touch. Don't be afraid to experiment with different colors and techniques to find the perfect look for your home.
Adding Decorative Elements To Your Chandelier
Using Crystals And Beads
Adding crystals and beads is a great way to jazz up a plain chandelier. You can find affordable options at craft stores or online. Just thread the beads onto thin wire and wrap them around the arms of the chandelier. It's a simple way to transform a plain chandelier into something really special.
Incorporating Fabric Wraps
Twine and fabric wraps are perfect for giving your chandelier a rustic or bohemian vibe. Wrap twine around the arms and secure it with hot glue. You can also use strips of fabric to add a pop of color or pattern. This method is simple and adds a unique touch to your fixture. It's a great way to add texture and visual interest.
Exploring Lighting Options
Consider changing the bulbs to something different. Here are a few ideas:
- Colored Bulbs: Add a fun, playful vibe.
- Edison Bulbs: Give a vintage, warm glow.
- LED Bulbs: Energy-efficient and long-lasting.
Adding decorative elements to your chandelier is a fun and creative way to personalize your space. Whether you choose crystals, twine, or different bulbs, your chandelier will become a unique reflection of your style.
Budgeting Tips For Your Chandelier Makeover

Calculating Total Costs
Before you even think about picking up a paintbrush, sit down and figure out exactly how much this chandelier refresh is going to cost. I mean everything. List out all the materials you'll need – paint, crystals, new wiring, whatever – and then find out how much they cost at different stores. Don't forget to factor in things like brushes, sandpaper, and any other tools you might need to buy. It's easy to underestimate, so be thorough! This way, you won't get halfway through and realize you're broke.
Finding Affordable Materials
Okay, so you know what you need. Now, let's find it for cheap! Don't just run to the first big box store you see. Check out sales, clearance sections, and even thrift stores. You'd be surprised what you can find at a thrift store – sometimes even entire chandeliers that you can take apart for parts! Use coupons, sign up for email lists to get exclusive deals, and don't be afraid to haggle a little. Also, think about what you already have. Can you reuse anything? Maybe you have some old paint lying around that would work perfectly. Getting affordable materials is key to staying on budget.
Prioritizing Quality Over Quantity
It's tempting to buy the cheapest stuff you can find, but sometimes that's a mistake. A cheap can of spray paint might look good at first, but it could chip or fade quickly. Similarly, those super-cheap crystals might not have the sparkle you're looking for. Instead, focus on buying the best quality you can afford for the things that really matter. For example, a good quality paint or some nice new crystals can make a huge difference in the overall look of your chandelier. Save money on the less important stuff, like the type of sandpaper you use. It's all about finding the right balance.
Remember, a little bit of planning can save you a lot of money in the long run. Don't be afraid to get creative and think outside the box. With a little effort, you can transform your chandelier without breaking the bank.
Showcasing Your Chandelier Makeover
Before And After Photos
Okay, you've put in the work, now it's time to show it off! The best way to highlight your amazing chandelier transformation is with some good old before and after photos. Make sure your "before" shot really captures the chandelier's original state – the dust, the outdated finish, the works. Then, take a stunning "after" photo that showcases all the details of your makeover. Good lighting is key here; natural light is your friend!
Sharing On Social Media
Don't be shy – share your creation with the world! Social media is perfect for this. Post your before and after pics on Instagram, Facebook, or Pinterest. Write a short description about your project, including the materials you used, any challenges you faced, and any tips you learned along the way. Use relevant hashtags like #DIYchandelier, #chandelierMakeover, #HomeDecor, etc., to reach a wider audience. It's a great way to inspire others and get some well-deserved recognition for your hard work.
Engaging With DIY Communities
Take it a step further and engage with online DIY communities. There are tons of forums and groups dedicated to home decor and DIY projects. Share your chandelier makeover story, ask for feedback, and offer advice to others. It's a fantastic way to connect with like-minded people, learn new skills, and get inspired for future projects. Plus, you might even make some new friends along the way!
Remember, your chandelier makeover is a testament to your creativity and resourcefulness. By showcasing your work, you not only inspire others but also celebrate your own accomplishments. So, go ahead and share your success story – you deserve it!
Safety Tips During Your Chandelier Makeover
Disconnecting Power Safely
Before you even think about touching that chandelier, flip the breaker! Seriously, it's the most important step. Always disconnect the power at the circuit breaker before starting any work. Use a non-contact voltage tester to double-check that the power is indeed off. If you're not comfortable with electrical safety, call a professional. It's not worth the risk.
Using Proper Tools
Make sure you have the right tools for the job. A stable ladder is a must – no balancing on chairs! Use screwdrivers that fit the screws properly to avoid stripping them. Have pliers on hand for any wiring adjustments. And don't forget safety glasses to protect your eyes from dust or debris. Here's a quick list:
- Stable Ladder
- Proper Screwdrivers
- Pliers
- Safety Glasses
Working In A Well-Ventilated Area
If you're painting or using any chemicals, make sure you're in a well-ventilated area. Open windows and doors, or use a fan to circulate the air. This is especially important when using spray paint, as the fumes can be harmful. You don't want to end up with a headache or worse. Proper ventilation helps the paint dry properly too.
Working with electricity and heights can be dangerous, so take your time and be careful. If you're unsure about anything, it's always best to consult a professional. Your safety is the top priority!
Final Thoughts on Your Chandelier Makeover
Giving your chandelier a makeover can really change the vibe of your home without costing a fortune. With a little creativity and some basic supplies, you can turn an old fixture into something that feels fresh and personal. Whether you decide to paint it, add some bling with crystals, or even wrap it in fabric, the options are endless. Just remember to keep safety in mind, choose good materials, and think about how your new look fits with the rest of your decor. So why not take the plunge? We’d love to hear about your projects and see your before-and-after photos in the comments!
Frequently Asked Questions
Why should I upgrade my chandelier instead of buying a new one?
Upgrading your chandelier usually costs less than buying a brand new one. You can refresh its look with paint or new bulbs, saving money while still getting a stylish piece.
What supplies do I need for a chandelier makeover?
You'll need cleaning supplies, paint, brushes, new bulbs, and maybe some decorative items like fabric or beads. Don't forget to get safety gear too!
How can I make my chandelier special?
You can personalize it by picking colors and styles that you like. Adding decorative items like fake flowers or unique crystals can also make it stand out.
What are some budget-friendly tips for updating my chandelier?
Start by listing all the materials you need to avoid overspending. Look for sales or use items you already have at home to keep costs down.
Is it safe to do a chandelier makeover myself?
Yes, but make sure to turn off the power before you start. Use a sturdy ladder and wear safety gear. If you're unsure about wiring, it's best to ask an electrician for help.
How can I show off my chandelier makeover?
Once you're done, take before and after photos to show the difference. You can share your project on social media or join DIY groups to get feedback and inspiration.


