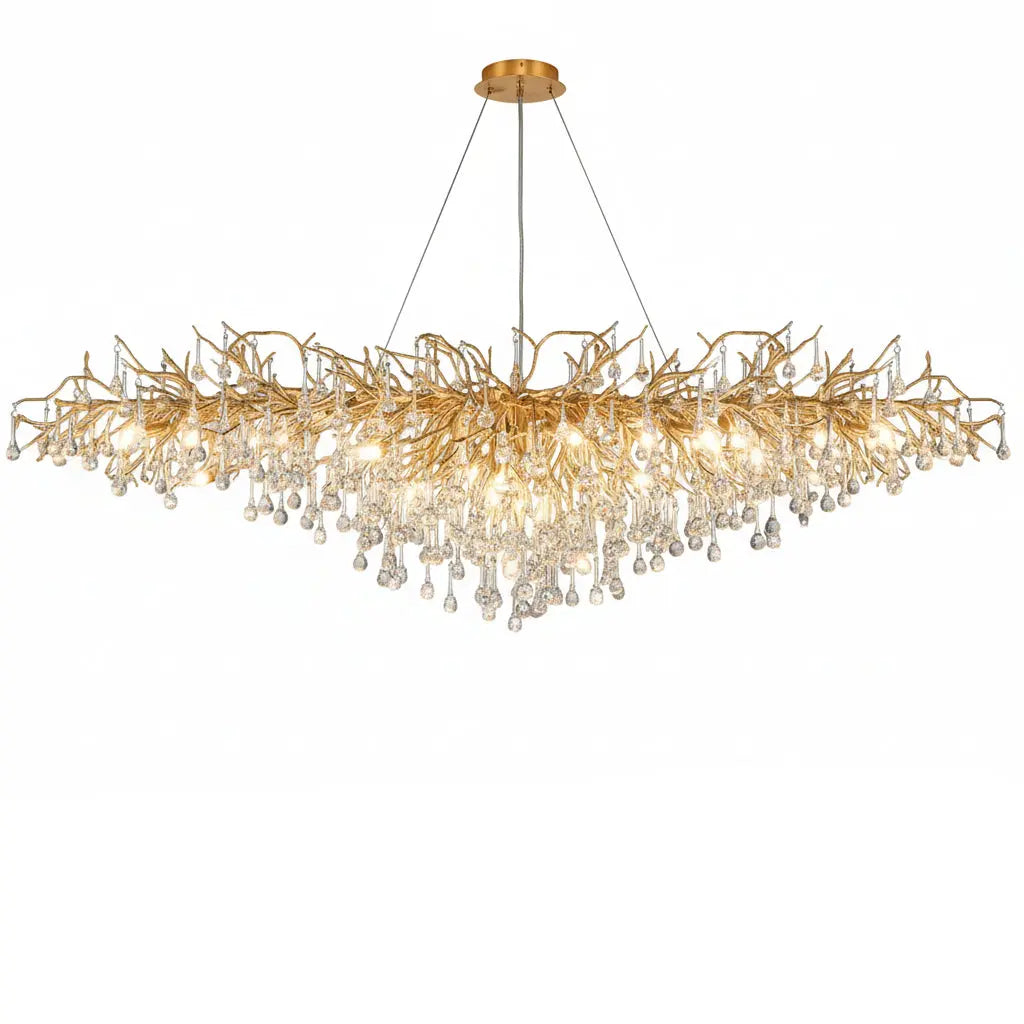
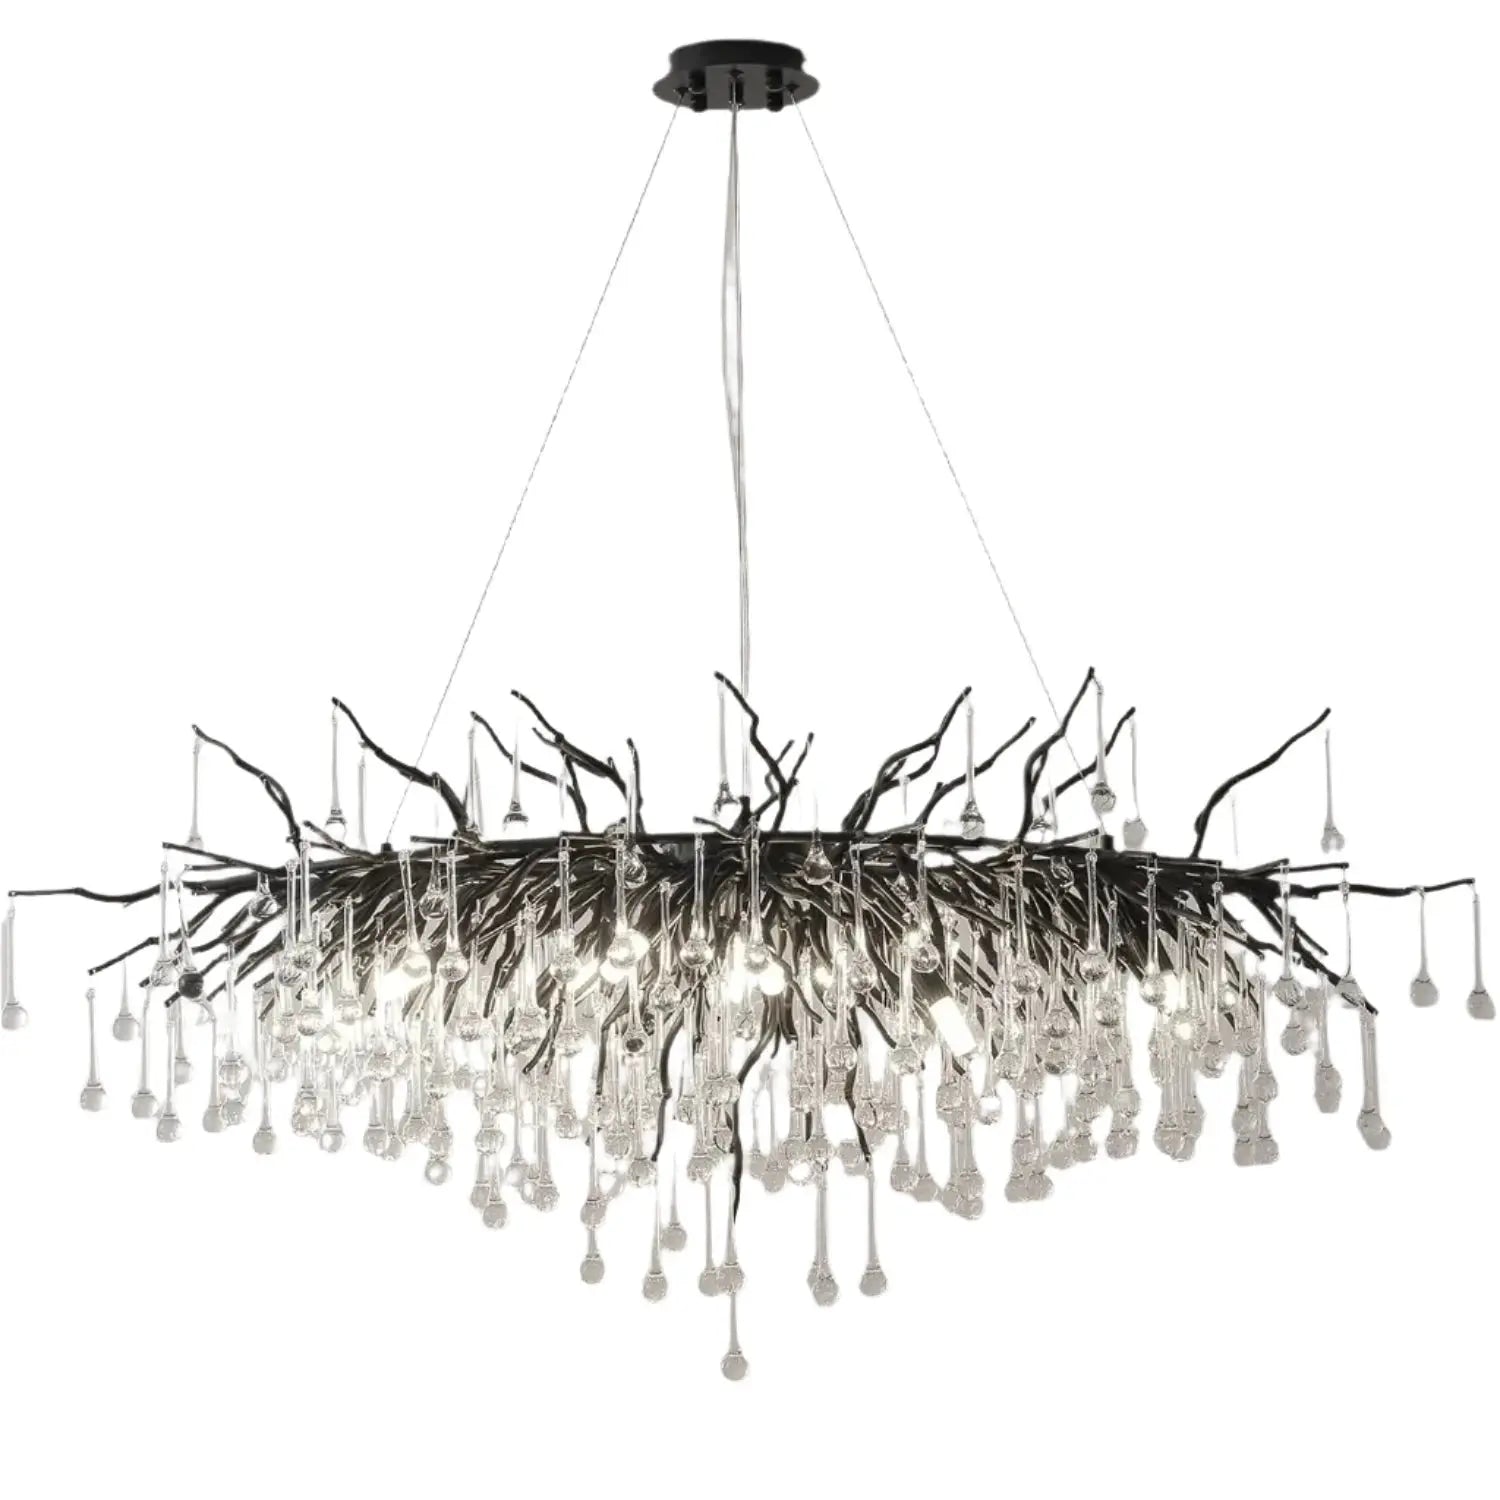
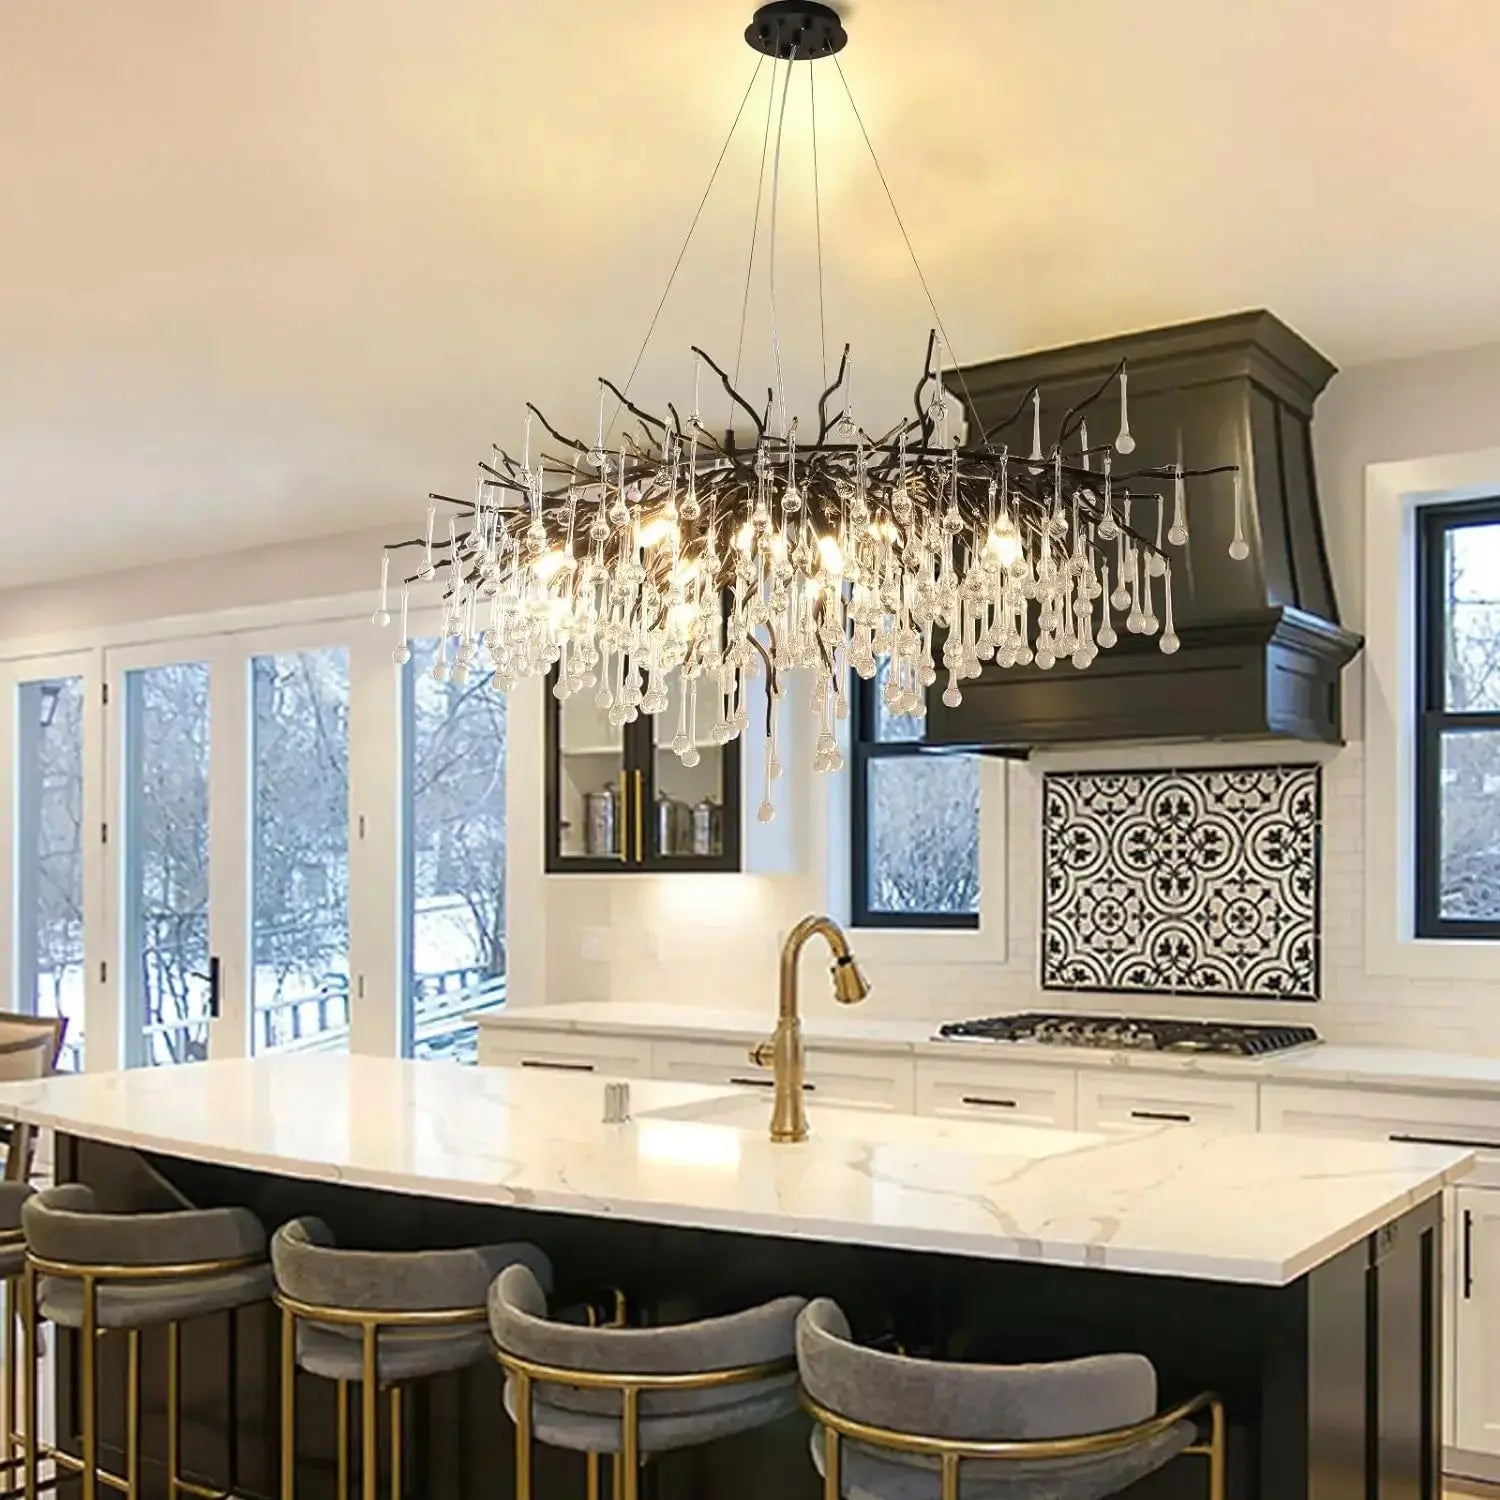
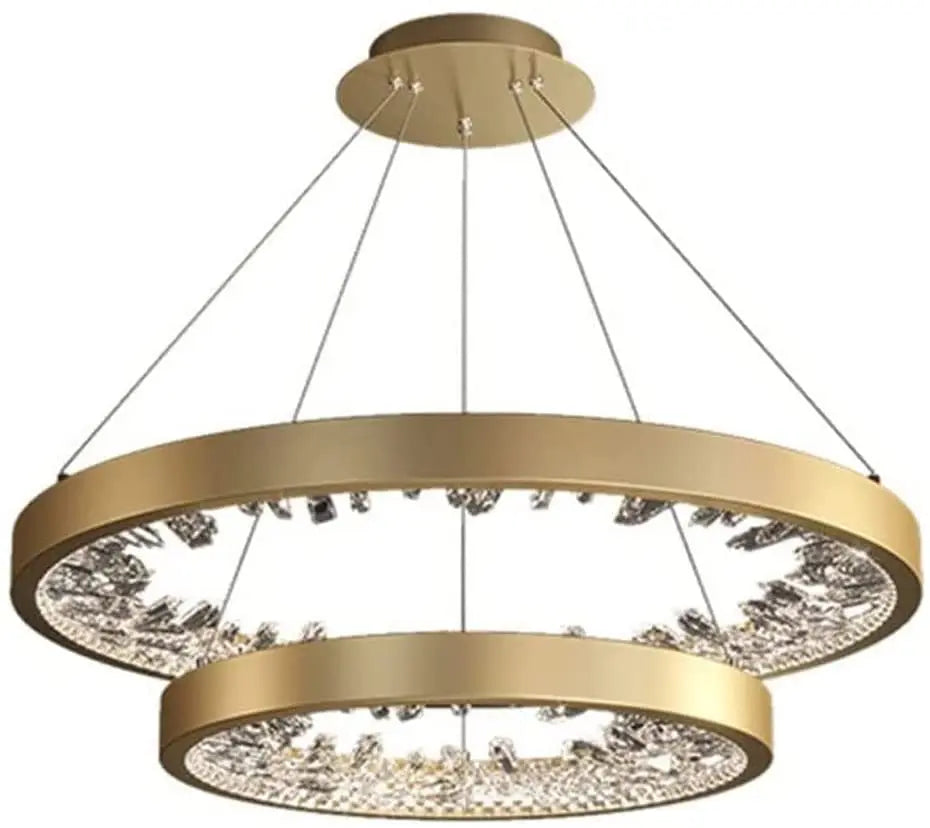
Revamping an old chandelier can be a fun and rewarding project that breathes new life into your home. With a bit of creativity and some simple steps, you can turn a plain light fixture into a stunning centerpiece. Whether you decide to paint it, add crystals, or incorporate unique elements, the possibilities are endless. This guide will walk you through each step to help you achieve a beautiful DIY chandelier makeover.
Key Takeaways
- Selecting the right chandelier is the first step to a successful makeover.
- Always disassemble and clean your chandelier before starting any project.
- Get creative with painting techniques to give your chandelier a unique look.
- Add decorative elements like crystals, beads, or fabric wraps for extra flair.
- Proper reassembly and installation ensure your chandelier is both beautiful and safe.
Choosing the Right Chandelier for Your Makeover
Assessing Your Space and Style
Before you start your chandelier makeover, it's important to think about your room's size and style. Make sure the chandelier matches your decor. Look at the colors, furniture, and overall theme of the room. This will help you pick a chandelier that fits well and looks great.
Finding Budget-Friendly Options
You don't have to spend a lot of money to find a good chandelier. Check out thrift stores, garage sales, and online marketplaces for budget-friendly options. Sometimes, you can find a hidden gem that just needs a little TLC.
Measuring for the Perfect Fit
To make sure your chandelier fits perfectly, measure the distance from the ceiling to the top of your table or floor. The width of the chandelier should be about 12 inches less than the width of your table. This will help it look balanced and not too big or too small.
Remember, the right chandelier can set the tone for your entire space. Take your time to choose one that you'll love.
Here's a quick checklist to help you choose the right chandelier:
- Match the chandelier to your room's style and colors.
- Look for budget-friendly options in thrift stores and online.
- Measure the space to ensure a perfect fit.
By following these steps, you'll be well on your way to finding the perfect chandelier for your DIY makeover.
Disassembling and Cleaning Your Chandelier
Turning Off the Power
Before you start, make sure the power is off to avoid any electrical hazards. This is a crucial step to ensure your safety. Use a voltage tester to double-check that no electricity is running to the chandelier.
Removing the Chandelier Safely
Carefully remove the chandelier from its mount. Keep track of all screws and small parts by placing them in labeled bags. This will make reassembly much easier later. If your chandelier is heavy, consider having someone help you to avoid any accidents.
Cleaning and Prepping the Fixture
Once disassembled, clean each part thoroughly. Use a mild soap solution to remove dust and grime. For stubborn spots, a mixture of vinegar and water can be effective. Make sure all surfaces are dry before moving on to the next step. This ensures that paint or other decorative elements adhere properly.
Taking the time to prepare your chandelier properly will make the makeover process much easier and more successful.
Painting Techniques for a Stunning Finish
Transforming your chandelier with paint can give it a whole new look. Here’s how to do it right.
Selecting the Right Paint
Choosing the right paint is key to a successful makeover. Opt for paint that works on metal surfaces and can handle heat. Spray paints are often a good choice because they go on smoothly and are easy to use. You can pick from matte, glossy, or metallic finishes to add a special touch to your chandelier.
Applying Primer and Base Coats
Before you start painting, make sure to apply a primer. This helps the paint stick better and last longer. Follow these steps:
- Clean the chandelier thoroughly to remove any dust or grime.
- Disassemble the chandelier if possible, and lay down a drop cloth to protect your work area.
- Use painter's tape to cover any parts you don't want to paint.
- Apply a self-etching primer for the best results.
Once the primer is dry, you can start with the base coats. Apply thin, even layers and let each coat dry before adding the next.
Adding Decorative Paint Effects
Now for the fun part! Adding decorative effects can make your chandelier truly unique. Here are some ideas:
- Metallic and Matte Mix: Combine metallic and matte paints for a rich, interesting look. For example, paint the main body in a matte color and use metallic paint for the accents.
- Ombre and Gradient Effects: Start with a light color at the top and gradually transition to a darker shade at the bottom. This technique can be done with spray paint or a brush.
Taking the time to add these special touches will make your chandelier a stunning centerpiece in any room.
By following these steps, you can turn an old chandelier into a beautiful, eye-catching piece that complements your home decor. Whether you're inspired by diy chandelier makeover ideas to transform your space or looking for gallery wall ideas for living room, a freshly painted chandelier can be a perfect addition.
Incorporating Decorative Elements
Choosing Crystals and Beads
Adding crystals and beads can transform a plain chandelier into a dazzling centerpiece. You can find budget-friendly options at craft stores or online. Simply thread the beads onto thin wire and wrap them around the arms of the chandelier. For a more traditional look, embrace timeless charm with intricate metalwork and dazzling crystal accents.
Attaching Decorative Elements
Twine and fabric wraps are perfect for giving your chandelier a rustic or bohemian vibe. Wrap twine around the arms and secure it with hot glue. You can also use strips of fabric to add a pop of color or pattern. This method is simple and adds a unique touch to your fixture.
Exploring Unique Add-Ons
Repurposing vintage and thrifted items can give your chandelier a unique and eclectic look. Attach old keys, small picture frames, or even vintage jewelry to the chandelier. This not only adds character but also makes your chandelier a conversation piece.
Adding decorative elements to your chandelier is a fun and creative way to personalize your space. Whether you choose crystals, twine, or vintage finds, your chandelier will become a unique reflection of your style.
Reassembling and Installing Your Chandelier
Step-by-Step Reassembly
Once your paint is dry, it's time to put everything back together. Start by attaching the socket covers. If you want these to match the chandelier, set up a drop cloth in a well-ventilated space and follow the painting steps again. Otherwise, simply cover those ugly sockets with them! Screw in your light bulbs, and then clip on your pretty new shades.
Ensuring Electrical Safety
Before you finish, double-check all electrical connections to ensure they are secure. Safety is paramount when dealing with electrical fixtures. Make sure the power is off before you start working and consult a professional if you're unsure about any steps.
Mounting the Chandelier Securely
- Mounting the Bracket: Attach the mounting bracket to the ceiling box. Ensure it's secure and can support the weight of your chandelier.
- Connecting the Wires: Match the wires from the chandelier to the wires in the ceiling. Typically, black to black, white to white, and green or copper to the ground wire. Use wire nuts to secure the connections.
- Securing the Chandelier: Carefully lift the chandelier and attach it to the mounting bracket. Make sure all screws are tight and the fixture is stable.
- Attaching the Bulbs: Screw in the light bulbs and attach any additional decorative elements like shades or crystals.
Installing a chandelier can seem daunting, but with careful preparation and attention to detail, you can do it yourself and achieve professional results.
Once the chandelier is installed, turn the power back on and test the light. Make any necessary adjustments to ensure it's hanging straight and all bulbs are working. Stand back and admire your handiwork. Your newly transformed chandelier should now add an instant touch of elegance and personality to the room.
Showcasing Your DIY Chandelier
Styling Tips for Different Rooms
When styling your DIY chandelier, think about the room's theme and colors. A well-placed chandelier can be the star of any room, whether it's a cozy bedroom or a sleek living area. For a unified look, match the chandelier's style with other decor items in the room.
Photographing Your Chandelier
Taking good photos of your chandelier is key to showing off your hard work. Use natural light when possible and take pictures from different angles. Highlight the chandelier's unique features to make it stand out in photos.
Sharing Your Project on Social Media
Sharing your DIY chandelier on social media can be fun and inspiring for others. Write a short story about your project and include some before-and-after photos. Use hashtags to reach a wider audience and connect with other DIY enthusiasts.
Have you created a stunning DIY chandelier? We would love to see it! Share your masterpiece and get inspired by others. Visit our website to explore a wide range of chandeliers that can add a touch of elegance to any room. Don't miss out on our exclusive offers and new arrivals!
Conclusion
Giving your chandelier a makeover can be a fun and rewarding project that adds a personal touch to your home. With just a few simple steps—prepping, painting, and adding decorations—you can transform an ordinary light fixture into a stunning centerpiece. Not only will you save money, but you'll also have a unique piece that reflects your style. So, gather your supplies and get started on your DIY chandelier makeover today. Happy crafting!
Frequently Asked Questions
What kind of paint should I use for my chandelier?
Use spray paint that is suitable for metal surfaces. Look for options that offer a durable finish, such as Rust-Oleum or Krylon.
How do I safely remove a chandelier?
First, turn off the power at the breaker. Then, carefully unscrew the chandelier from its mount, making sure to support its weight as you detach it.
Can I add crystals to any chandelier?
Yes, you can add crystals to most chandeliers. Just make sure the structure is strong enough to support the extra weight.
What should I do if my chandelier is too heavy to hang?
If your chandelier is too heavy, you may need to install additional support in the ceiling. Consult a professional for advice on reinforcing your ceiling.
How do I ensure electrical safety during installation?
Always turn off the power at the breaker before working with electrical fixtures. If you're not confident in your skills, consult a licensed electrician.
Can I use a chandelier outdoors?
Yes, but make sure it is rated for outdoor use. You can also use weather-resistant materials to make it suitable for outdoor settings.


