Thinking about jazzing up your living space? Sometimes, a simple change can make a big difference. We're talking about coloured ceiling lights. These aren't your grandma's old fixtures; they're modern, they're cool, and they can totally change the vibe of a room. Whether you're going for a chill evening mood or a bright, energetic feel, these lights can do it all. Let's explore how you can bring some color into your home with these neat lighting options.
Key Takeaways
- Get your tools ready, like screwdrivers and a voltage tester, before you start putting up your new coloured ceiling lights.
- Always switch off the power at the breaker and check with a tester. Safety first, always.
- Carefully take down the old light and look at the wires. Make sure everything looks okay before you connect the new one.
- Connect the wires correctly, matching colors and using connectors. This makes sure your coloured ceiling lights work right.
- After installing, turn the power back on and test everything out. Play with the colors and brightness to see what you like.
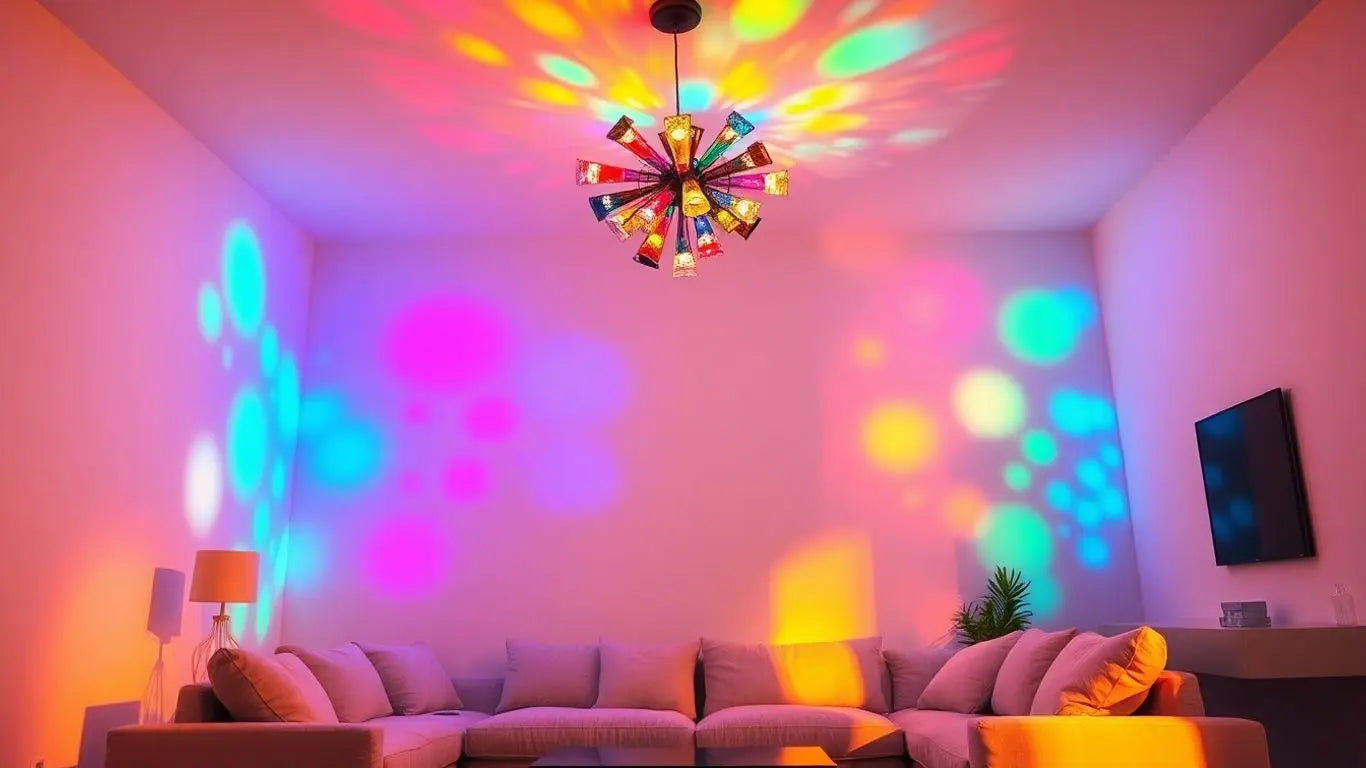
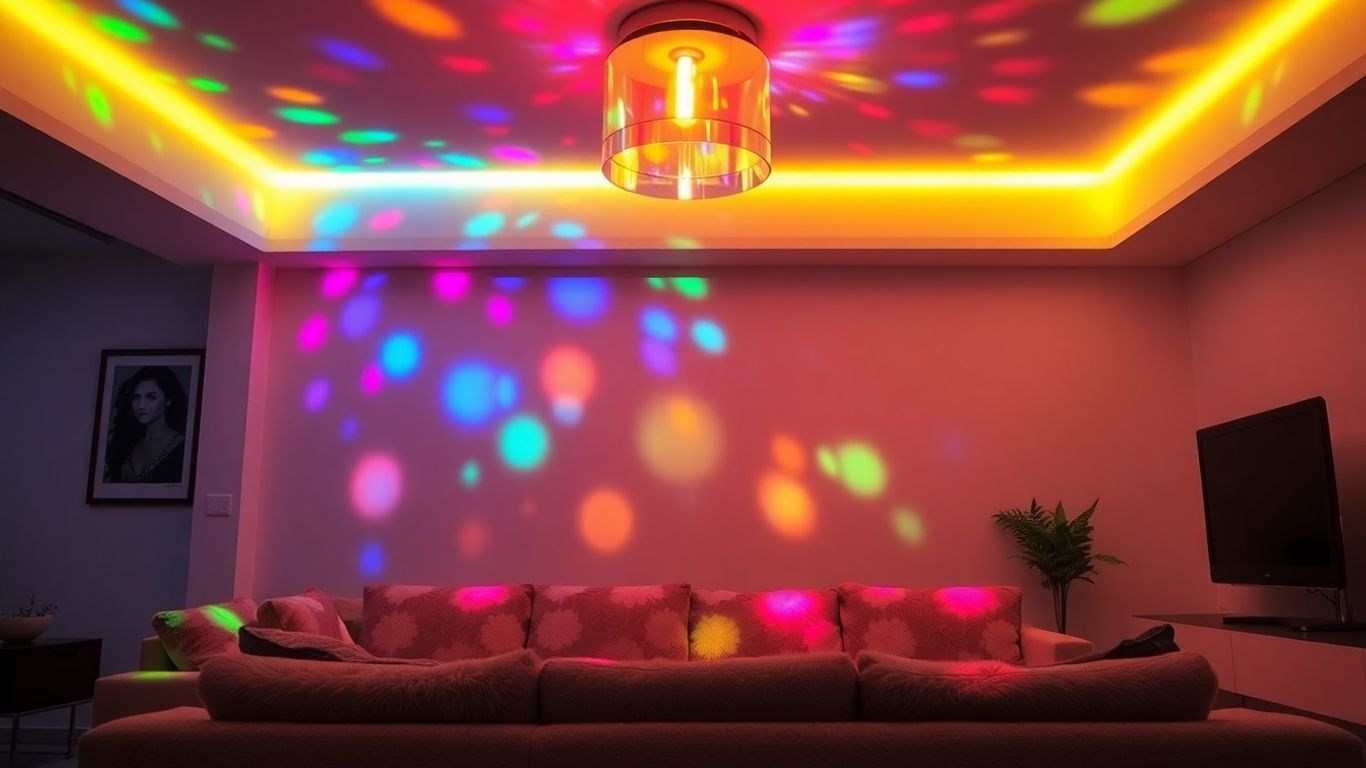
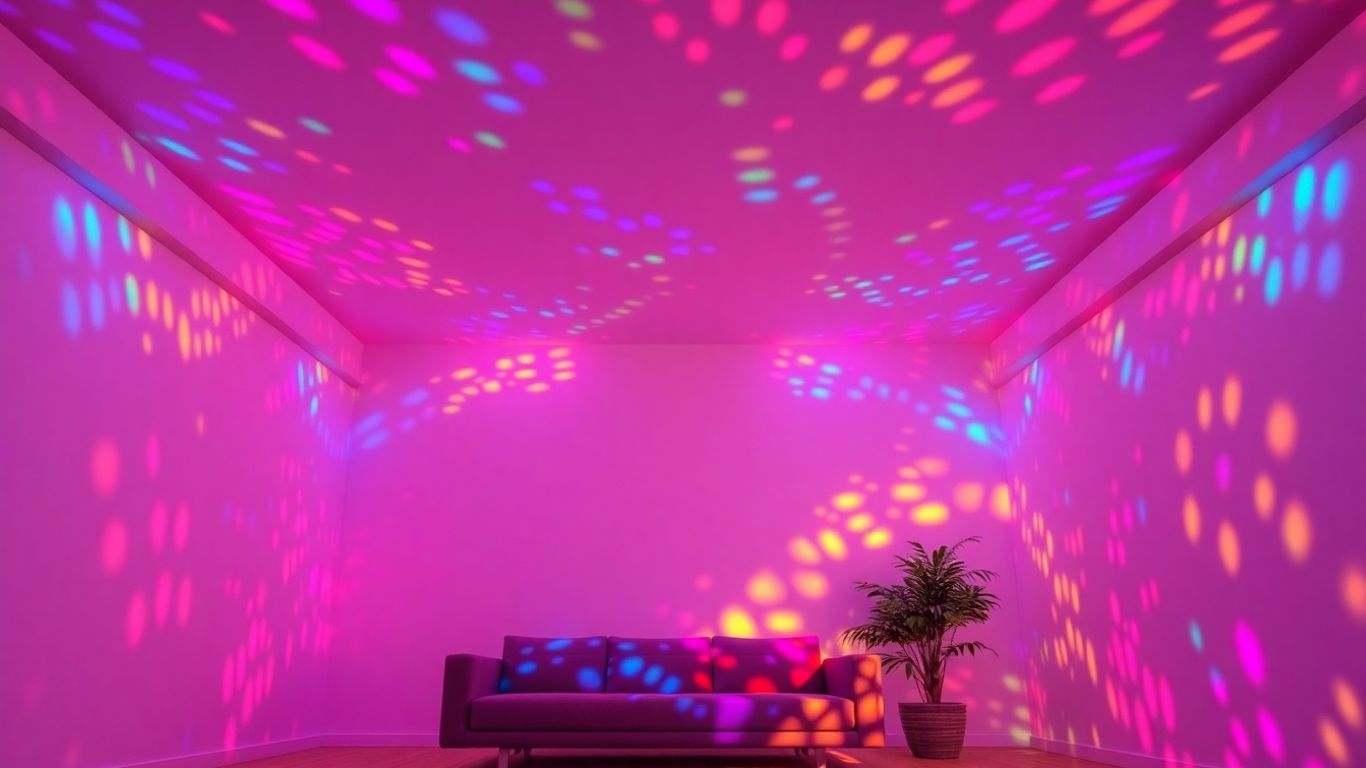
Embrace Dynamic Ambiance with Colored Ceiling Lights
Understanding Color Changing Flush Mount Lights
Forget boring, static lighting. Color-changing flush mount lights are here to shake things up, bringing a whole new level of personality to your rooms. These aren't your grandma's old fixtures; they're smart, adaptable, and frankly, pretty cool. Think of them as the chameleon of your home's lighting. They use LED technology, which is great because it means they don't guzzle electricity and tend to last a really long time. You can pick from millions of colors, adjust how bright they are, and really tailor the mood of a space. Whether you're aiming for a chill vibe for movie night or need something more energetic for a get-together, these lights can do it. Plus, their design usually sits nice and flush against the ceiling, so they look modern and don't get in the way.
The Appeal of Customizable Lighting
What's so great about being able to change your light colors? Well, it's all about control and creativity. You're not stuck with one look anymore. Want a warm, cozy glow in the living room after a long day? Easy. Need a bright, cool light for reading in the bedroom? Done. Hosting a party and want to go with some fun, vibrant colors? Absolutely. It's like having a whole spectrum of moods at your fingertips. This kind of lighting lets you express yourself and adapt your home's atmosphere to whatever you're doing or feeling. It makes your space feel more dynamic and personal.
Enhancing Your Home's Atmosphere
So, how do these lights actually change the feel of a room? Color plays a huge role in how we feel, and these lights let you play with that. Blues and greens can be calming, reds and oranges can be energizing, and softer yellows can feel warm and inviting. You can use them to highlight certain features in your room or just to create a general ambiance. Imagine walking into your kitchen and having it bathed in a soft, warm light, or setting a cool blue tone in your bathroom for a spa-like feel. It's a simple way to make a big impact on the overall vibe of your home, making it feel more welcoming and interesting.
| Color Family | Potential Mood Effect |
|---|---|
| Blues/Greens | Calming, Relaxing |
| Reds/Oranges | Energetic, Warm |
| Yellows | Cheerful, Inviting |
| Purples | Creative, Luxurious |
| Whites | Clean, Focused |
Effortless Installation of Colored Ceiling Lights
Essential Tools and Materials for Setup
Getting your new colored ceiling lights installed doesn't have to be a headache. With the right gear and a little preparation, you can have them up and shining in no time. Before you even think about touching a wire, make sure you've got these items ready to go. It really makes the whole process smoother, trust me.
Here's a quick rundown of what you'll likely need:
- Screwdrivers: You'll need both a Phillips head and a flathead. These are for taking off the old fixture and putting the new one on securely.
- Voltage Tester: This is super important for safety. You absolutely need to confirm the power is off before you start messing with wires. No exceptions.
- Wire Strippers: These help you get the insulation off the ends of the wires so you can connect them properly.
- Ladder or Step Stool: Gotta be able to reach the ceiling, right? Make sure it's stable and on a flat surface.
- Wire Connectors: These little guys secure the connections between the wires from your ceiling and the wires from the new light.
- Mounting Hardware: Most lights come with what you need, but it's good to check the box to make sure all the brackets and screws are there.
Always wear safety glasses when you're working overhead. Dust, debris, or even a dropped screw can be a real pain if it gets in your eyes. Better safe than sorry!
Prioritizing Safety During Installation
Okay, safety first, always. Working with electricity can be dangerous if you're not careful. The biggest step is making sure the power is completely off to the area you're working in. Don't just assume flipping a switch did the trick.
- Find Your Breaker Box: Locate the main electrical panel for your home. You'll need to identify the specific breaker that controls the lights in the room where you're installing the new fixture.
- Flip the Breaker: Once you've found the right one, flip it to the 'OFF' position. This cuts the power to that circuit.
- Test, Test, Test: This is where that voltage tester comes in. Before you touch any wires, use the tester to confirm there's no electricity flowing. If the tester doesn't light up or make a sound, you're good to go. If it does, double-check the breaker or call an electrician.
Also, take a minute to clear out the area below where you'll be working. Move any furniture or rugs that might get in the way or cause you to trip. A clean workspace is a safe workspace.
Step-by-Step Mounting and Wiring
With the power off and your tools ready, it's time to get your new light fixture in place. It's usually a pretty straightforward process, but taking it step-by-step makes it easier.
- Remove the Old Fixture: Carefully unscrew and detach the old light. You'll likely need to disconnect wires, so remember which ones go where (though they're usually color-coded).
- Prepare the Ceiling Box: Make sure the electrical box in the ceiling is secure. Give it a gentle tug to see if it's loose. If it is, you might need to tighten it or get it fixed before proceeding.
- Connect the Wires: This is the core part. You'll typically connect wires based on color: black to black (hot), white to white (neutral), and the green or bare copper wire to the ground. Use those wire connectors to make secure joins. Give them a gentle tug to make sure they won't pull apart.
- Mount the Bracket: If your new light comes with a mounting bracket, attach it to the electrical box using the provided screws. This bracket is what the light fixture will hang from.
- Attach the Fixture: Now, carefully position the new light fixture onto the bracket. Secure it using the screws that came with the fixture. Make sure it sits flush against the ceiling and doesn't wobble.
- Final Check: Once everything is screwed in, give the fixture a gentle wiggle to ensure it's solid. Double-check that all screws are snug, but don't overtighten them, as you could damage the fixture or the ceiling.
After all that, you can turn the power back on at the breaker and test out your new light. It's pretty satisfying to see it working!
Bringing Your Colored Ceiling Lights to Life
Testing Functionality After Installation
Alright, you've wrestled with wires, tightened screws, and hopefully didn't get too much dust in your hair. Now for the moment of truth: turning on your new colored ceiling light! First things first, head back to your circuit breaker and flip that switch back to the "on" position. Give it a minute, and then grab the remote, your phone app, or the wall switch – whatever controls your new light. Hit that power button. Does it light up? Great! Now, let's really play with it. Cycle through some colors. Crank up the brightness, then dim it way down. If you've got fancy features like music sync or scheduling, give those a whirl. It's all about making sure everything works just like it should before you settle in and enjoy the new vibe.
Troubleshooting Common Issues
Sometimes, things don't go perfectly, and that's okay. If your light doesn't turn on, the first thing to check is that power switch at the breaker – did you flip it back on? Seriously, it happens. If the power is definitely on, double-check those wire connections you made. Are they snug? Did you match the colors correctly? Sometimes a wire can wiggle loose. If you're still stuck, consult the manual that came with your light. It often has a section dedicated to common problems and how to fix them. If it seems like a more serious electrical issue, it's always best to call in a professional electrician rather than risk it.
Exploring Advanced Features
These aren't your grandma's light bulbs, are they? Once you've confirmed the basics are working, it's time to explore what makes these lights so cool. Most smart colored ceiling lights come with apps that let you do all sorts of neat things. You can often set schedules, so your lights turn on or off automatically at certain times – perfect for waking up or making it look like someone's home when you're out. Many also offer scene settings, letting you save your favorite color and brightness combinations for movie nights, dinner parties, or just chilling out. Some even sync with music, pulsing and changing color to the beat. It's worth spending a little time clicking around the app to see all the possibilities.
Maintaining Your Vibrant Colored Ceiling Lights
Keeping your colored ceiling lights looking good and working right is pretty straightforward. A little bit of regular attention means you can enjoy those cool colors and custom moods for a long time. It’s not complicated, honestly.
Routine Cleaning for Optimal Performance
Dust happens, right? And it can make even the brightest light look a bit dull. Plus, a clean fixture just looks better. So, here’s the lowdown on keeping yours spick and span:
- Wipe it down weekly: Grab a soft, dry cloth – a microfiber one is great – and give the fixture a quick dusting. This stops grime from building up.
- Damp cloth for tougher spots: If there’s something a bit stickier, use a cloth that’s just slightly damp. Make sure it’s not soaking wet. Wring it out well.
- Skip the harsh stuff: Seriously, don't use window cleaner or abrasive pads. They can mess up the finish. Stick to water or maybe a tiny bit of mild soap if you really need it.
If your light has glass or crystal parts, be extra gentle. A separate microfiber cloth works wonders for keeping them sparkling without streaks.
Ensuring Long-Term Functionality
Beyond just cleaning, a few other checks keep things running smoothly. It’s mostly about making sure everything is secure and powered up correctly.
- Check the remote batteries: If you use a remote, pop in fresh batteries every so often. You don’t want your color-changing fun to stop because of a dead battery. It’s a simple fix.
- Tighten things up: Once a year, just give the mounting screws a quick check. Make sure they’re snug. You don’t want anything wiggling loose over time. This is also a good time to check that the vintage adjustable spider pendant chandelier is still firmly attached.
- Look for loose wires: While you’re checking screws, peek at the wiring connections if you can easily access them. If anything looks loose, tighten it up. Safety first, always.
Updating Smart Features and Batteries
If your lights are the smart kind, there are a couple of extra things to keep in mind. It’s like keeping your phone updated, really.
- App and firmware updates: Smart lights often get software updates. These can fix little glitches or even add new features. Check the app for notifications about updates and install them when they’re available.
- Remote batteries: Yes, this is worth mentioning again! If your smart light comes with a remote, keep those batteries fresh. It’s the easiest way to lose control of your lighting if they die.
Doing these simple things will keep your colored ceiling lights working perfectly and looking great for ages. It’s way easier than you might think.
Transforming Spaces with Smart Colored Ceiling Lights
The Versatility of Smart Lighting
Smart colored ceiling lights are a game-changer for home decor. They're not just about illumination anymore; they're about creating an experience. Think about it: one light fixture can set the mood for a quiet evening, a lively get-together, or even a focused work session. This kind of adaptability is pretty amazing. You can change the color and brightness with just a few taps on your phone or a quick voice command. It’s like having a whole lighting design studio right at your fingertips, without needing a professional.
Creating Moods with Millions of Colors
This is where the real fun begins. With smart lights, you get access to a spectrum of colors – literally millions of them. Want a calming blue for bedtime? Easy. Need a vibrant red for a party? Done. You can even set up custom scenes. Imagine a "sunset" scene that gradually shifts from warm oranges to soft purples as the evening goes on. Or a "focus" scene with a bright, cool white light for when you need to get work done. It’s all about tailoring your environment to how you feel or what you’re doing.
Here’s a quick look at how different colors can affect your mood:
- Warm Colors (Reds, Oranges, Yellows): Often associated with energy, warmth, and happiness. Great for living areas or dining rooms.
- Cool Colors (Blues, Greens, Purples): Tend to be calming and relaxing. Ideal for bedrooms or bathrooms.
- White Light (Cool to Warm): Versatile for task lighting, general illumination, or creating a clean, crisp atmosphere.
Energy Efficiency and Longevity
Beyond the cool factor, smart colored ceiling lights are often built with LED technology. This means they use significantly less energy compared to older types of bulbs. Not only is this good for your electricity bill, but it's also better for the planet. LEDs also last a really long time, often for tens of thousands of hours. So, while the initial cost might be a bit higher, you save money in the long run on both energy and replacement bulbs. It’s a smart choice for both your wallet and the environment.
Smart lighting offers a fantastic blend of convenience, personalization, and efficiency. It allows you to completely transform the feel of a room without any major renovations, simply by adjusting the light. This makes it a really accessible way to update your home's atmosphere and functionality.
Wrapping Up Your Colorful Ceiling Project
So, there you have it. Adding colored ceiling lights is a pretty neat way to change up your place without a ton of hassle. Whether you went with a smart flush mount that can do millions of colors or something simpler, it's amazing how much difference good lighting makes. It’s not just about seeing better; it’s about how a room feels. Plus, these modern lights are usually pretty good on the electricity bill, which is always a win. Give it a try – you might be surprised at how much you love the new vibe.
Frequently Asked Questions
What are color changing flush mount lights and how do they work?
Color changing flush mount lights are ceiling lights that can change to millions of different colors and brightness levels. They use special LED bulbs that can be controlled with a remote, an app on your phone, or even your voice. This lets you easily change the mood of your room whenever you want.
Is it hard to install these lights?
Installing them is pretty straightforward, similar to putting up a regular ceiling light. You'll need a few basic tools like a screwdriver and a voltage tester to make sure the power is off. It's always best to follow the instructions that come with the light and prioritize safety by turning off the power at the breaker box before you start.
What safety steps should I take when installing?
Safety is super important! Always turn off the power to the light fixture at your home's circuit breaker before you touch any wires. Use a voltage tester to be absolutely sure the power is off. Also, make sure you have a steady ladder and clear the area around where you'll be working.
How do I take care of my new colored ceiling lights?
Taking care of them is simple. Just dust them regularly with a soft cloth to keep them looking good. If they get a bit dirty, you can wipe them with a damp cloth. For smart lights, make sure to keep the app or any software updated for the best performance.
Can these lights be controlled remotely or with a smart home system?
Yes, many of them can! Most color changing lights come with a remote control. Plus, many can connect to smartphone apps or even work with smart home systems like Alexa or Google Assistant, so you can control them with your voice or set up schedules.
Are color changing lights energy efficient?
Yes, they are! These lights use LED technology, which is known for being very energy efficient. This means they use less electricity compared to older types of bulbs, saving you money on your energy bills and lasting a long time.


