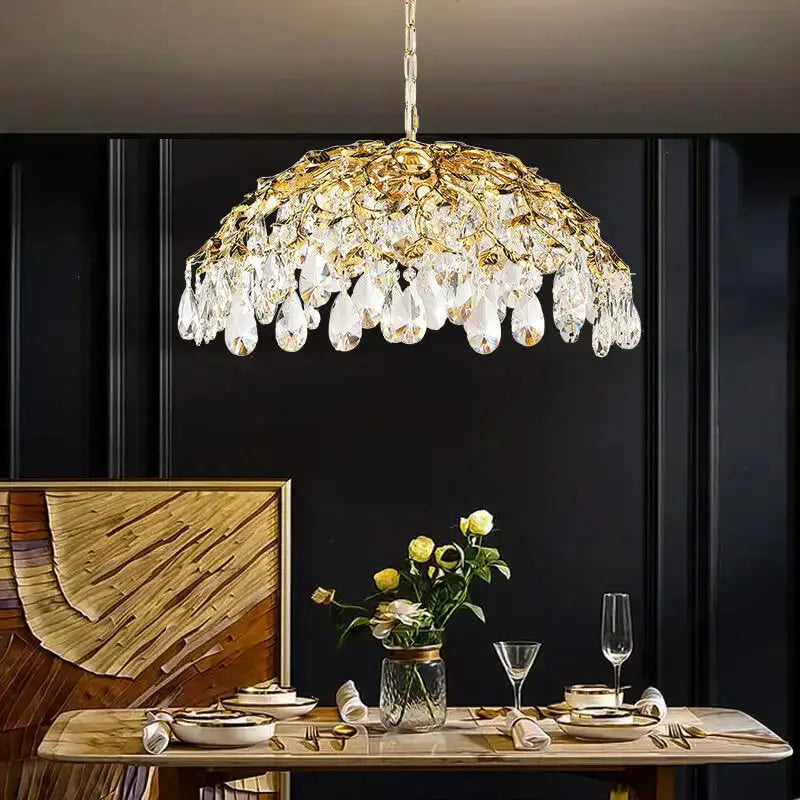
Creating your own rustic chandelier can be a fun and fulfilling project, especially if you love DIY crafts. By using items like old waggon wheels, branches, or mason jars, you can make a unique piece that shows off your personal style. This guide will walk you through the steps and give you ideas to make your dream chandelier.
Key Takeaways
- Choose the right materials by repurposing household items and selecting suitable wood and metal elements.
- Follow a step-by-step guide to gather tools, assemble the frame, and add finishing touches.
- Get creative with ideas like using mason jars, driftwood, and other natural elements.
- Keep safety in mind, especially when working with electrical components and ensuring the chandelier is secure.
- Save money by upcycling old items and finding affordable materials to create your chandelier.
Choosing the Right Materials for Your Rustic Chandelier
Creating a rustic chandelier is a fun and rewarding project. Choosing the right materials is key to making your chandelier look great and last a long time. Here are some tips to help you pick the best materials for your rustic chandelier.
Repurposing Household Items
One of the best things about making a rustic chandelier is that you can use items you already have at home. Old waggon wheels, branches, or even mason jars can be turned into a unique statement piece. This not only saves money but also gives your chandelier a personal touch.
Selecting the Perfect Wood
Wood is a popular choice for rustic chandeliers. Look for wood that is sturdy and has a nice grain. Reclaimed wood can add a lot of character to your chandelier. Make sure the wood is treated so it will last a long time.
Incorporating Metal Elements
Adding metal elements can give your chandelier a modern twist. Wrought iron or aged metals work well with rustic designs. These materials are not only strong but also add a touch of elegance to your chandelier.
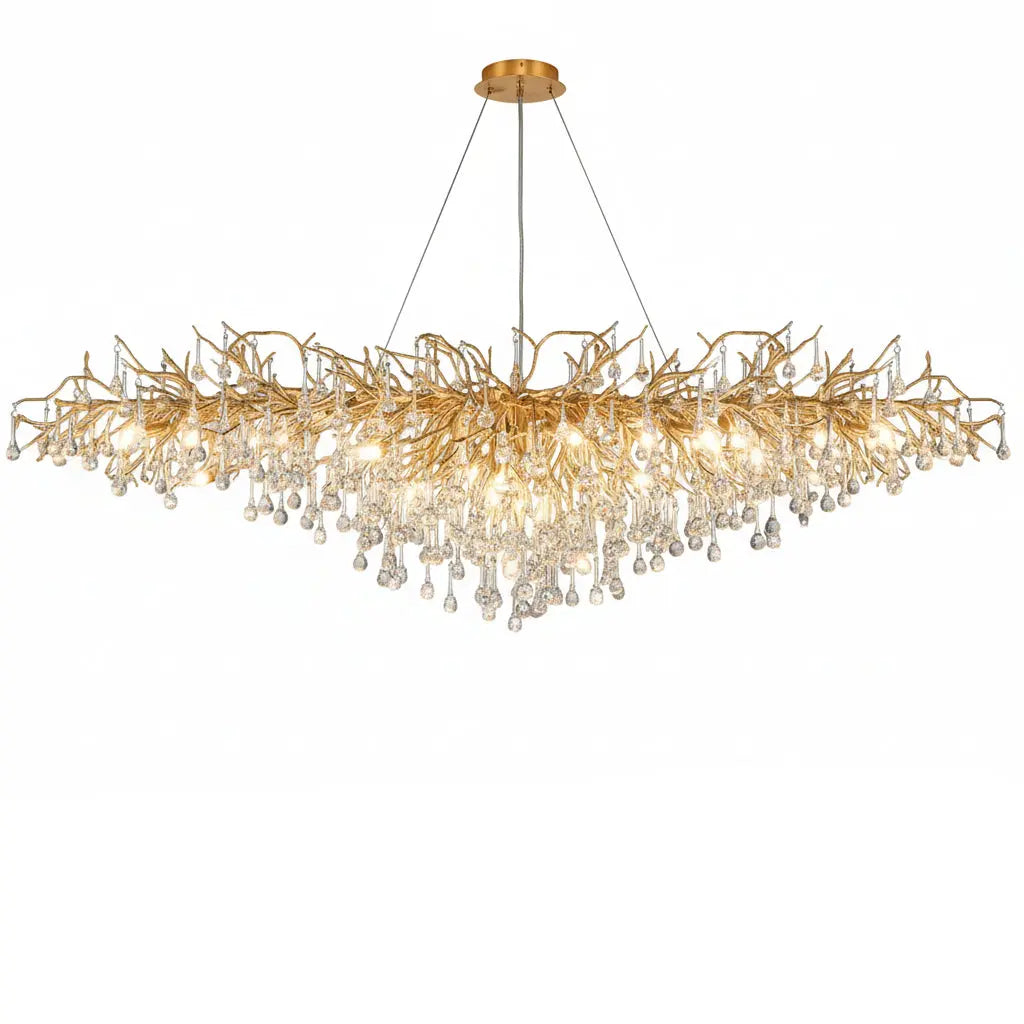
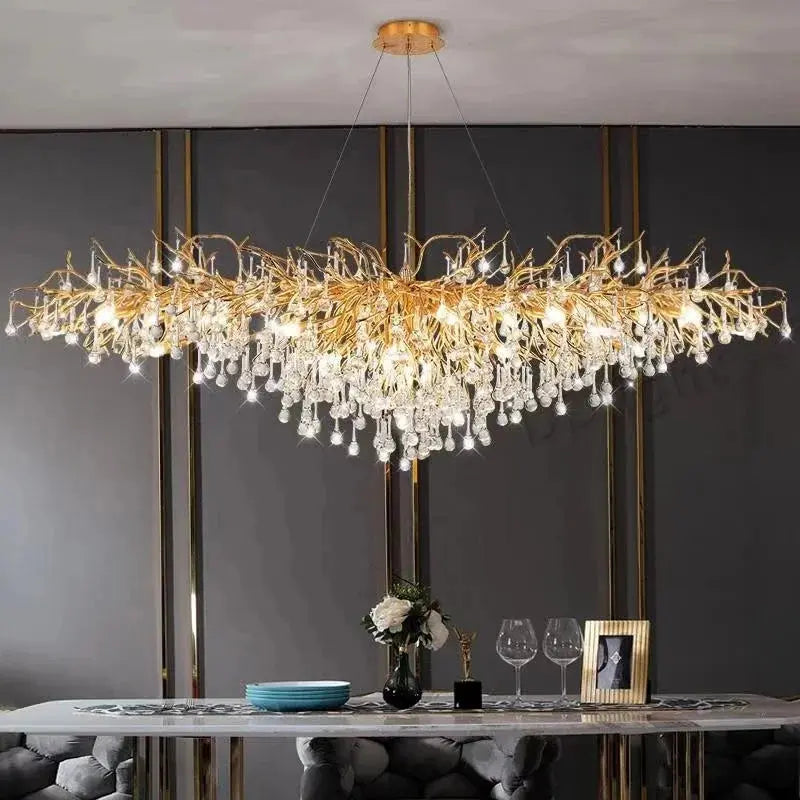
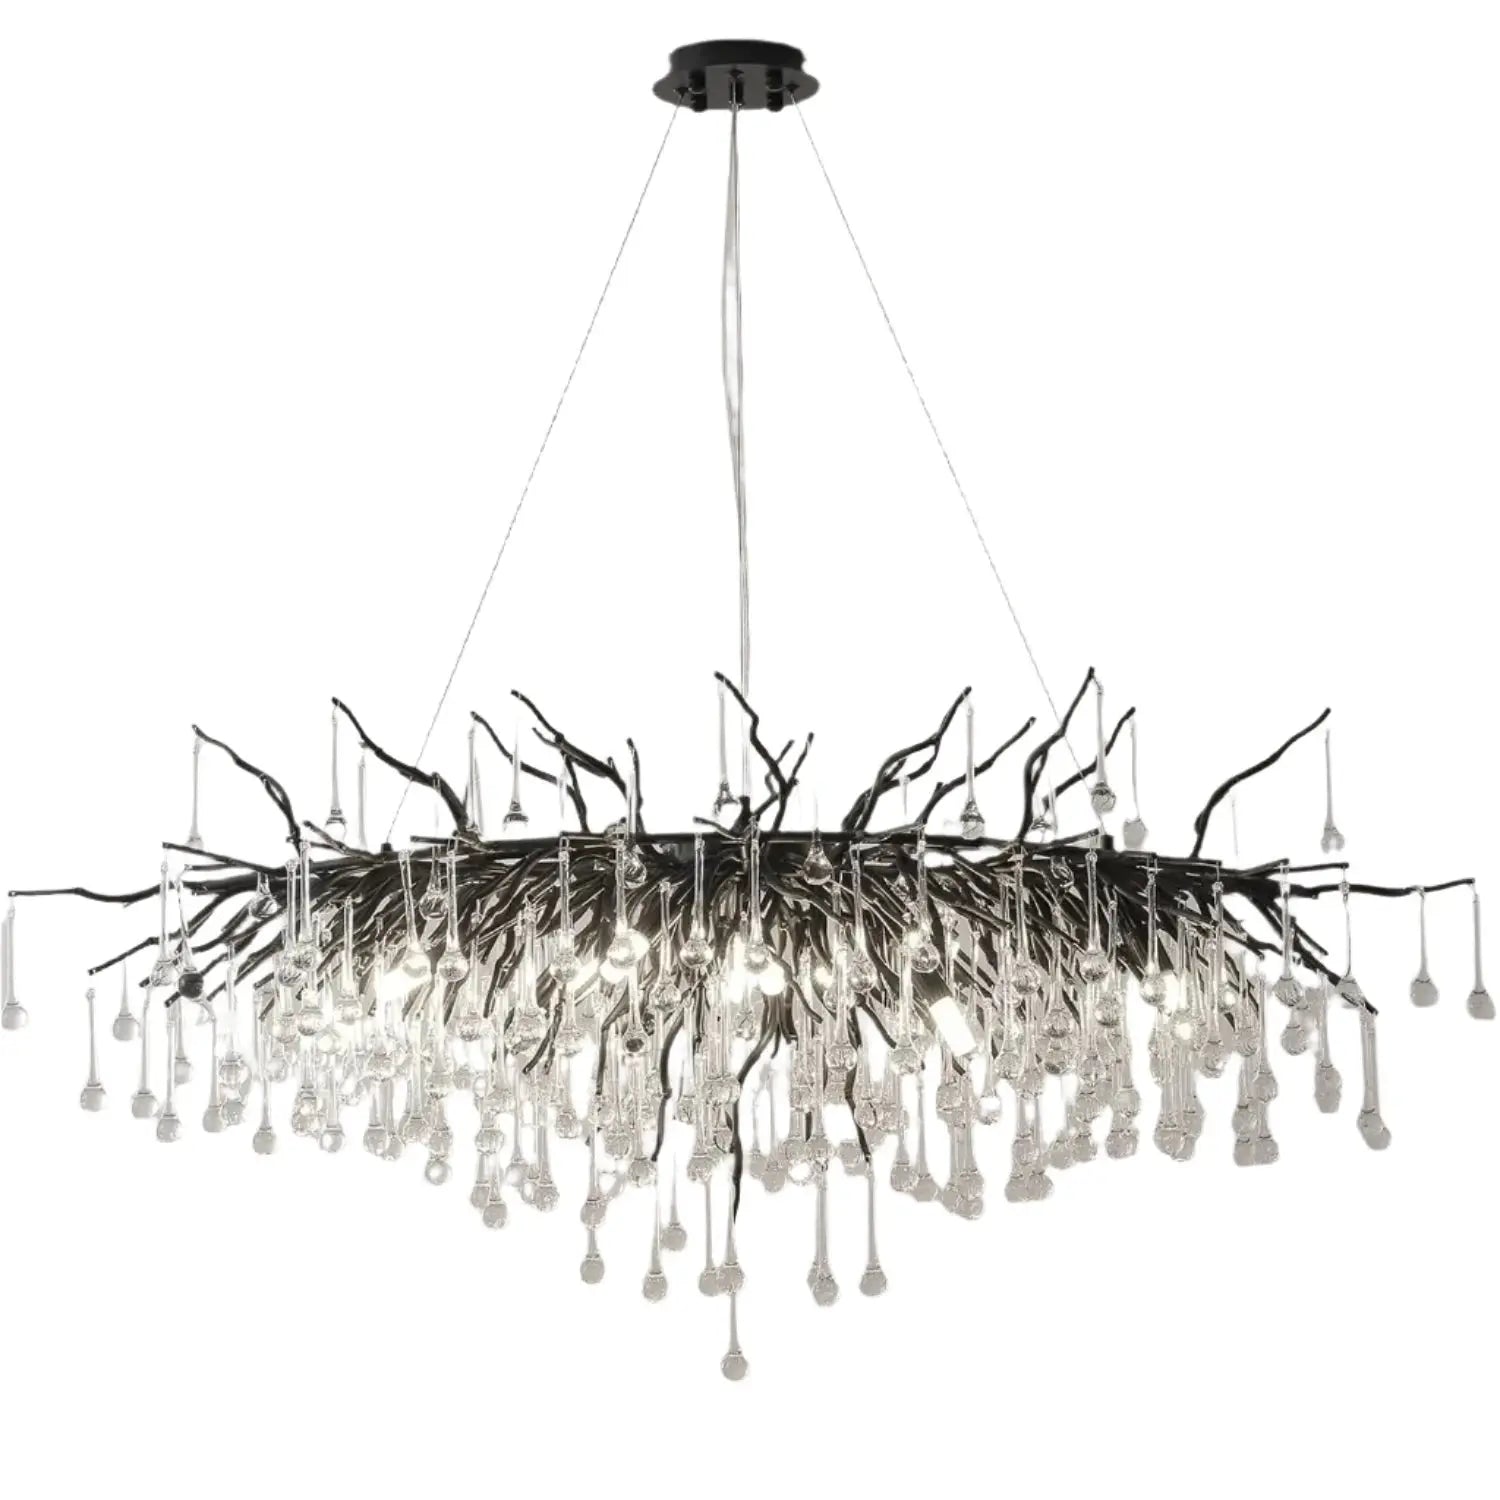
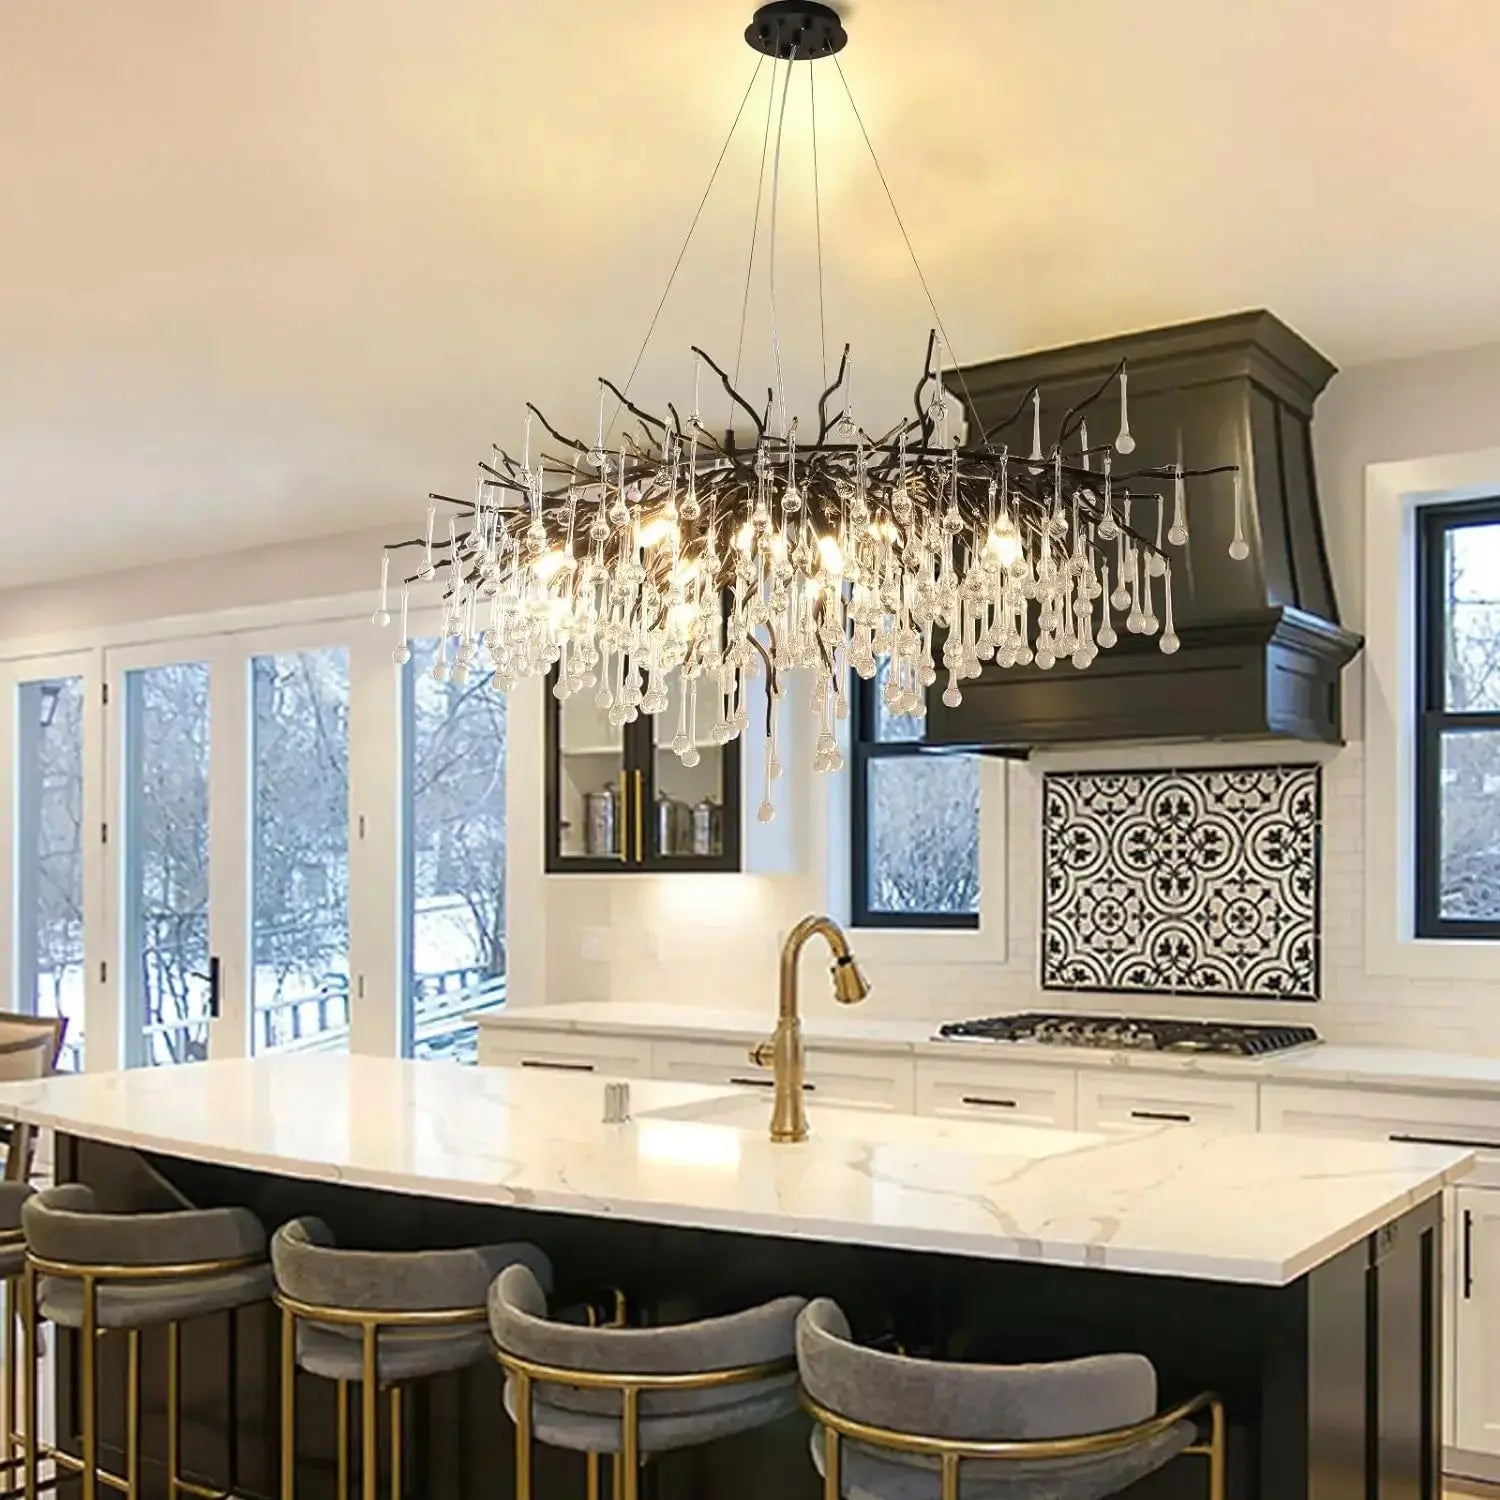
Bring the warmth of the countryside indoors with rustic chandeliers crafted from natural materials like wood, bamboo, or aged metals. Perfect for adding a cosy, inviting feel to any room.
Step-by-Step Guide to Building a Rustic Chandelier
Creating your own rustic chandelier can be a fun and rewarding project. Follow these steps to craft a unique piece that will light up your home with charm and character.
Gathering Your Tools
Before you start, make sure you have all the necessary tools. You'll need a drill, screws, a saw, and some sandpaper. Having everything ready will make the process smoother and more enjoyable.
Assembling the Frame
Begin by constructing the frame of your chandelier. This could be made from an old waggon wheel, branches, or even a wooden beam. Ensure the frame is sturdy and can support the weight of the light fixtures.
Adding the Finishing Touches
Once the frame is assembled, it's time to add the finishing touches. This includes attaching the light fixtures and any decorative elements you want to include. Make sure everything is securely fastened and looks just the way you want it.
Taking your time with each step will ensure your chandelier not only looks great but is also safe and functional.
Creative Rustic Chandelier Ideas
Using Mason Jars for a Vintage Look
Mason jars can bring a vintage charm to your chandelier. They are easy to find and can be repurposed from your kitchen. Simply attach them to a wooden frame and add light bulbs inside. This creates a warm, inviting glow perfect for any room.
Crafting with Driftwood
Driftwood offers a natural, rustic feel to your chandelier. Collect pieces from the beach and arrange them into a unique design. Secure the driftwood with strong glue or nails, and add some light fixtures. This type of chandelier is perfect for those who love the outdoors.
Incorporating Natural Elements
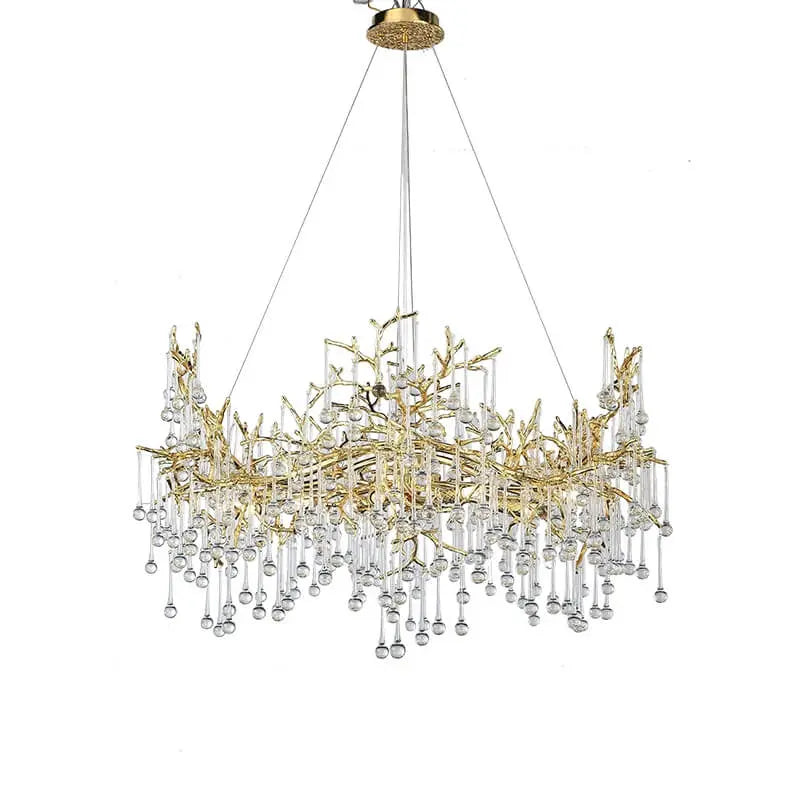
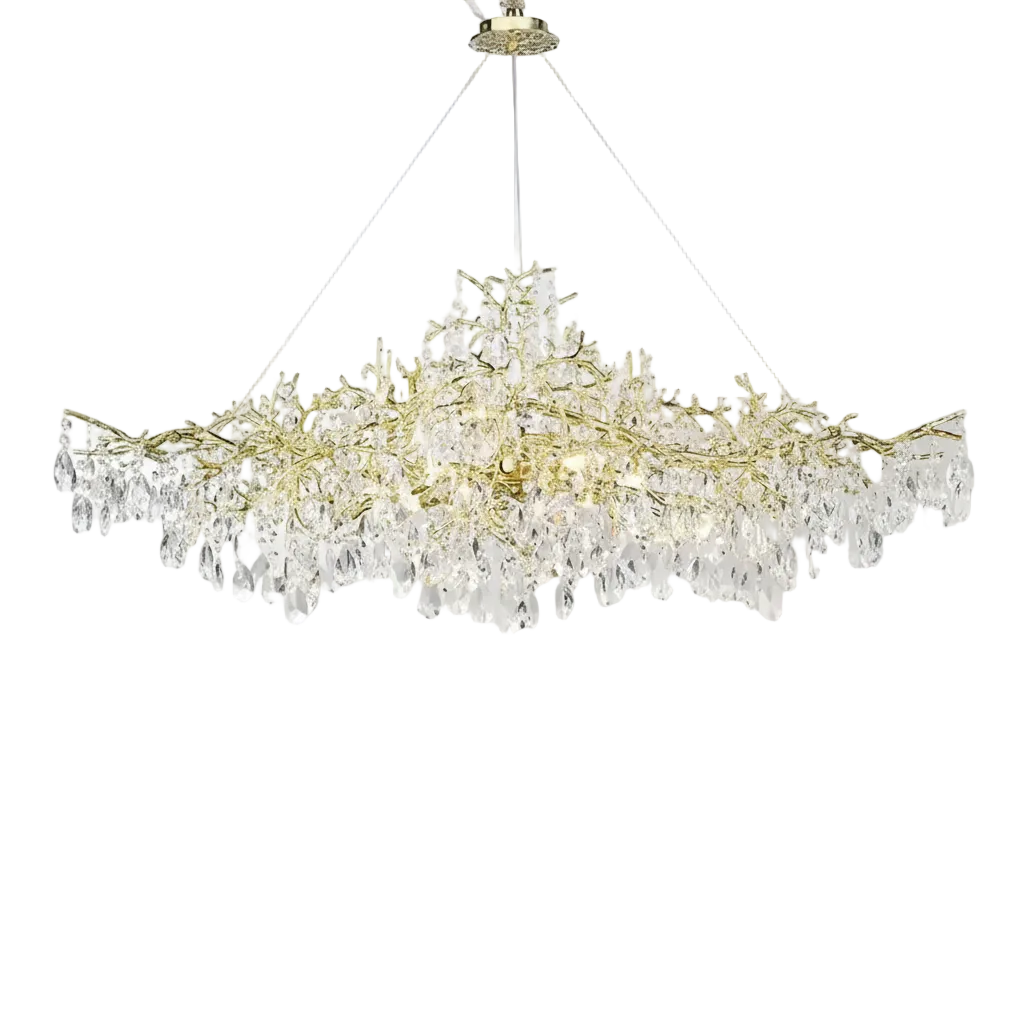
Using natural elements like branches, leaves, or even pinecones can make your chandelier stand out. These items can be easily found in your backyard or a nearby park. Arrange them creatively around a metal or wooden frame, and you have a chandelier that brings the beauty of nature indoors.
Rustic chandeliers DIY projects offer a rewarding and personalised touch, allowing you to create a unique statement piece that reflects your own style.
Safety Tips for DIY Rustic Chandelier Projects
Working with Electrical Components
When dealing with electrical parts, always turn off the power at the circuit breaker before starting. Use a voltage tester to ensure no electricity is flowing. If you're unsure about any step, it's best to contact support for assistance.
Ensuring Structural Stability
Make sure your chandelier is securely anchored to the ceiling. Use appropriate hardware and double-check that all connections are tight. This will prevent any accidents and ensure your chandelier remains stable.
Properly Securing Your Chandelier
After installation, give your chandelier a gentle shake to test its stability. If it wobbles, reinforce the mounting. Regularly inspect the fixture to ensure it remains secure over time.
Safety should always be your top priority when working on DIY projects. Taking the time to follow these tips can prevent accidents and ensure your chandelier is both beautiful and safe.
Budget-Friendly Rustic Chandelier Projects
Creating a rustic chandelier on a budget is not only possible but also a fun and rewarding project. Repurposing old items and finding affordable materials can help you craft a stunning piece without breaking the bank. Here are some tips to get you started.
Upcycling Old Items
One of the best ways to save money is by upcycling items you already have. Look around your home for things like old waggon wheels, mason jars, or even branches. These can be transformed into beautiful chandeliers with a bit of creativity and effort.
Finding Affordable Materials
When it comes to materials, you don't have to spend a lot. Visit local thrift stores, garage sales, or online marketplaces to find budget-friendly options. You might be surprised at the treasures you can find for a fraction of the cost of new items.
Cost-Saving Tips and Tricks
- Plan ahead: Make a list of all the materials and tools you'll need before you start your project.
- Shop smart: Look for sales, discounts, and coupons to save on supplies.
- DIY as much as possible: The more you can do yourself, the less you'll have to spend on labour.
Crafting your own rustic chandelier not only saves money but also allows you to create a unique statement piece that reflects your personal style.
Enhancing Your Home Decor with Rustic Chandeliers
Balancing Room Aesthetics
When adding a rustic chandelier to your home, it's important to balance the room's overall look. A well-placed chandelier can transform a space, making it feel cosy and inviting. Consider the size and style of the chandelier to ensure it complements your existing decor.
Creating a Focal Point
A rustic chandelier can serve as a stunning focal point in any room. By drawing the eye upwards, it can make the space feel larger and more open. Choose a design that stands out, whether it's made from reclaimed wood or features intricate metalwork.
Complementing Different Styles
Rustic chandeliers are versatile and can complement various decor styles. Whether your home is modern, farmhouse, or traditional, a rustic chandelier can add a touch of charm and character. Mix and match different elements to create a unique look that reflects your personal style.
Discover the charm of rustic lighting at Abbeygate Lighting. A range of rustic chandeliers, lamps & light fixtures. Visit us online or in-store.
Maintaining and Cleaning Your Rustic Chandelier
Regular Dusting and Cleaning
Using a microfiber cloth or a soft-bristled brush, gently dust the entire chandelier to remove loose dirt and debris. This step helps make the deep cleaning process easier and more effective. Regular dusting prevents the build-up of grime and keeps your chandelier looking its best.
Handling Delicate Parts
When cleaning, be mindful of any delicate parts. Avoid using harsh chemicals that could damage the finish or the materials. Instead, opt for mild soap and water for a gentle clean. If your chandelier has intricate details, use a small brush to reach those tight spots.
Long-Term Maintenance Tips
To ensure your chandelier remains a stunning focal point, follow these long-term maintenance tips:
- Inspect for any loose or damaged parts regularly.
- Tighten screws and bolts as needed to maintain structural stability.
- Consider applying a protective wax or sealant to metal elements to prevent rust.
With a little elbow grease, you can keep your rustic chandelier looking beautiful for years to come.
Keeping your rustic chandelier looking its best is easy with regular maintenance and cleaning. Dust it gently with a soft cloth and occasionally use a mild cleaner to keep it sparkling. For more tips and a wide selection of beautiful chandeliers, visit our website today!
Conclusion
Creating your own rustic chandelier is not just a fun project but also a way to add a personal touch to your home. By using simple materials like old waggon wheels, mason jars, or even colanders, you can craft a unique piece that truly reflects your style. Plus, it's a budget-friendly way to get a stunning light fixture. So, gather your tools, unleash your creativity, and start building your dream chandelier today. Happy crafting!
Frequently Asked Questions
What materials can I repurpose to make a rustic chandelier?
You can use old waggon wheels, branches, mason jars, or even colanders to create a unique rustic chandelier.
Is it expensive to build a rustic chandelier?
Not necessarily. You can save money by using materials you already have or by finding affordable items at thrift stores and garage sales.
What tools do I need to build a rustic chandelier?
Basic tools like a drill, screws, wire cutters, and a screwdriver are usually enough. The specific tools will depend on your design.
How do I ensure my DIY chandelier is safe to use?
Make sure all electrical components are properly installed and insulated. Also, ensure the chandelier is securely attached to the ceiling.
Can I use a rustic chandelier in any room?
Yes, rustic chandeliers can add charm to any room, but make sure the size and style match the room's decor.
How do I clean and maintain my rustic chandelier?
Regular dusting and gentle cleaning with a damp cloth will help maintain its appearance. Handle delicate parts carefully to avoid damage.


